Do you want to add shoppable Instagram images to your WordPress site?
Instagram shoppable images have links that people can easily click on to buy your products. This is a powerful way to showcase your products and drive more sales from Instagram.
In this article, we’ll show you how to easily add Instagram shoppable images in WordPress.
What is Instagram Shopping?
Instagram shopping allows you to tag products in your Instagram photos.
After tagging one or more products, users who are looking at the post will see a ‘View Products’ icon in the bottom-left corner.
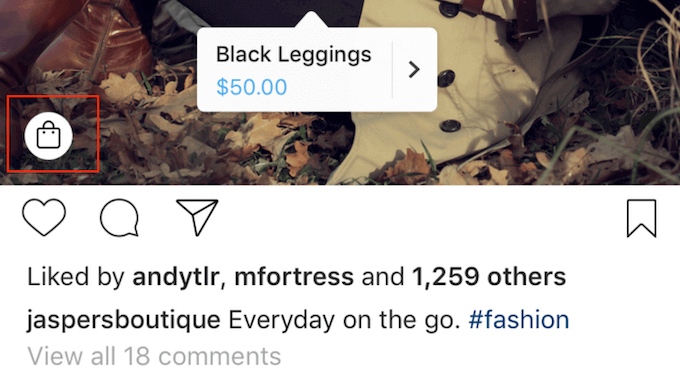
They can simply click on that icon to see the product’s name, description, and price.
This makes it easier for shoppers to learn more about the products featured in your social media posts.
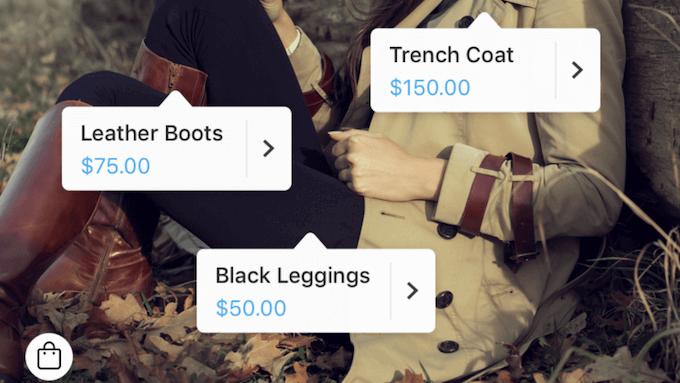
Visitors can tap the screen again to go to your Instagram store, where they can buy the product featured in the social media post.
This is great user experience, but it isn’t easy to set up.
You will need to get approval from Instagram to use their shopping features, and some of these requirements are vague. For example, you’ll need to “have demonstrated trustworthiness, including through an authentic, established presence.” You’ll also need to maintain a “sufficient follower base.”
In addition, you’ll have to set up a Facebook catalog, a product catalog, and a Facebook business page.
In other words: it’s a lot.
Because of that, many Instagram users are looking for an easier way to help shoppers buy products. That’s where shoppable Instagram images come in.
Why Add Shoppable Instagram Images in WordPress?
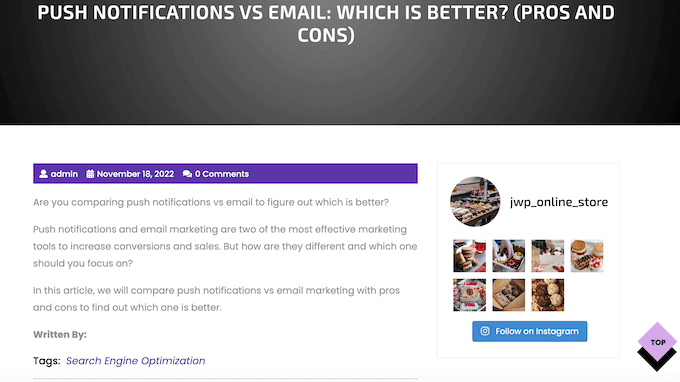
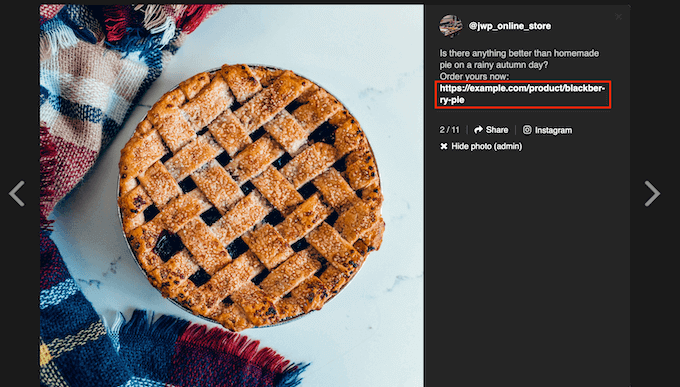
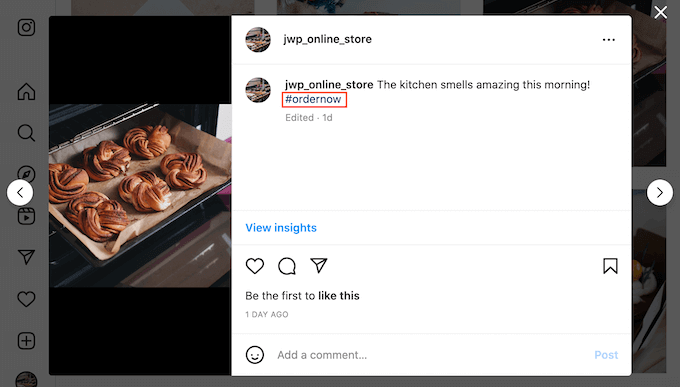
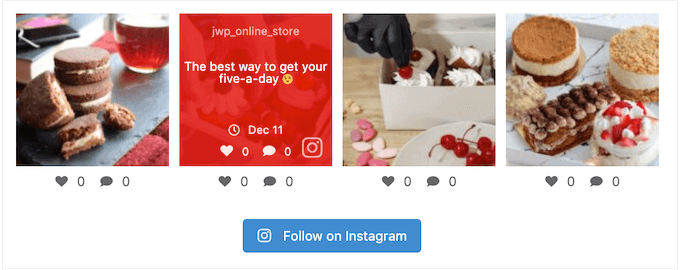
A shoppable Instagram feed is a series of photos that have a link to a product or service on your site. These URLs aren’t clickable when viewed on Instagram, as you can see in the following image.
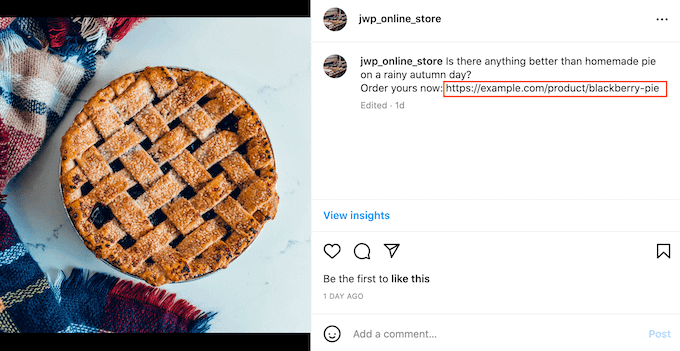
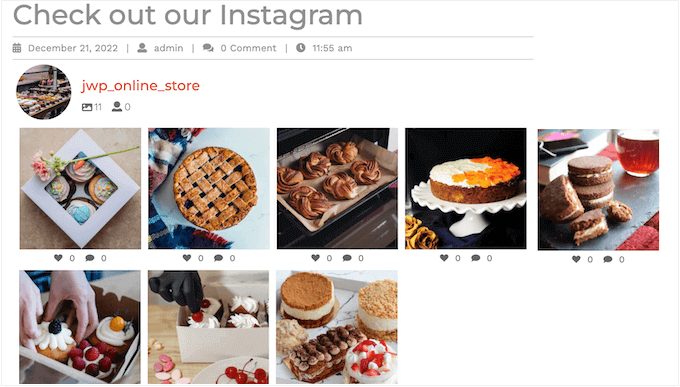
However, when you embed the shoppable feed on your WordPress website, these links do become clickable. In this way, an Instagram shoppable feed encourages the people who visit your website to look at specific products.
Any likes and comments you get on those posts can also act as social proof, and encourage people to click on the product’s link.
As you post new shoppable images to Instagram, they’ll appear on your site automatically, so visitors will always see the latest posts without you having to add them manually.
If visitors like what they see, they may even decide to follow you on Instagram. This can get you more followers, and gives you another way to promote directly to that person.
Even better, since these shoppable links appear on your website, you have complete control over them. This means you don’t have to follow Instagram’s strict shoppable policies, or set up a Facebook product catalog.
With that being said, let’s see how you can easily add Instagram shoppable images to your WordPress website using Smash Balloon Instagram Pro.
Creating a Shoppable Feed on Instagram
First, you need to upload the images that you want to use on your Instagram account.
Smash Balloon has a shoppable feature that allows you to link each image to a URL inside the plugin settings. With this feature enabled, visitors can click on a shoppable image on your website, and its link will open in a new tab.
These links won’t appear on Instagram.
Another option is adding the link to your Instagram captions. These links will show up on Instagram, but they won’t be clickable.
However, these links will be clickable on your WordPress website. If you want to use this method, then you’ll need to spend some time adding a URL to each shoppable image on your Instagram account.
If you’re planning to use Smash Balloon’s shoppable feature, then you can skip this step as we’ll be adding each link inside the plugin’s settings.
How to Install an Instagram Photos Plugin With Shoppable Support
The best way to add Instagram shoppable images in WordPress is by using Smash Balloon Instagram Pro.
In this guide, we’ll be using the premium version of Smash Balloon as it has the advanced features you need to add shoppable images in WordPress. However, there’s also a free version that allows you to embed Instagram in WordPress.
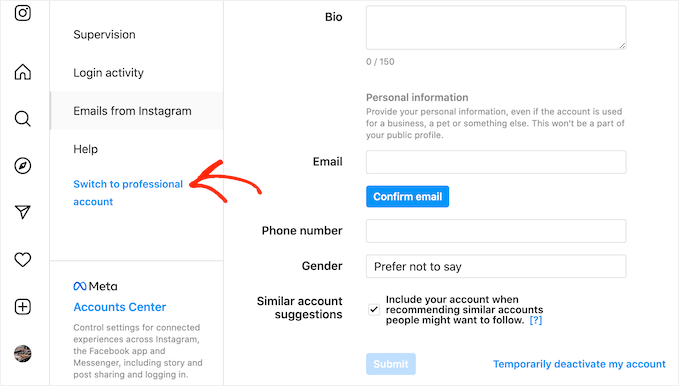
Before getting started, you’ll need to connect your Instagram account to a Facebook page. If you have a personal Instagram account, then you may also want to turn it into a business account as this allows Smash Balloon to show your Instagram bio and header automatically.
When you’re ready, go ahead and install and activate the Smash Balloon Instagram Pro plugin. For more details, see our guide on how to install a WordPress plugin.
Upon activation, head over to Instagram Feed » Settings and enter your license key into the ‘License Key’ field.
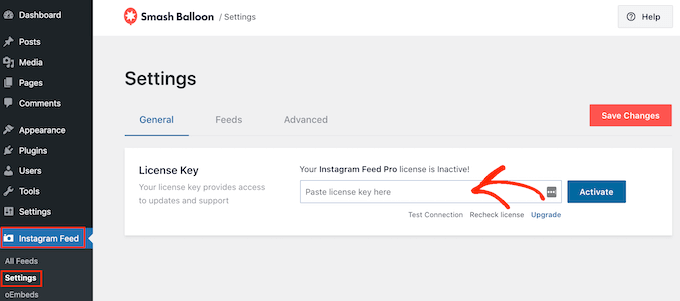
You’ll find this information under your account on the Smash Balloon website.
After entering the key, click on the ‘Activate’ button.
How to Connect an Instagram Account to WordPress
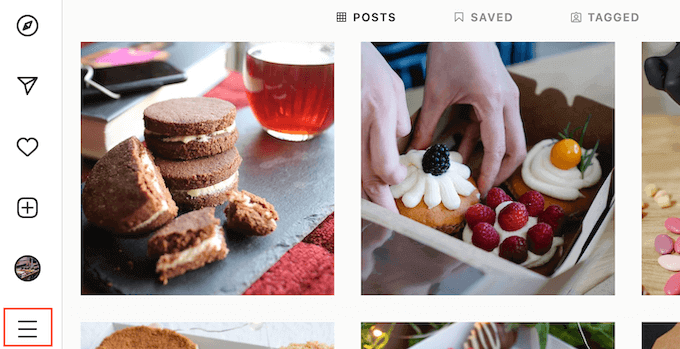
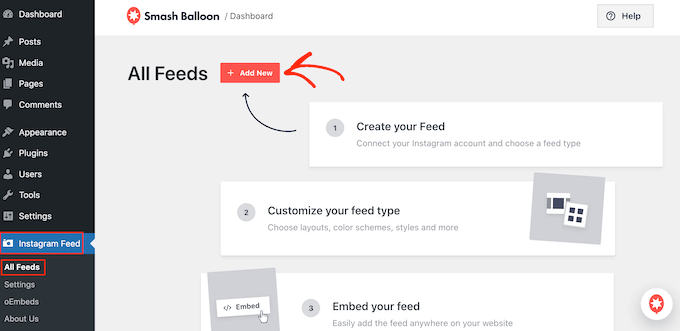
After activating the plugin, your first task is connecting your Instagram account to WordPress. Simply go to Instagram Feed » Settings and then click on ‘Add New.’
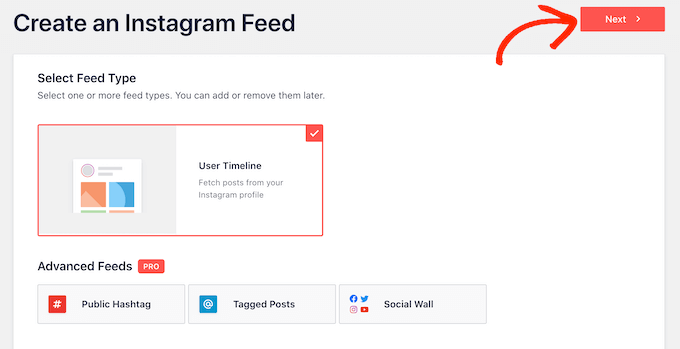
With Instagram Feed pro, you can create feeds from tagged posts and hashtags, or even create a social wall with content from lots of different social media websites.
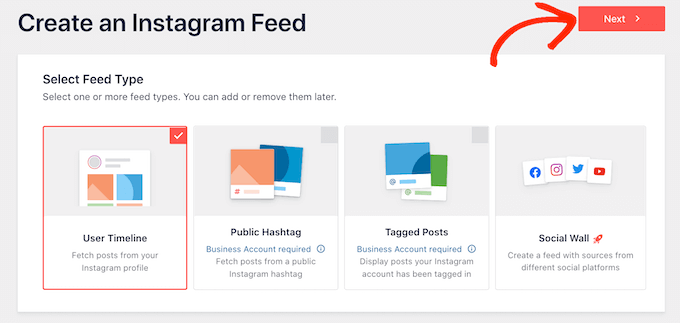
We want to show shoppable images from our Instagram timeline, so simply select ‘User Timeline’ and then click on ‘Next.’
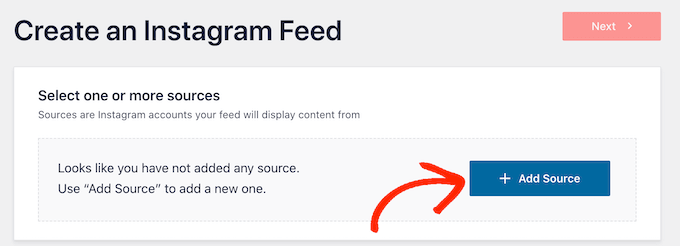
Now, choose the Instagram account where you’ll get the shoppable images from.
To get started, click on the ‘Add Source’ button.

After that, choose whether you want to show shoppable images from a personal or business Instagram account.
If you check the box next to ‘Personal’ then Smash Balloon won’t include the Instagram avatar and bio in your header by default. However, you can always add the Instagram avatar and bio manually in the plugin’s settings.
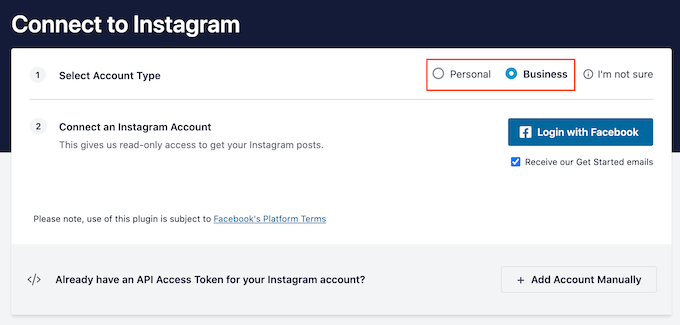
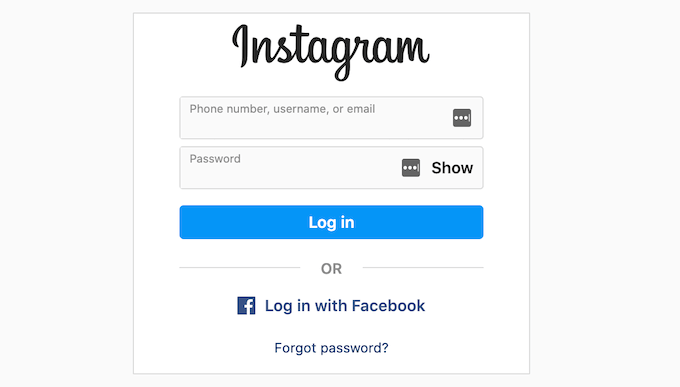
After choosing ‘Personal’ or ‘Business,’ click on ‘Login with Facebook.’
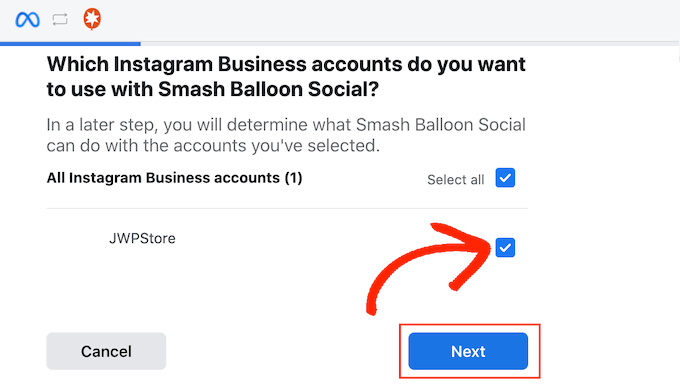
You can now select the Instagram account that you want to feature on your WordPress website, and click on ‘Next.’

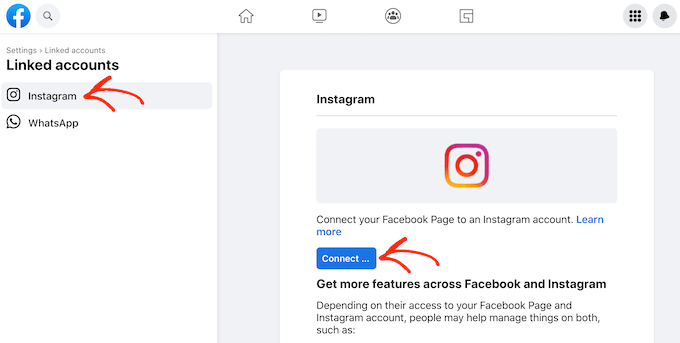
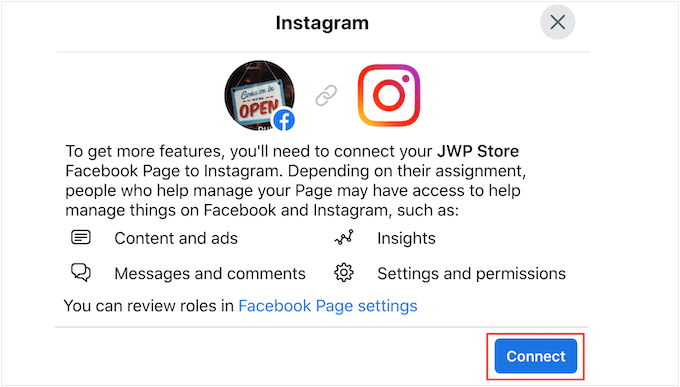
After that, check the box next to the Facebook page that’s linked to the Instagram account with your shoppable images.
Once you’ve done that, click on the ‘Next’ button.

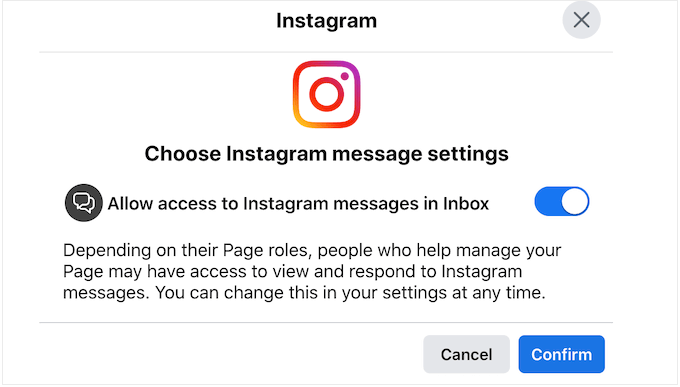
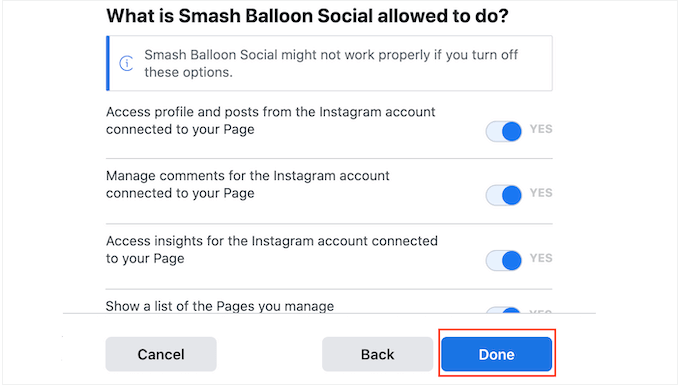
You’ll now see a popup with all the information Instagram Feed Pro will have access to and the actions it can perform.
To restrict the plugin’s access to your Instagram account, simply click any of the switches to turn it from ‘Yes’ to ‘No.’ Just be aware that this may affect the photos that you can show on your WordPress blog or website.
With that in mind, we recommend leaving all the switches enabled. When you’re happy with the settings, click on ‘Done.’
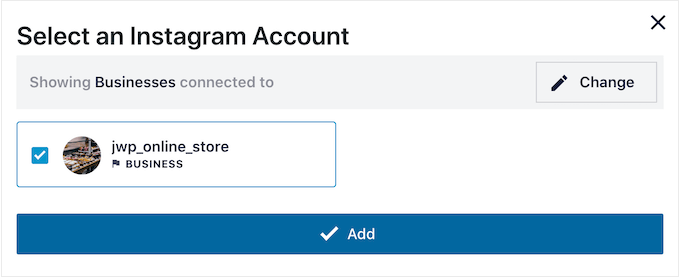
You’ll now see a popup with the Instagram account you just added to your website.
Simply check the box next to that account and then click on ‘Add.’
Instagram Feed Pro will now take you back to the Instagram Feeds » All Feeds screen.
To create a feed, just check the box next to the Instagram account that you want to use. Then, click on ‘Next.’
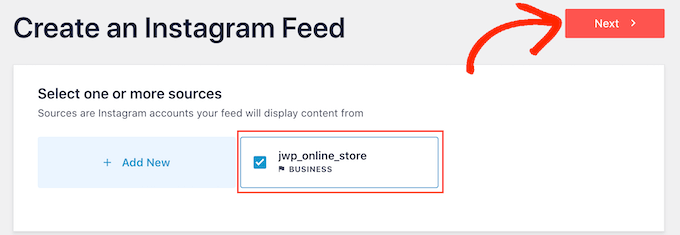
The plugin will now create an Instagram photo feed that you can add to any page, post, or widget-ready area.
However, before you can show shoppable images there are a few extra settings to configure.
How to Enable Smash Balloon’s Shoppable Feature (Optional)
As we already mentioned, there are two ways to make your Instagram photo feed shoppable. If you’ve added the URLs to your captions on Instagram, then simply skip to the next step.
Another option is to open shoppable links in a new tab as soon as the visitor clicks on a post. To do this, you’ll need to enable Smash Balloon’s shoppable feature.
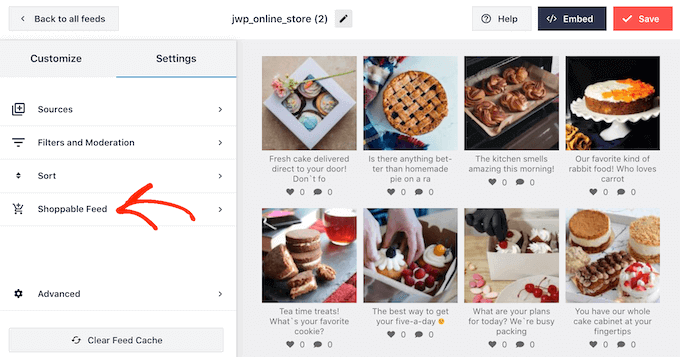
To start, select the ‘Settings’ tab and then click on ‘Shoppable Feed.’
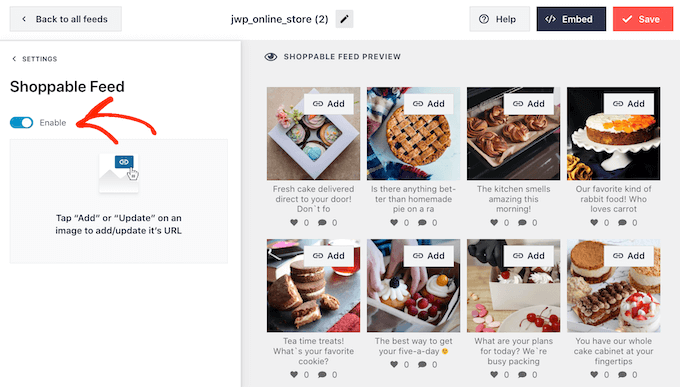
On this screen, go ahead and toggle the ‘Enable’ slider so that it turns blue.
Smash Balloon will now show an ‘Add’ button on every photo or video in your Instagram feed.
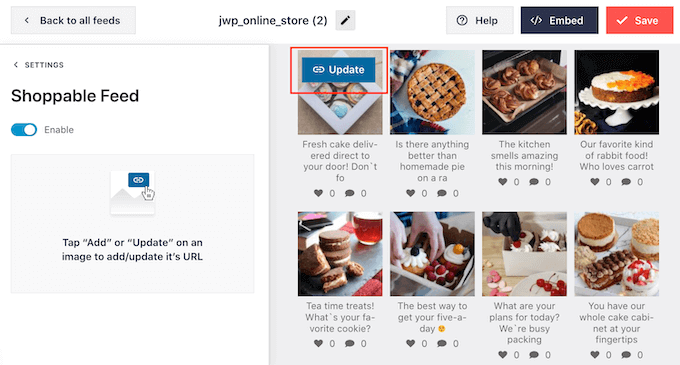
Simply find the first post that you want to make shoppable, and click on its ‘Add’ button.
You can now type the product or service’s URL into the ‘Product Link’ field and click on ‘Add.’

Now, clicking on this photo will open the linked URL in a new tab.
Simply repeat these steps to make every image shoppable.
If you need to change a post’s URL at any point, then just hover your mouse over it and click on ‘Update.’
Once you’ve added all your links, don’t forget to click on the ‘Save’ button.
How to Filter Your Shoppable Instagram Feed
By default, Smash Balloon shows all the images and videos from your Instagram account. However, since we’re creating a shoppable feed you may want to filter your posts, and only show photos that link to a product or service.
This can help shoppers find products to buy, without getting distracted by other photos and videos in your Instagram feed.
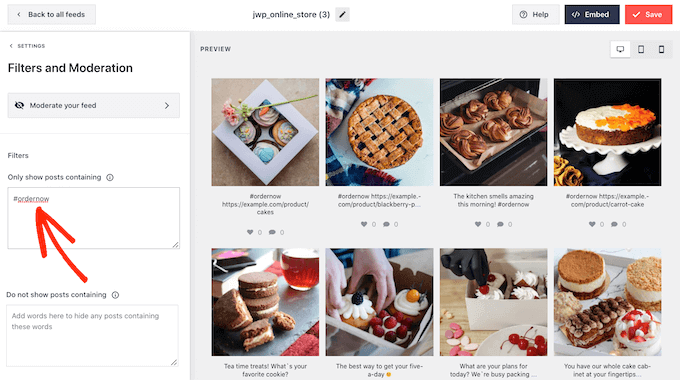
With Smash Balloon, it’s easy to filter Instagram posts based on their captions. You can simply add a keyword or hashtag to your shoppable images on Instagram, and then create a matching filter in Smash Balloon.
For example, in the following image we’re using the #ordernow hashtag for all the images we want to make shoppable.
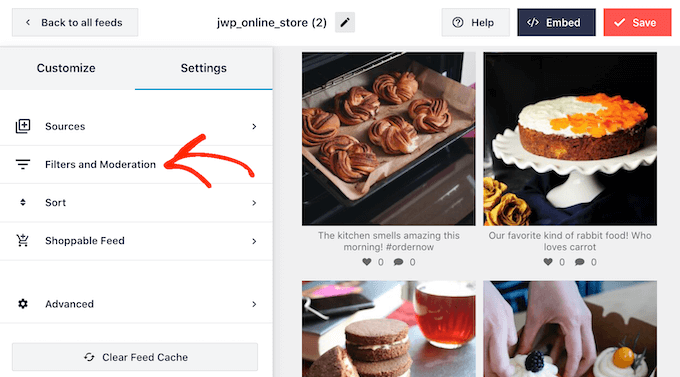
To create a filter in Smash Balloon, select the ‘Settings’ tab.
Then, go ahead and click on ‘Filters and Moderation.’
In the ‘Only show posts containing’ box, type in the hashtags or keywords that you want to use in the filter.
If you want to use multiple words in the filter, then simply separate each hashtag or keyword with a comma.
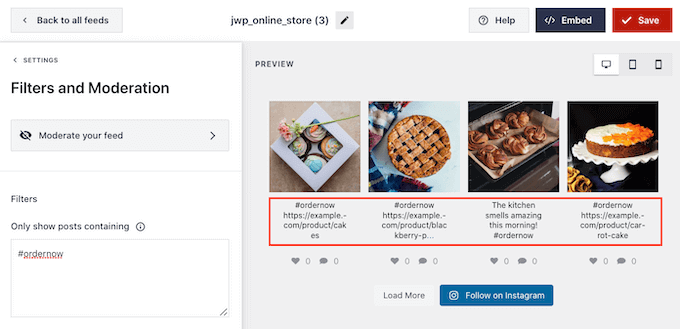
When you’re happy with how the filter is set up, click on the ‘Save’ button.
Just be aware that the preview won’t update straight away, so you’ll need to refresh the page to see the filter in action.
How to Customize Your Shoppable Instagram Feed
When you’re happy with the photos and videos that appear in your shoppable feed, you may want to change how the feed looks.
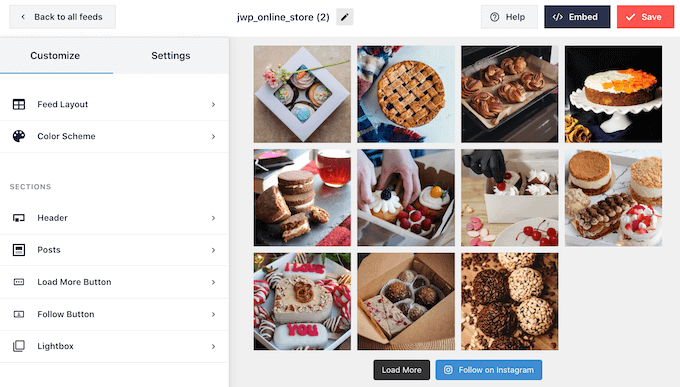
To customize your shoppable Instagram feed, simply click on the ‘Customize’ tab. On the left-hand side are all the settings you can use to change how the shoppable feed looks.

Most of these settings are self-explanatory, but we’ll quickly cover some key areas that can help you get more sales.
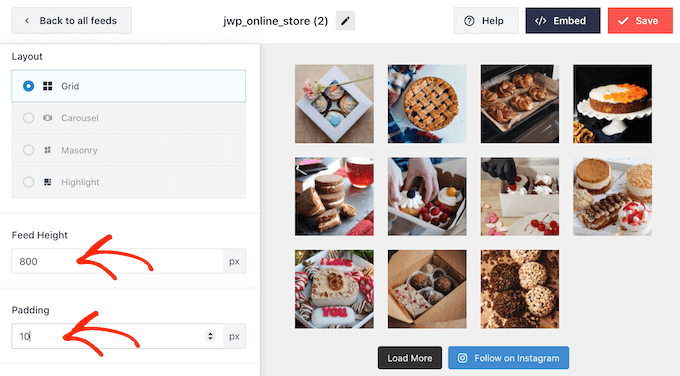
Let’s start at the top, by selecting ‘Feed Layout.’ Here, you can choose different layouts for your shoppable feed, such as carousel and highlight.
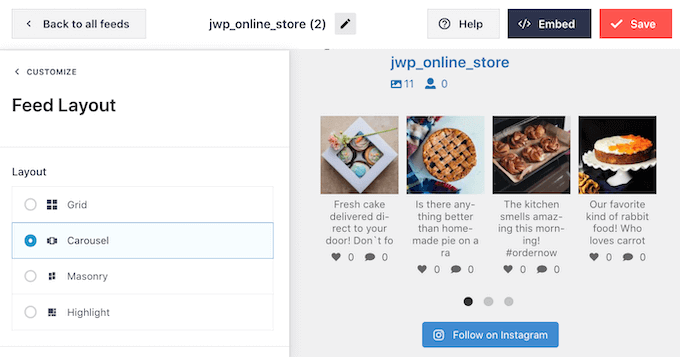
As you make changes, the preview will update automatically so you can try different settings to see what looks the best.
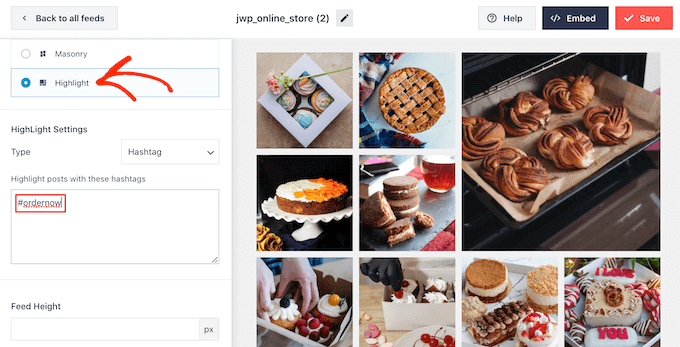
Depending on the layout, you’ll get some extra settings that you can use to fine-tune your feed. For example if you choose ‘Highlight’ then you can tell Smash Balloon to highlight posts based on a pattern, post ID, or a specific hashtag. This is great for highlighting your most popular products.
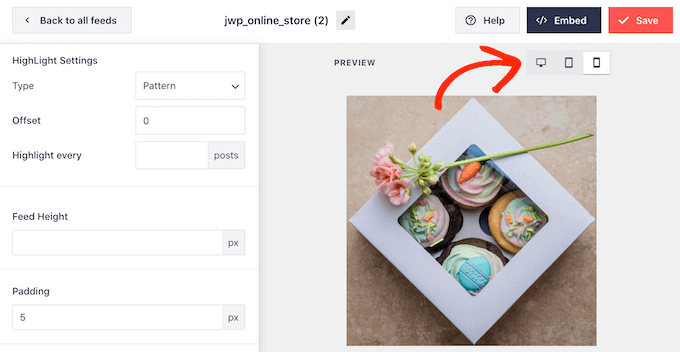
By 2025, it’s estimated that US consumers will spend $710 billion every year shopping on their mobile devices. With that in mind, you’ll want to make sure the shoppable Instagram feed looks just as good on smartphones and tablets, as it does on desktops.
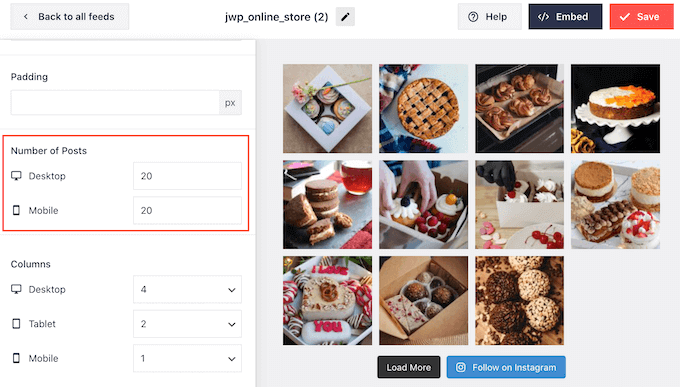
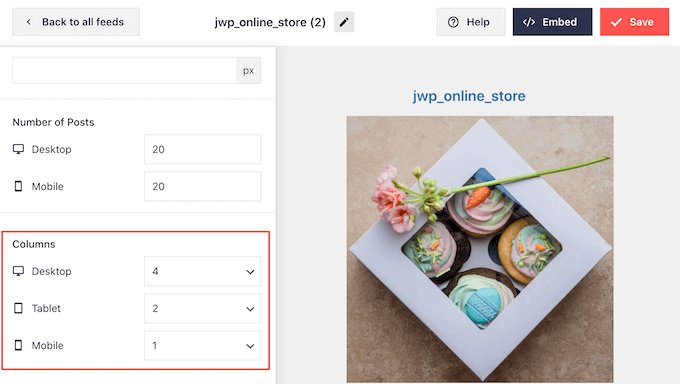
By default, Smash Balloon will show the same number of photos on desktop computers and mobile devices.
You can preview how the shoppable feed will look on desktop computers, tablets, and smartphones using the row of buttons in the upper-right corner.
You can show fewer shoppable photos on mobile devices by changing the settings in the ‘Number of Posts’ and ‘Columns’ sections.
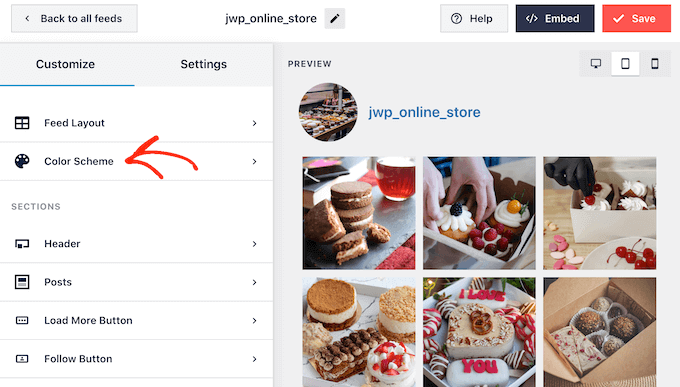
After making any changes, click on the ‘Customize’ link. This will take you back to the main Smash Balloon editor, ready for you to explore the next option, which is ‘Color Scheme.’

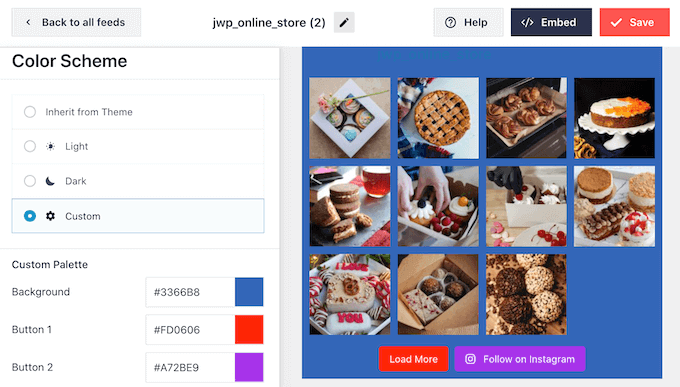
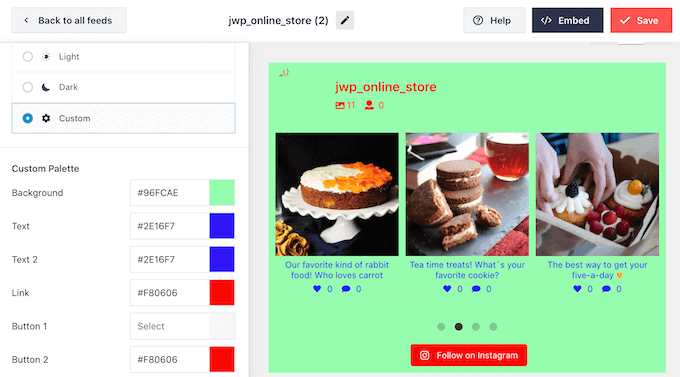
By default, Smash Balloon uses a color scheme inherited from your WordPress theme, but it also has ‘Light’ and ‘Dark’ themes that you may want to use for the shoppable feed instead.
Another option is creating your own color scheme by selecting ‘Custom.’ Then, simply use the controls to change the background color, change the text color in WordPress, and more.
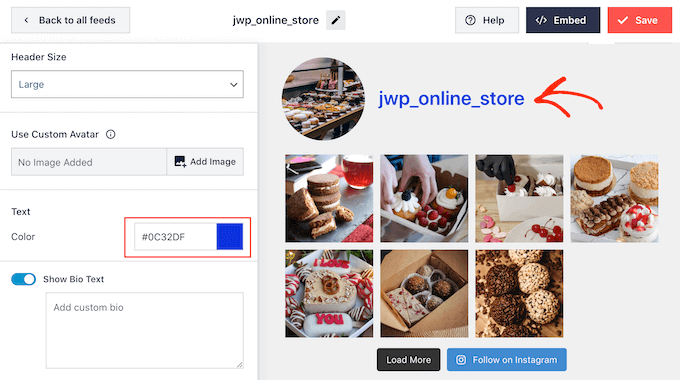
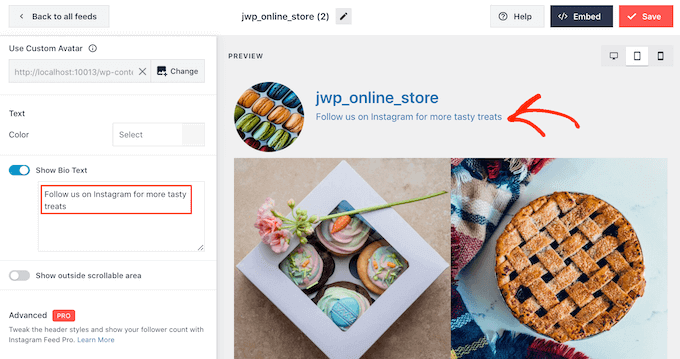
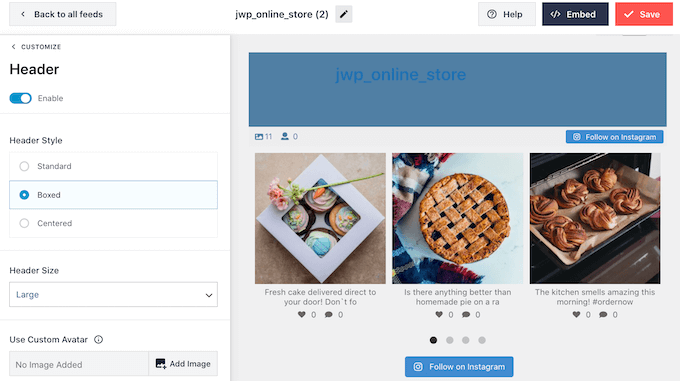
By default, Smash Balloon adds a header to the shoppable feed, which is your profile picture and the name of your page.
To change how this section looks, click on ‘Header’ in the left-hand menu and then use the settings to change the size of your header, add Instagram bio text, and more.
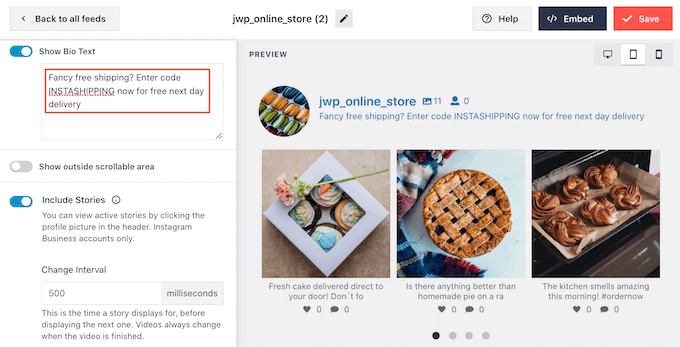
You can also add a different bio. For example, you might encourage people to buy your products, or offer visitors an exclusive coupon code.
For more information on creating these codes, please see our expert pick of the best WordPress coupon code plugins for your online store.
To create a unique Instagram bio, simply type into the ‘Add custom bio’ box.
With that done, click on ‘Customize’ to return to the main Smash Balloon editor.
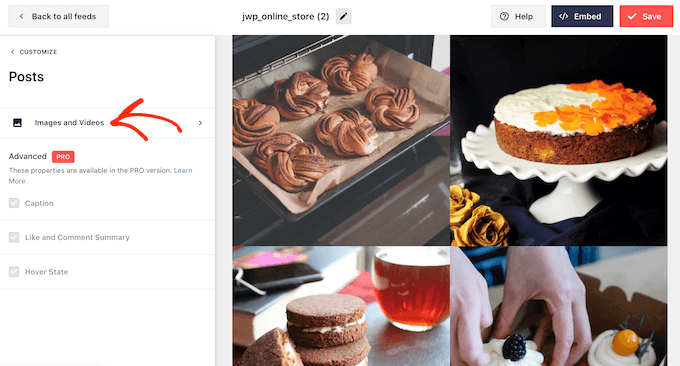
Then, select ‘Posts.’
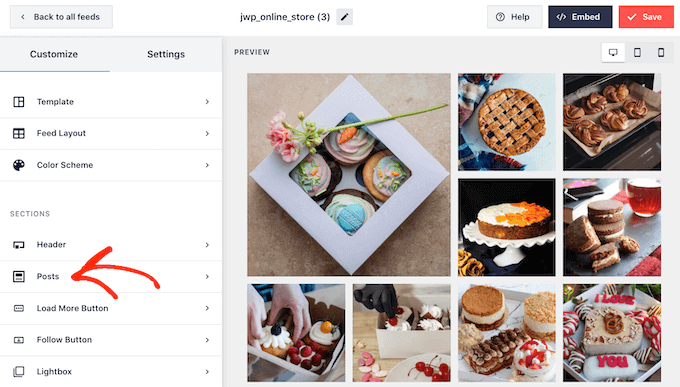
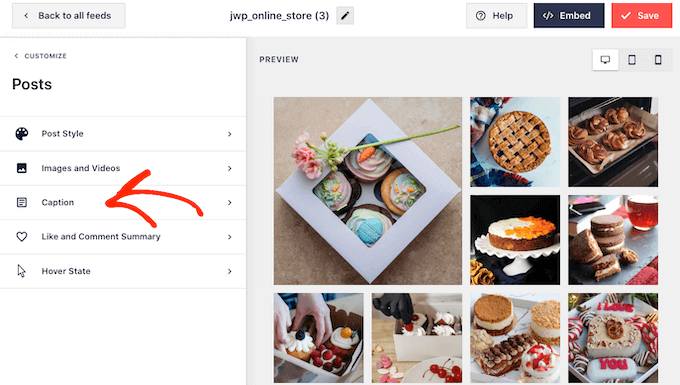
This takes you to a screen that has a few different options.
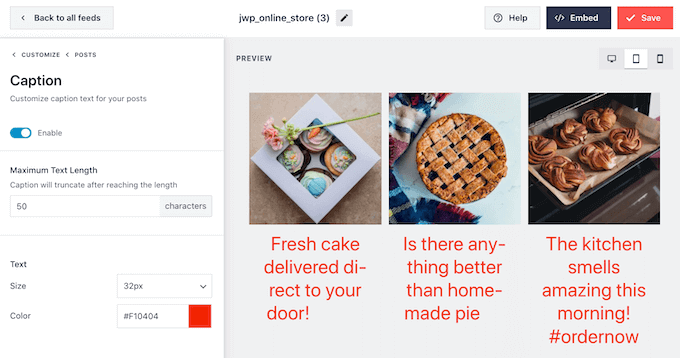
You can look through these settings and make any changes you want, but we’re going to focus on ‘Caption.’
If you added shoppable links to your captions, then it’s important to make the text stand out. For example, you might make the caption bigger.
You might even use a different color for the caption.
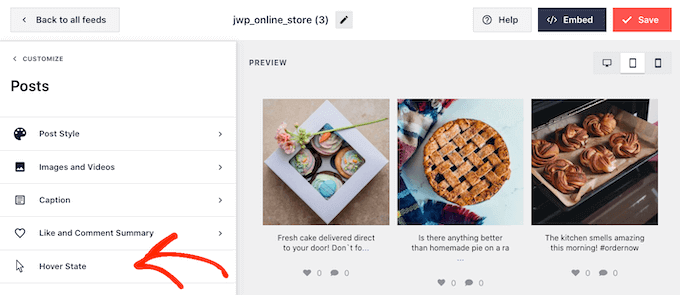
With that done, click on ‘Posts’ to go back to the previous screen.
Here, you’ll also see a ‘Hover State’ option, which is the overlay that Smash Balloon adds to a post when you hover over it.
This allows visitors to see any links in your captions without opening that Instagram post first.
On this screen, you can use the settings to create an eye-catching colored overlay.
After selecting ‘Hover State’ you’ll be able to change the background color and text color that appears when you hover over each post.
Under ‘Information to display,’ you’ll see all the different information that Smash Balloon can show as part of the overlay. Simply check the box next to each piece of information that you want to show.
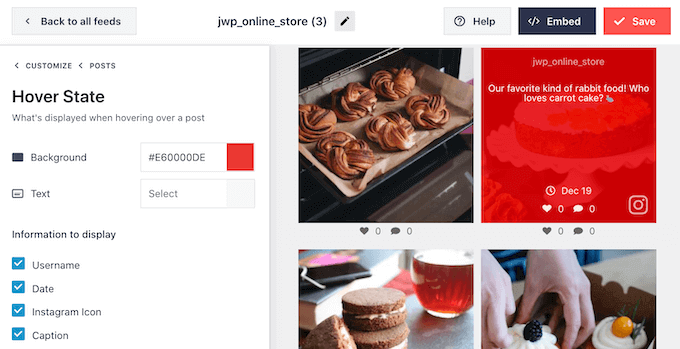
If the caption contains shoppable links, then make sure you leave ‘Caption’ enabled.
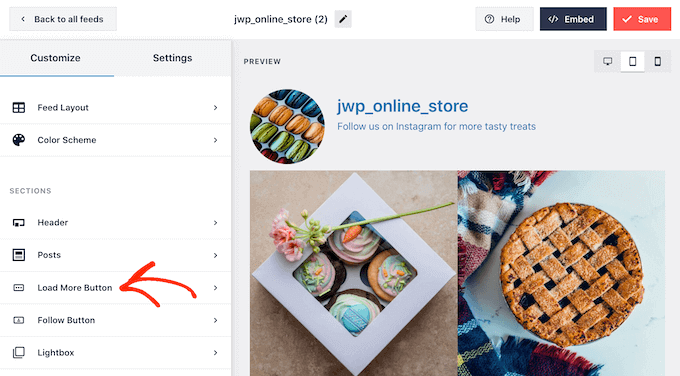
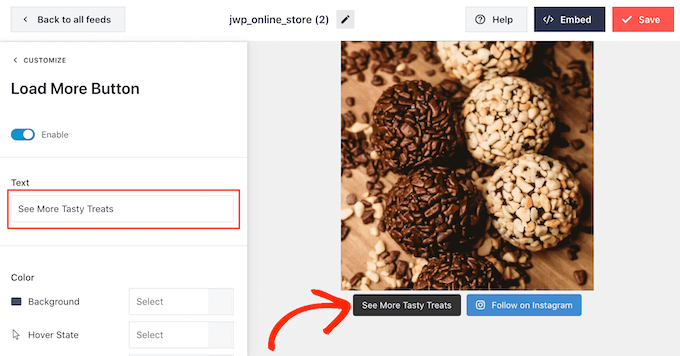
When you’re happy with your changes, click on ‘Customize’ to return to the main Smash Balloon editor screen. You can now select the next option, which is ‘Load More Button.’
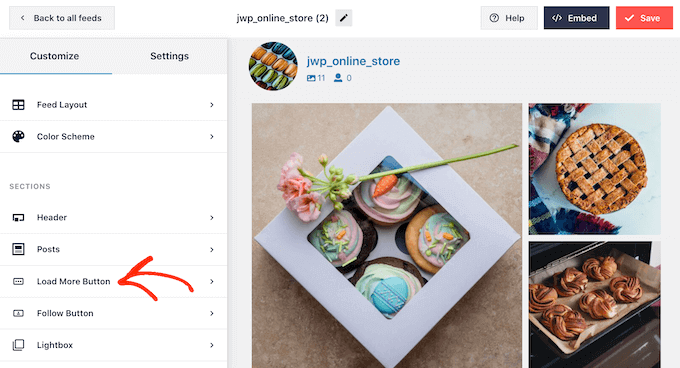
By default, Smash Balloon adds a ‘Load More’ button to the bottom of your Instagram feed so visitors can scroll through your shoppable posts.
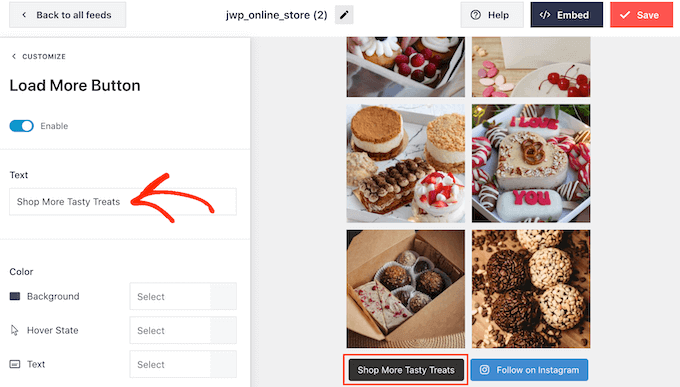
Here, you can change the button’s background color, text color, and hover state.
You can also add your own messaging to the button by typing into the ‘Text’ field.
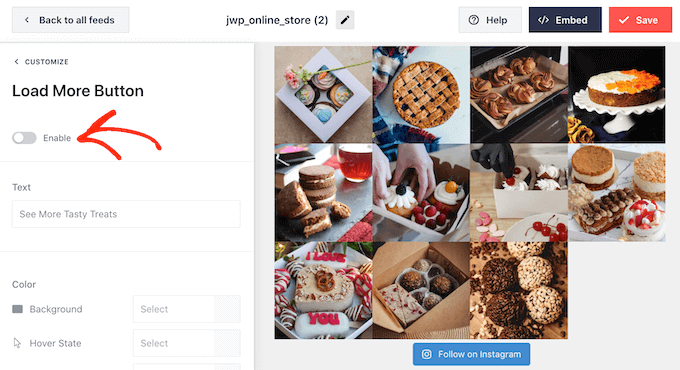
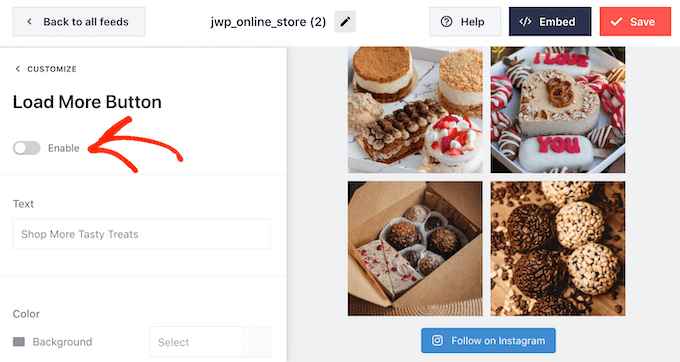
While we recommend leaving the ‘Load More’ button enabled to get more sales, you can remove it. For example, you might encourage people to visit your Instagram page by limiting the number of photos they can see on your site.
To remove the button, simply click on the ‘Enable’ slider to turn it from blue to grey.
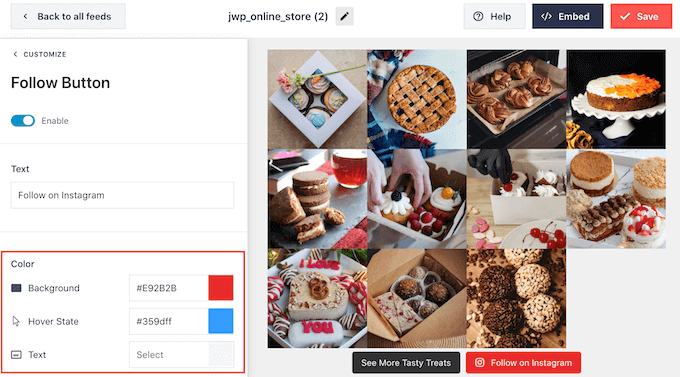
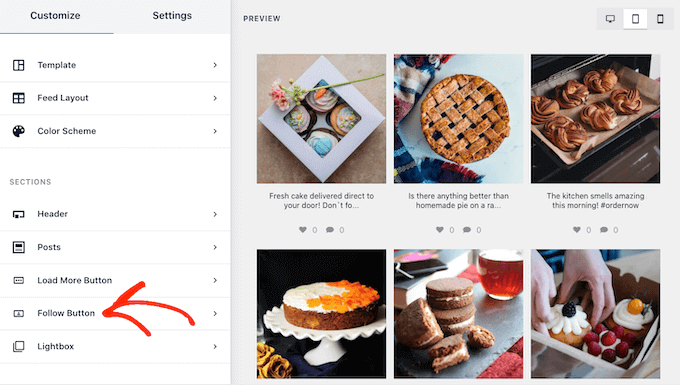
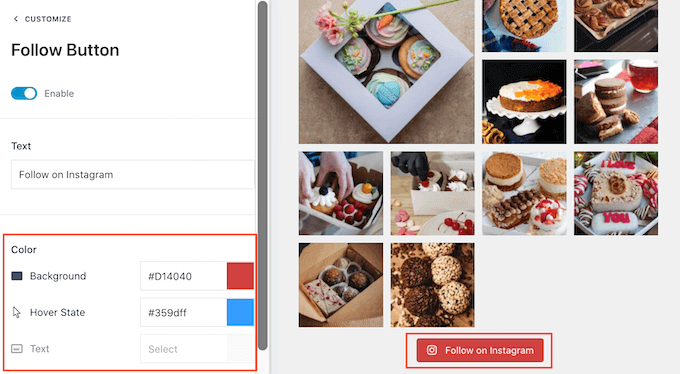
If shoppers like what they see, they may decide to follow you on Instagram using the ‘Follow on Instagram’ button that appears below the shoppable feed.
Since it’s such an important button, you may want to help it stand out by selecting ‘Follow Button’ from the main Smash Balloon editor screen.
Here, you can change the button’s background color, hover state, and text color.
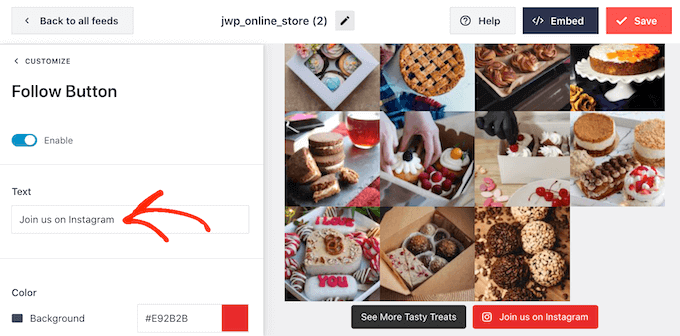
You may also replace the default ‘Follow on Instagram’ text with your own messaging.
As always, when you’re finished with these settings, click on ‘Customize’ to return to the main editor screen.
If you’ve enabled the Smash Balloon shoppable feature, then clicking on any post in the Instagram feed will open a new tab and take them straight to the linked product page.
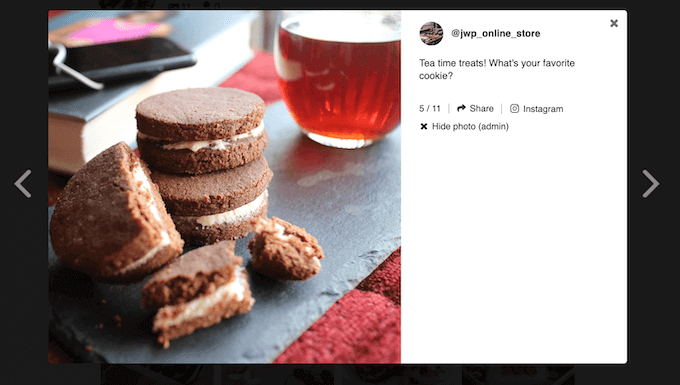
However, if you haven’t enabled the shoppable feature then you may want to take a look at Smash Balloon’s lightbox feature.
This feature allows visitors to open the image or video in a lightbox popup, without leaving your WordPress website. They can then click on any shoppable links in the captions.
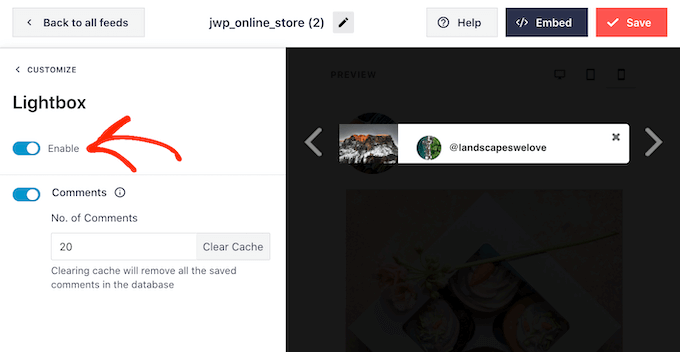
To enable or disable the lightbox, simply select ‘Lightbox’ from the left-hand menu.
Here, you can remove or add this feature using the ‘Enable’ slider.
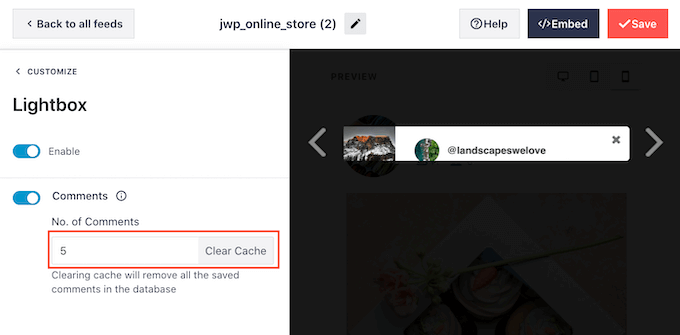
You can also change how many comments Smash Balloon will show in the lightbox. Lots of positive comments can be a powerful form of social proof, which will often help you sell more products and services.
However, they can also be distracting so you may want to type a maximum number into the ‘No. of comments’ box.
Another option is to hide comments completely, by clicking on the ‘Comments’ toggle.
When you’re happy with how the Instagram feed looks, don’t forget to click on ‘Save’ to store your changes. You’re now ready to add the shoppable Instagram feed to your website.
How to Embed Instagram Feed in WordPress
You can add the shoppable feed to your website using a block, widget, or shortcode.
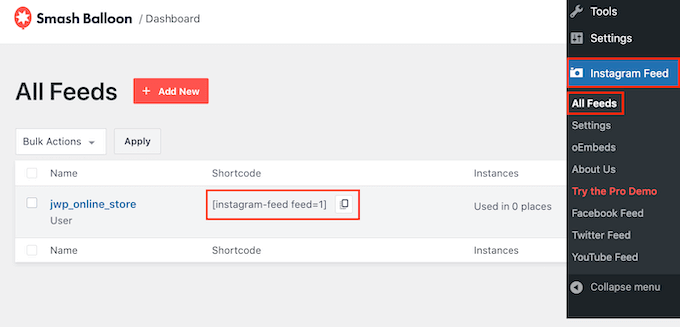
If you’ve created more than one feed using the Smash Balloon plugin, then you’ll need to know the feed’s code if you’re going to use a widget or block.
To get this code, go to Instagram Feed » All Feeds and then copy the value in the ‘Shortcode’ column.

If you want to embed the Instagram feed in a page or post, then we recommend using the Instagram Feed block.
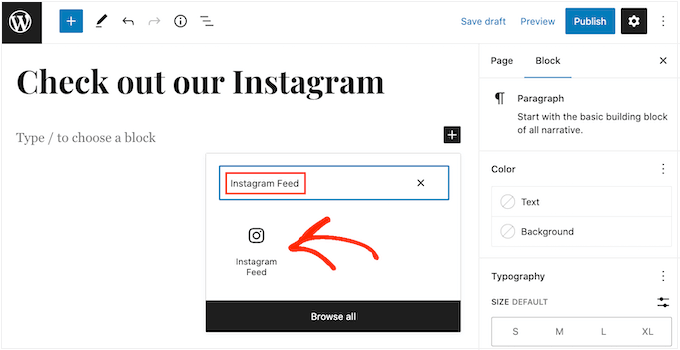
Just open the page or post where you want to embed your shoppable photo and video feed. Then, click on the ‘+’ icon to add a new block and start typing ‘Instagram Feed.’
When the right block appears, click to add it to the page or post.
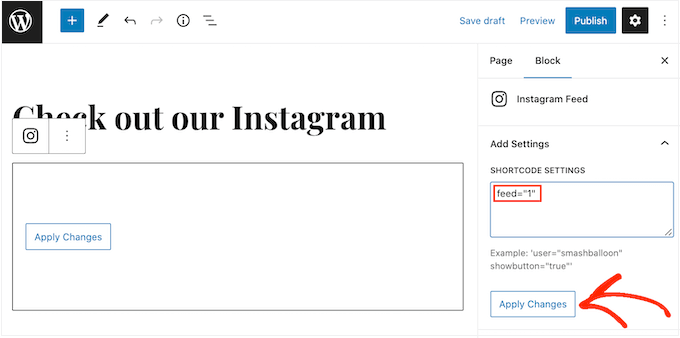
The block will show one of your Smash Balloon feeds by default. If you want to show a different Instagram feed instead, then find ‘Shortcode Settings’ in the right-hand menu.
Here, simply add the shortcode and then click on ‘Apply Changes.’
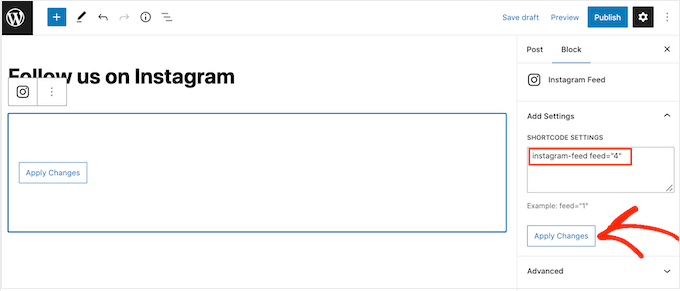
The block will now show all the photos and videos from your Instagram feed. Just publish or update the page to make the feed live on your website.
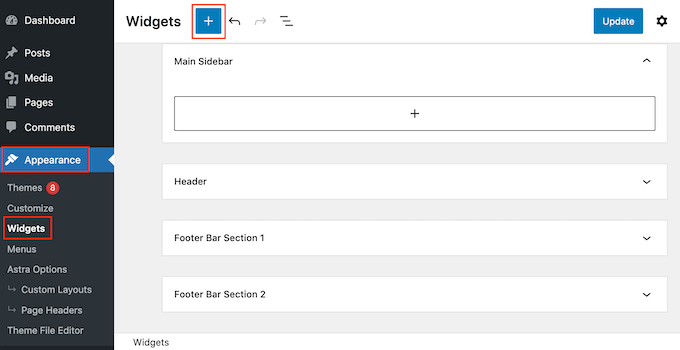
Another option is to add the feed to any widget-ready area, such as the sidebar or similar section. This allows visitors to shop using your Instagram feed from any page of your site.
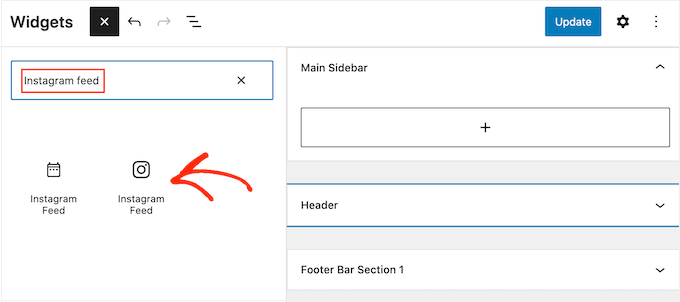
Simply go to Appearance » Widgets in the WordPress dashboard and then click on the blue ‘+’ button.

In the search bar, type in ‘Instagram Feed’ and select the right widget when it appears.
Just be aware that WordPress has a built-in Instagram widget, so make sure you choose the one that shows the official Instagram logo.
Next, simply drag the widget onto the area where you want to show the shoppable Instagram feed, such as the sidebar or similar section.
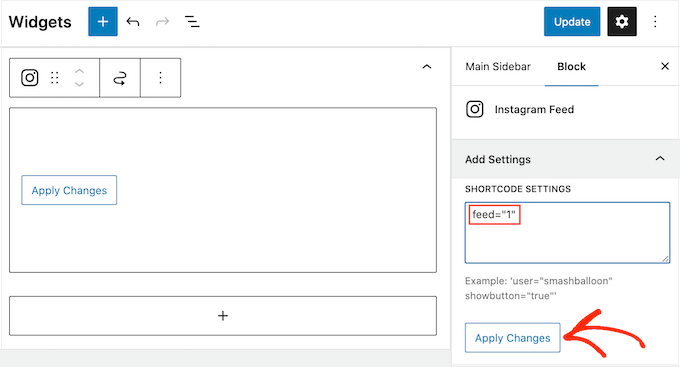
The widget will automatically show one of the feeds you created using Smash Balloon. If this isn’t the shoppable Instagram feed you just created, then type the feed’s code into the ‘Shortcode Settings’ box.
After that, click on ‘Apply Changes.’
You can now make the widget live by clicking on the ‘Update’ button. For more information, please see our step-by-step guide on how to add and use widgets in WordPress.
Another option is embedding the Instagram feed on any page, post, or widget-ready area using a shortcode.
For help placing the shortcode, please see our guide on how to add a shortcode.
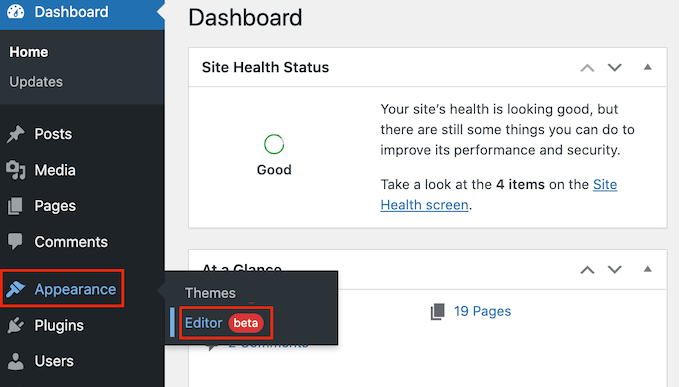
Finally, if you’re using a block-enabled theme, then you can use the full-site editor to add the Instagram Feed block anywhere on your website.
In your dashboard, simply go to Appearance » Editor.
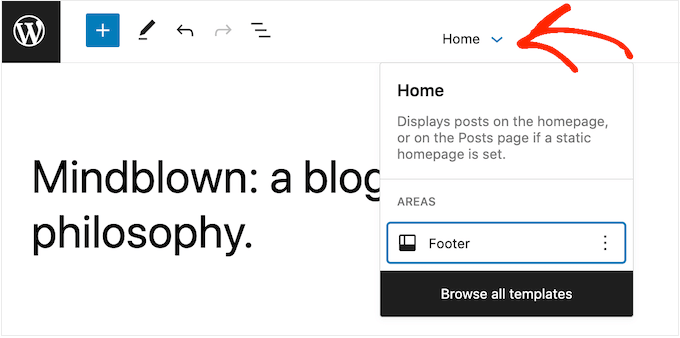
By default, the full-site editor will show the theme’s home template. If you want to add the shoppable feed to a different template, then click on the arrow next to ‘Home.’
You can then choose any design from the dropdown, such as the footer template.

If you don’t see the template in the list, select ‘Browse all templates.’
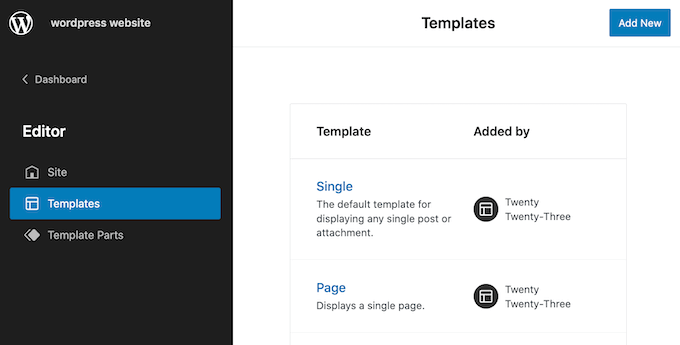
The full-site editor will now show a list of all the templates you can edit. Simply click on the template where you want to show the shoppable Instagram feed.

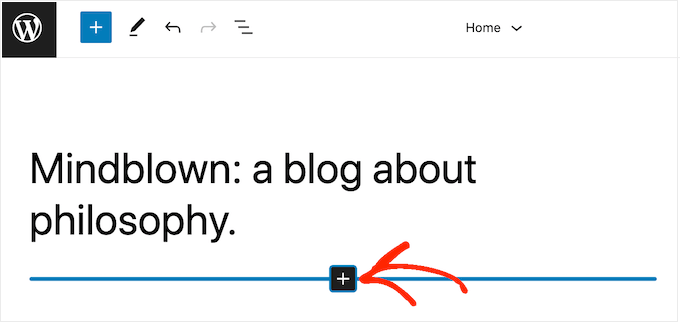
After choosing a template, just hover your mouse over the area where you want to add the shoppable Instagram feed.
Then, click on the ‘+’ button.
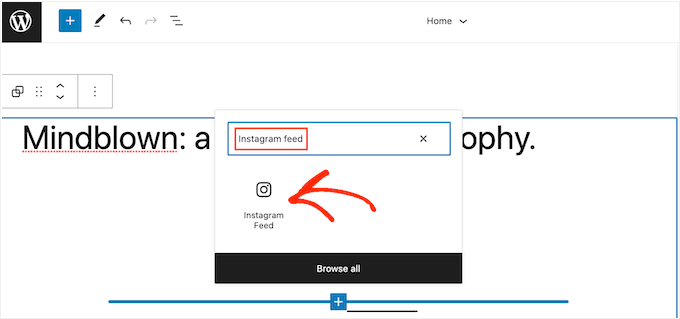
After that, start typing in ‘Instagram Feed.’
When the right block appears, click to add it to the template.
As always, Smash Balloon will show a feed by default. You can change this feed by adding a shortcode following the same process described above.
We hope this article helped you learn how to add Instagram shoppable images in WordPress. You may also want to see our guide on how to create a free business email address, or see our expert pick of the best WooCommerce plugins for your store.
If you liked this article, then please subscribe to our YouTube Channel for WordPress video tutorials. You can also find us on Twitter and Facebook.
The post How to Add Instagram Shoppable Images in WordPress first appeared on WPBeginner.