Do you want to add CAPTCHA to your WordPress site’s login and registration forms?
WordPress login and user registration pages are often prime targets for hackers, spammers, and brute force attacks. One way to avoid these attacks is by using CAPTCHA, which effectively blocks spambots and protects your site from being hacked.
In this article, we will show you how to add CAPTCHA to WordPress login and registration forms.
What Is CAPTCHA?
A CAPTCHA is a computer program that can tell whether someone is a human or an automated user. It does that by showing a test that would be quite easy for a human user to pass but almost impossible for automated scripts or bots to get right.
In the earlier days of CAPTCHA, users were asked to enter the text they saw in an image. This image displayed random letters, words, or numbers in a distorted style.

Later, a newer technology called reCAPTCHA was introduced.
It showed random words as a challenge and used user input to help digitalize books.

This technology was acquired by Google in 2009. Since then, it has helped digitalize thousands of books and complete New York Times archives.
However, these new CAPTCHAs were still annoying and often ruined the user experience on websites.
To fix this, Google introduced ‘No CAPTCHA reCAPTCHA’, which uses artificial intelligence (AI) and user interactions to catch spambots.

It shows an easier checkbox for human users to click on. For other suspicious traffic, it will show a more difficult CAPTCHA, like identifying objects in images.
That being said, let’s take a look at how WordPress websites can improve security with CAPTCHA.
Why Use CAPTCHA for WordPress Login and Registration?
WordPress login and registration pages are an easy target for spammers, wannabe hackers, and brute force attacks.
That’s because WordPress is the most popular website builder in the world, which makes it a common target for malicious attempts.
The attacker’s motivation is often to get unauthorized access to your WordPress admin area to distribute malware. In other cases, the attacker can crash the entire network of websites hosted with a specific web hosting company to collect a ransom.
The easiest solution to protect your WordPress site is using a WordPress firewall plugin like Sucuri. It will block bad traffic from reaching your website and prevent unauthorized access.
Another solution is to add a secondary layer of password protection on WordPress login and registration pages. However, the problem with this method is that you will have to share that second password with each user, and this simply doesn’t scale for large multi-author blogs or membership sites.
CAPTCHA provides an easier alternative to those solutions. It uses Google’s AI technologies to detect genuine visitors and present CAPTCHA challenges to suspicious users.
Default vs. Custom WordPress Login and Registration Form
The default WordPress login and registration form provides a basic set of features.
The login page allows users to access the back end of your website according to their respective user roles and permissions.

The default WordPress registration form lets visitors create an account on your site. Once they are registered, they can also log in to your website’s back end and perform specific tasks allowed by their user role.
A lot of website owners want to customize the default WordPress login and registration page with their own logos, styles, and more. They use one of the many plugins to create their own custom login and registration page to replace the default ones.
Whether you are using the default pages or custom ones, we have got you covered.
In this guide, we will show you how to set up reCAPTCHA for both default and custom login and registration pages in WordPress. You can click the links below to jump ahead to any section:
reCAPTCHA in Default WordPress Login and Registration Forms
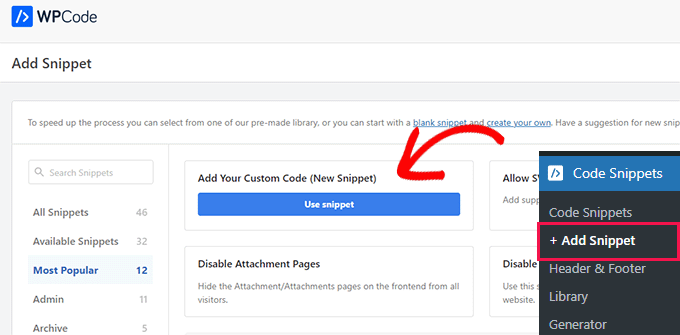
The first thing you need to do is install and activate the CAPTCHA 4WP plugin. For more details, see our step-by-step guide on how to install a WordPress plugin.
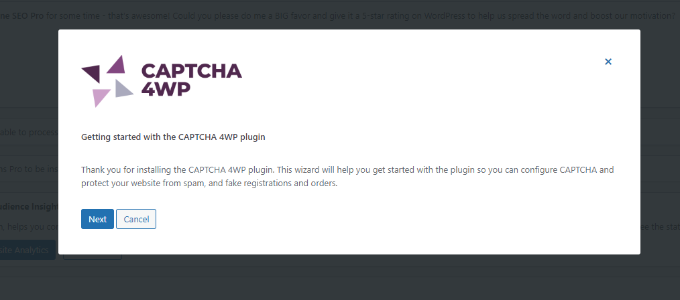
Once the plugin is activated, you need to visit the CAPTCHA 4WP » CAPTCHA Configuration page from your admin panel.
You will then see a setup wizard. Simply click the ‘Next’ button to continue.
After that, you will need to select the type of reCAPTCHA you’d like to use.
There are 3 options to choose from, including Version 2, where users can check the ‘I am not a robot’ checkbox, or Version 2, where no user interaction is needed, but a CAPTCHA will appear for suspicious traffic. Finally, Version 3 verifies requests with a score without user interaction.
For this tutorial, we will select the ‘Version 2 (Users have to check the “I’m not a robot” checkbox)’ type.
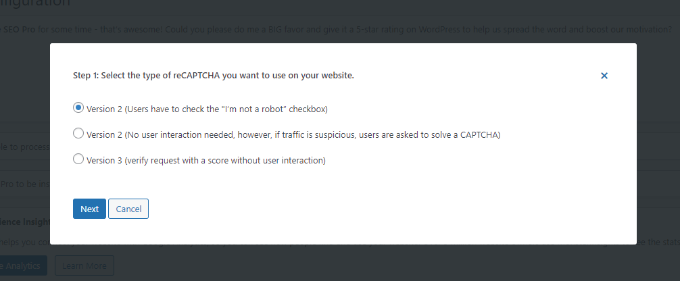
Once that’s done, click the ‘Next’ button.
On the next screen, you will need to enter the Google reCAPTCHA site and secret key.
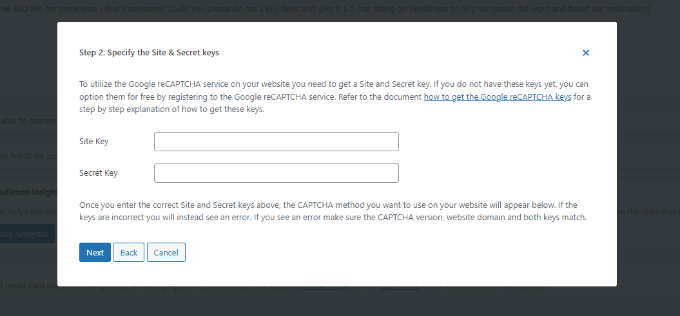
To get these Google reCAPTCHA API keys, you need to visit the reCAPTCHA website.
Then, click on the ‘v3 Admin Console’ option at the top.

On the next screen, Google will ask you to sign in to your account. Once you are logged in, you will see the Register a new site page.
First, you need to enter your website name in the ‘Label’ field. After that, you must select a reCAPTCHA type. For example, we will choose the reCAPTCHA v2 ‘I’m not a robot’ checkbox.

Next, you need to enter your domain name in the ‘Domains’ section.
Make sure to enter your domain name without the ‘https://www’ part.

Once done, just click on the ‘Submit’ button.
Next, you will see a success message along with the site key and secret key that you can use on your WordPress website.

You can copy the site and secret keys.
Next, you will need to return to the browser tab or window where the CAPTCHA 4WP setup wizard is open. From here, you can enter the Google CAPTCHA site key and secret key.
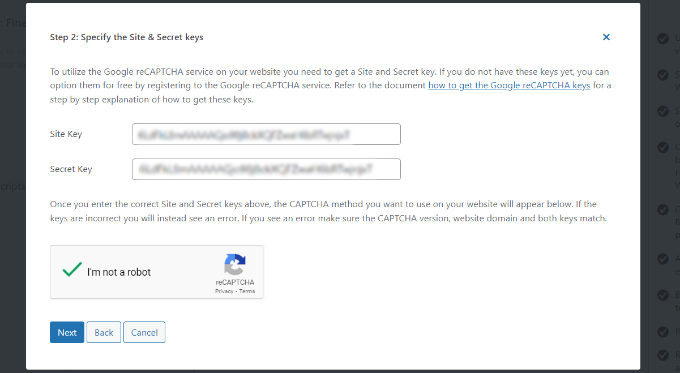
Once you are done, you will need to check the ‘I’m not a robot’ checkbox and click the ‘Next’ button.
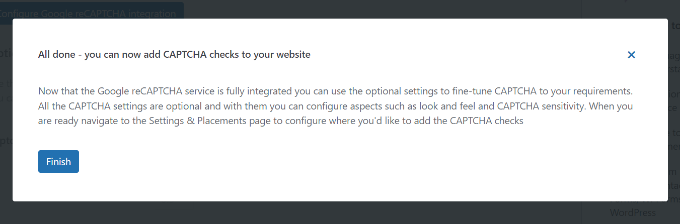
Then, you will see a success message. Simply click the ‘Finish’ button.
After that, you can configure additional CAPTCHA 4WP settings.
For instance, there are options to change the language, edit the error message, select a theme, and more.
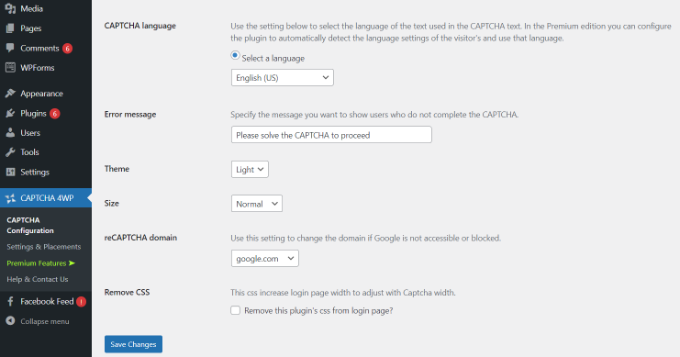
When you are done, simply click the ‘Save Changes’ button.
That’s it! You have successfully added reCAPTCHA in the default WordPress login and registration form.
To preview it, you can open your WordPress login URL in your browser. For example, www.example.com/wp-login.php.

If you want to check the reCAPTCHA in the registration form, then just click on the ‘Register’ link below the login form. After that, the WordPress registration form will open, and you can see how reCAPTCHA works.
reCAPTCHA in Custom WordPress Login and Registration Forms
As we mentioned earlier, custom WordPress login and registration forms offer more user-friendly membership options to your website’s members and visitors.
First, these forms allow users to register or log in to your website from the front end. This improves the user experience and lets you keep the same overall design experience across your website.
Next, you can add your website logo and customize the login and registration pages in your style.
Plus, creating a custom WordPress login form and user registration form is easy with the most user-friendly WordPress form plugin, WPForms. It is the best contact form plugin for WordPress.

For this tutorial, we will use the WPForms Pro version because it includes the User Registration addon and more customization options. However, there is also a free WPForms Lite version you can use to get started.
To get started, you need to install and activate the WPForms plugin on your WordPress site. For more details, see our step-by-step guide on how to install a WordPress plugin.
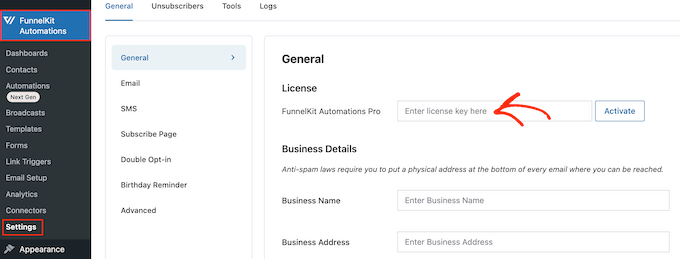
Upon activation, head over to the WPForms » Settings page to enter your WPForms license key. You can get this key from your account area on the WPForms website.

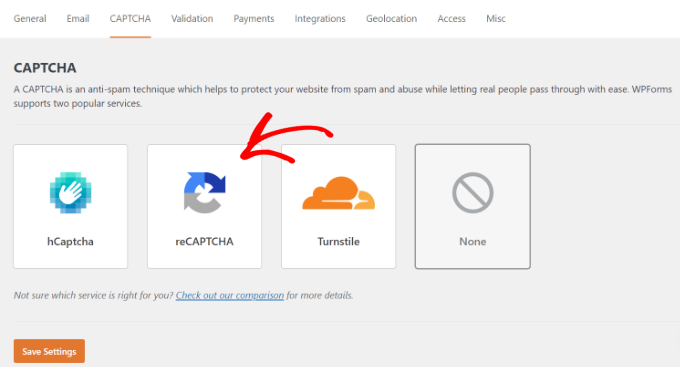
After that, click on the ‘CAPTCHA’ tab at the top to configure reCAPTCHA for your custom-made WordPress forms.
First, you need to choose a CAPTCHA type. Go ahead and click on the ‘reCAPTCHA’ option.
Since we chose v2 earlier, we will choose reCAPTCHA v3 in this example so that you can see the different options.
However, our recommendation is still v2.

After that, you will see the site key and secret key fields. To get these keys, you need to register your site on the Google reCAPTCHA website.
Just go to the Google reCAPTCHA website and then click on the ‘v3 Admin Console’ button in the top right corner.
After that, Google will ask you to sign in to your account. Once done, you will see the ‘Register a new site’ page.
Next, you can enter your website name and then select ‘Score based (v3)’ from the reCAPTCHA types.

Next, you need to enter your domain name (without https://www.), as shown in the screenshot below.
Once done, simply click on the ‘Submit’ button.
After that, Google will show a success message along with the site key and the secret key to add reCAPTCHA to your site.
Go ahead and copy these keys.
Now that you have the Google reCAPTCHA API keys, you need to return to the browser tab or window where the WPForms reCAPTCHA settings are open.
Next, simply go to the reCAPTCHA tab and enter the site key and secret key. Once that’s done, you can save your settings.

Now that you have successfully added reCAPTCHA to WPForms, you can easily enable reCAPTCHA in your custom login form, user registration form, or any form built with WPForms.
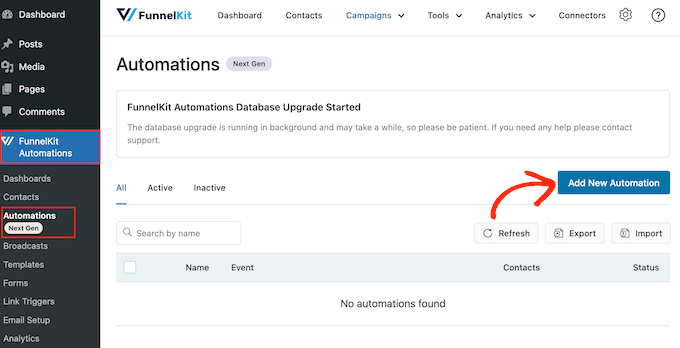
Now let’s go ahead and create a custom WordPress registration form.
First, you must visit the WPForms » Addons page and find the User Registration Addon. From here, click the ‘Install Addon’ button.

After that, WPForms will download and install the addon. Once you see the User Registration Addon’s status is ‘Active,’ you are ready to add a new user registration form.
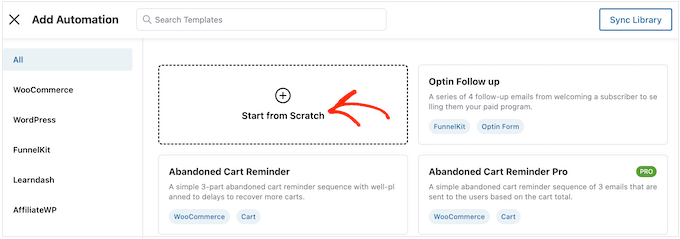
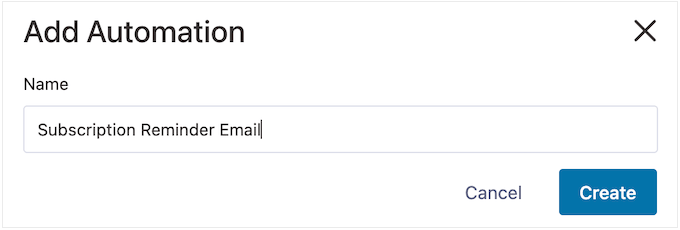
Now you need to go to WPForms » Add New to launch the WPForms Builder. On the WPForms setup page, select the ‘User Registration Form’ template and enter a name for your form.

Once you select a template, it will launch the WPForms drag-and-drop form builder.
After that, WPForms will automatically build a custom user registration form and open the form setup page.

Now, you can customize your form by adding new fields or editing the field options. If you like the default form, then you can use it without making any changes.
Next, you need to go to the ‘Settings’ tab in the left menu to configure your form settings. Then switch to the ‘Spam Protection and Security’ settings and enable Google v3 reCAPTCHA.

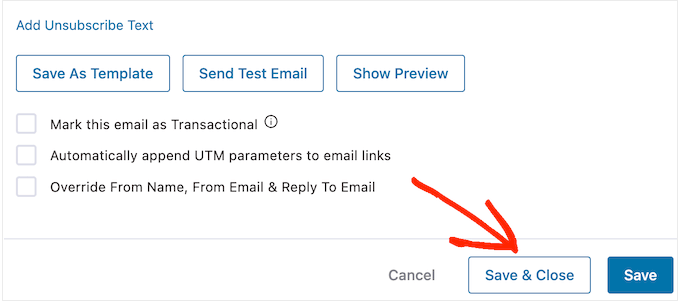
Once that’s done, just click the ‘Save’ button in the top right corner.
That’s it! You have created a custom WordPress user registration form and also added reCAPTCHA to it.
The next thing you need to do is add the custom user registration form on your website. You can do that by clicking the ‘Embed’ button in the form builder.

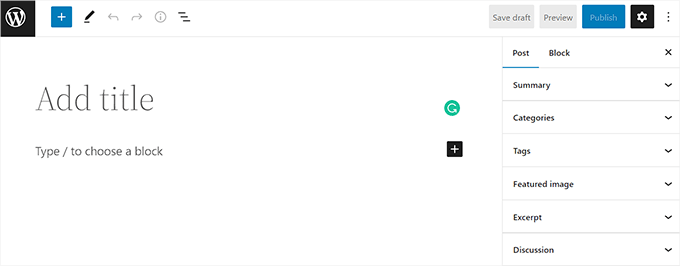
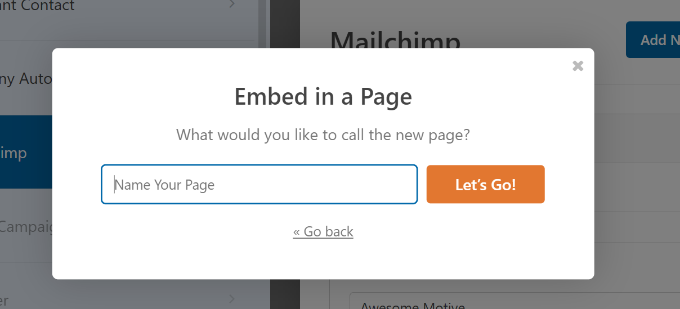
Next, you will need to select an existing page or create a new one to embed your form.
For this tutorial, we will use the ‘Create New Page’ option.

After that, you can enter a name for your new page.
Once that’s done, simply click the ‘Let’s Go’ button.
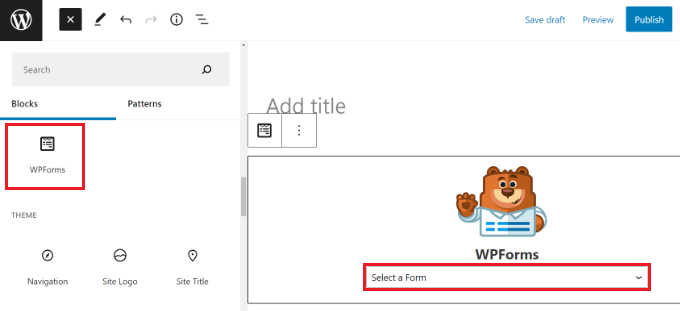
Next, you will see a preview of your registration form in the content editor.
Alternatively, you can also use the WPForms block to add your form.
Now, you can publish the page and visit it in your web browser to see the custom user registration form with Google reCAPTCHA in action.
Since we chose reCAPTCHA v3 in this example, you won’t see a Google reCAPTCHA checkbox like ‘I’m not a robot.’ This is because reCAPTCHA v3 works in the background, but you will still see a small badge in the bottom right corner.

The process of creating a custom login form is almost the same.
The only difference is that you need to choose the User Login Form template from the WPForms setup page.

For more details, you can see our guide on how to create a custom login page in WordPress.
We hope this article helped you to learn how to add CAPTCHA to WordPress login and registration forms. You may also want to see our ultimate WordPress security guide and our expert picks for the best WordPress security plugins.
If you liked this article, then please subscribe to our YouTube Channel for WordPress video tutorials. You can also find us on Twitter and Facebook.
The post How to Add CAPTCHA in WordPress Login and Registration Form first appeared on WPBeginner.