Do you want to add custom shape dividers to your WordPress website?
Shape dividers can organize your content in an engaging and eye-catching way. They can also highlight your site’s most important content, so visitors and customers don’t miss out on crucial information.
In this article, we will show you how to create a custom shape divider in WordPress.
Why Create a Custom Shape Divider in WordPress?
A shape divider is a type of section divider that you add between blocks of content.
These dividers can be simple, such as a horizontal line created with built-in WordPress blocks.
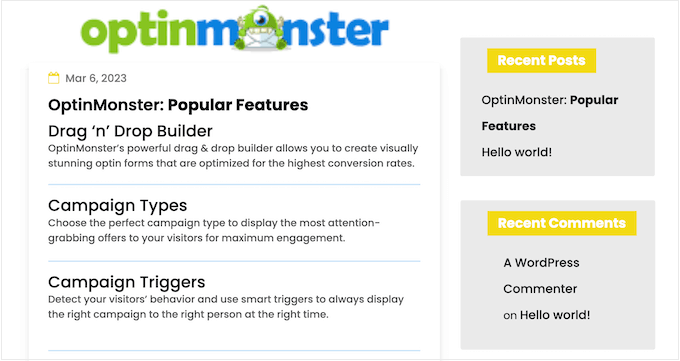
You can use these basic dividers to organize and separate content, which is particularly useful on pages that cover lots of different topics.
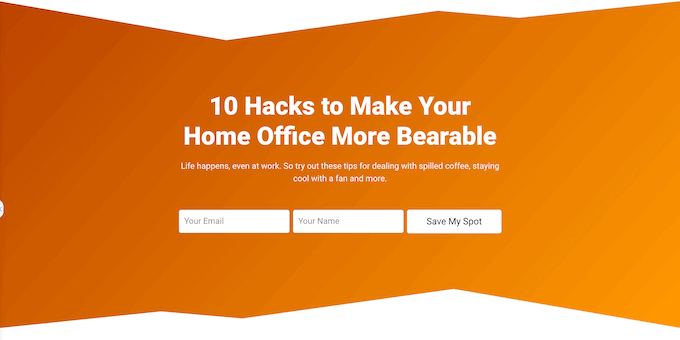
You can also create more advanced shape dividers using page builder plugins and other web design software. These can highlight your site’s most important content so it stands out to visitors and customers.

A professional-looking shape divider can also make a page more interesting and engaging.
For example, you might use them to create a unique background for your email newsletter signup form.
With that being said, let’s see how you can create a custom shape divider in WordPress. Simply use the quick links below to jump straight to the method you want to use.
Method 1. Create a Simple Shape Divider (No Plugin Required)
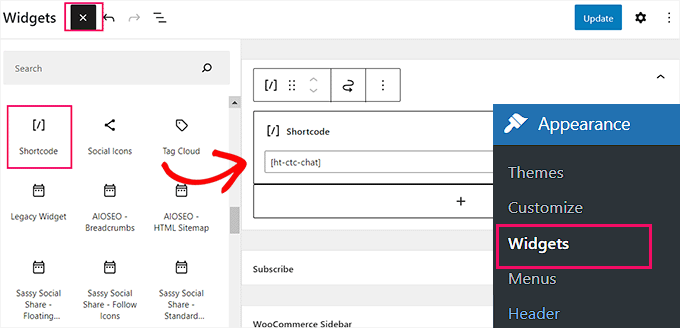
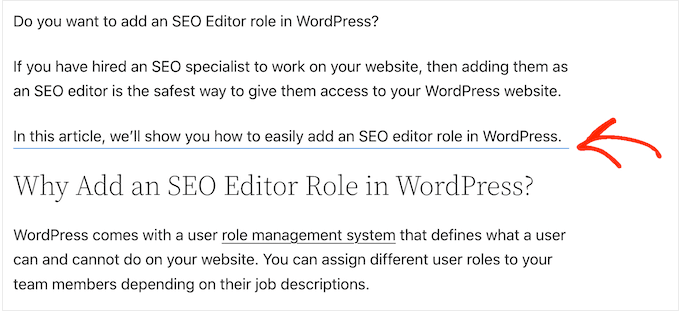
The easiest way to add a custom shape divider to WordPress is by using the built-in Separator block.
This method allows you to add a horizontal line separator in between any WordPress blocks, and then customize the line’s color and style.
This method doesn’t let you add different shapes to WordPress and has limited customization settings. However, you won’t need to install an extra WordPress plugin, so this is the easiest way to add a simple shape divider to your website.
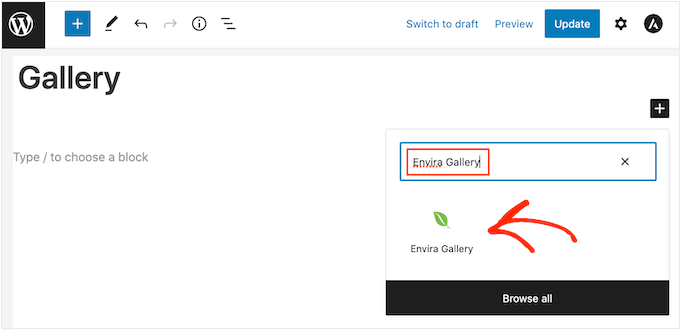
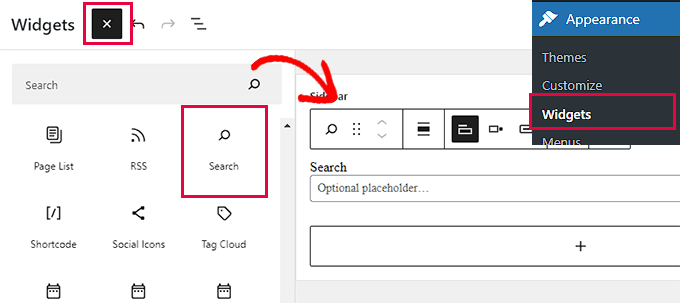
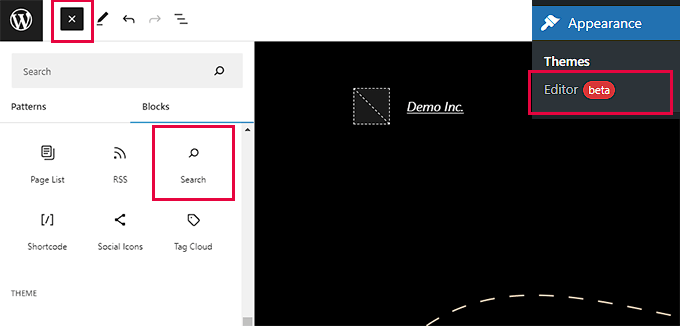
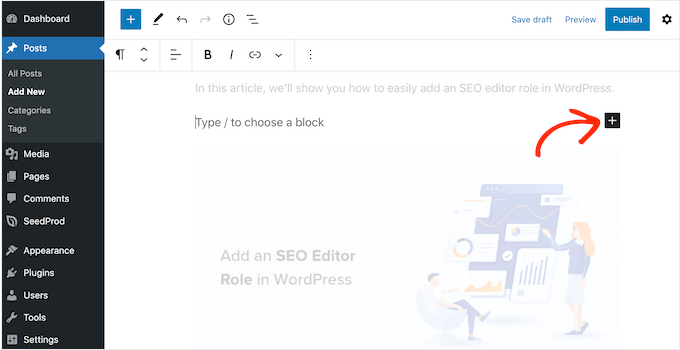
To get started, simply open the post or page where you want to add an horizontal divider in the content editor. Then, click on the ‘+’ button where you want to place that divider.
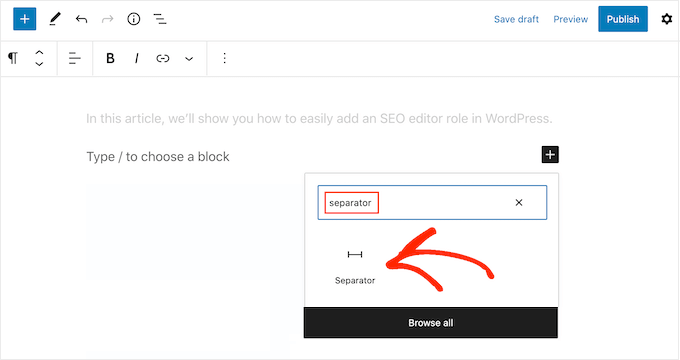
In the popup, type in ‘Separator.’
When the right block appears, click to add it to the page or post.
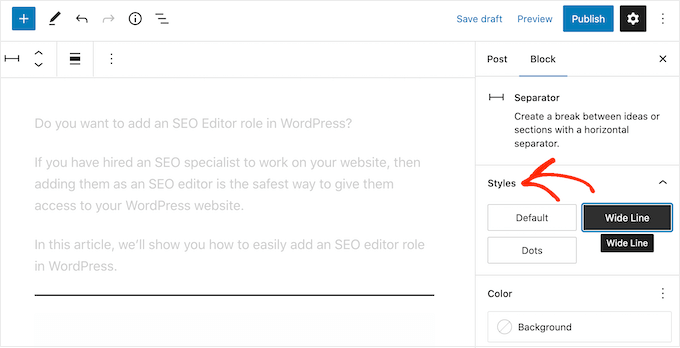
To customize the default Separator block, give it a click and then use the settings in the right-hand menu.
You can switch between default, wide line, and dots using the buttons in the ‘Styles’ section.
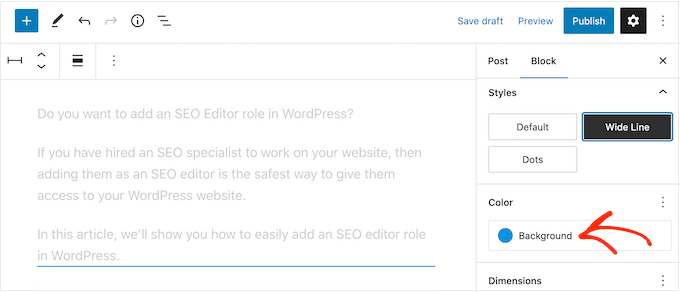
You can also change the line’s color so that it matches the rest of your theme or branding.
To do this, click on ‘Background’ and then choose a color from the popup that appears.
When you’re happy with how the divider looks, you can either click on the ‘Publish’ or ‘Update’ button to make the shape divider live.
Method 2. Create a Custom Shape Divider in WordPress Using a Page Builder (Recommended)
If you are looking to use different shape and customize every part of your dividers, then we recommend using the SeedProd plugin.
SeedProd is the best WordPress page builder plugin on the market, and it allows you to add a custom shape divider to any section, row, or column using a simple drag-and-drop editor.
It also comes with over 180 professionally-designed templates and more than 90 blocks that you can use to create beautiful custom home pages, landing pages, and more.
Note: There is a free version of SeedProd on available on WordPress.org, but we’ll be using the Pro version since it comes with a wide range of shape dividers.
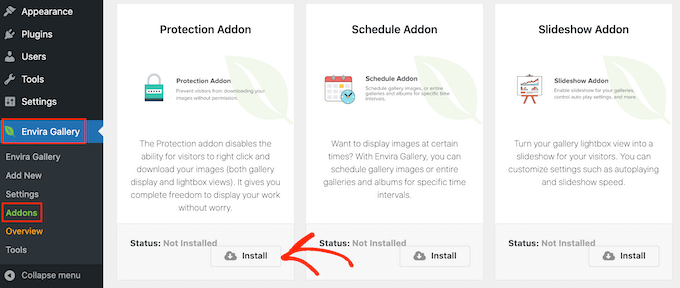
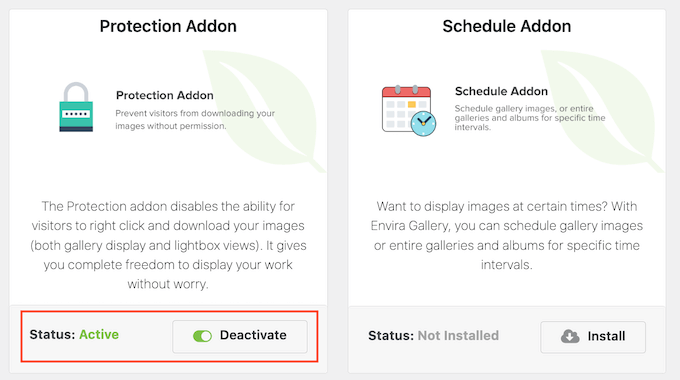
The first thing you need to do is install and activate the SeedProd plugin. For more details, see our step-by-step guide on how to install a WordPress plugin.
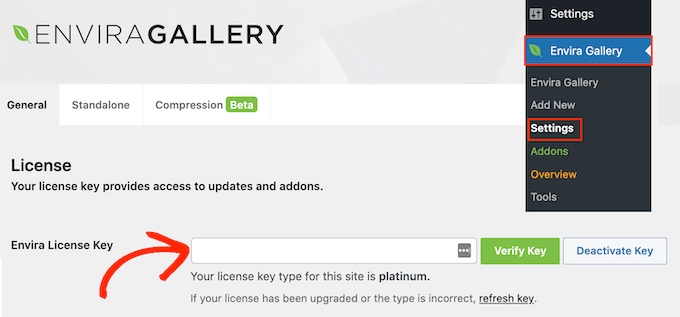
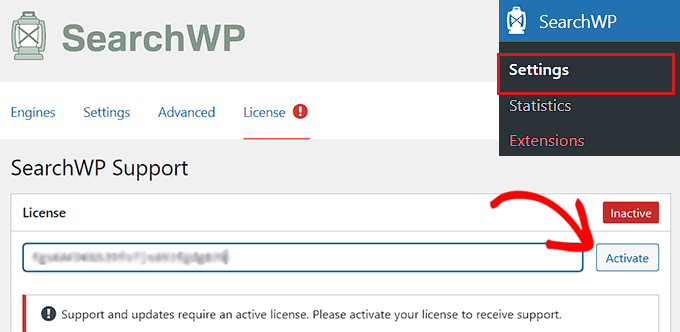
Upon activation, you need to enter your license key.
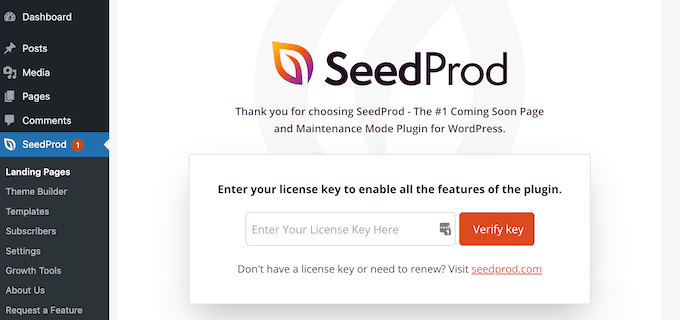
You can find this information under your account on the SeedProd website. After entering the license key, click on the ‘Verify Key’ button.
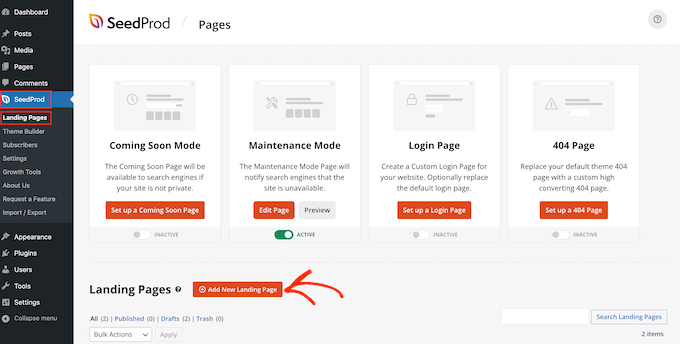
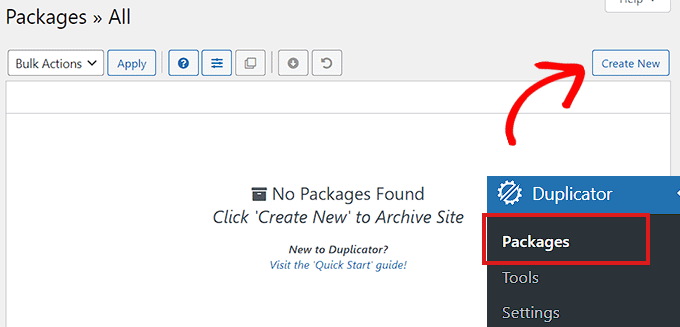
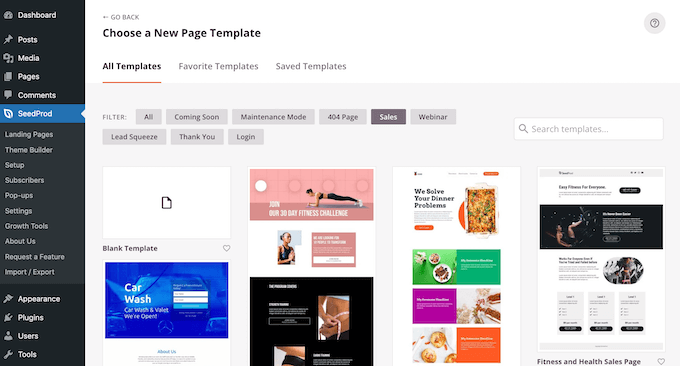
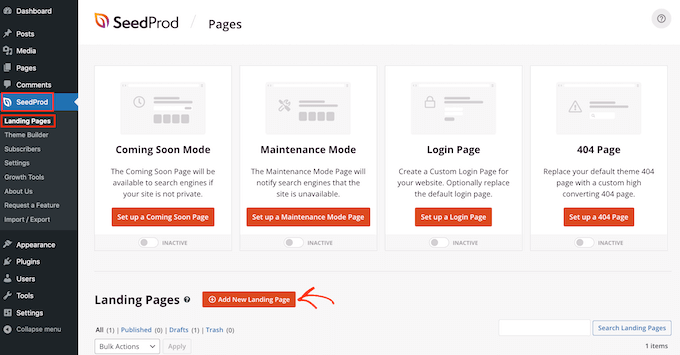
With that done, go to SeedProd » Pages and click on the ‘Add New Landing Page’ button.
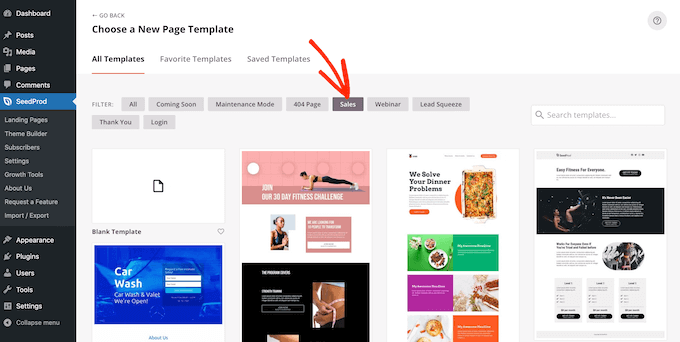
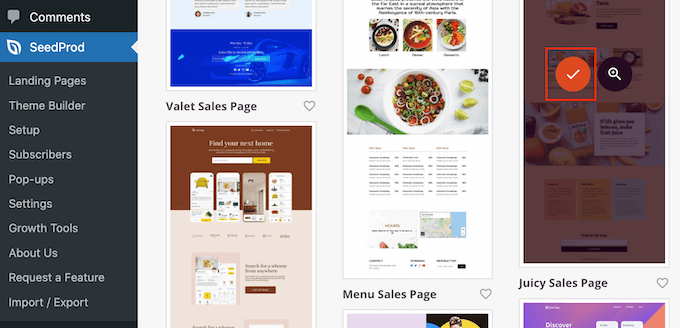
After that, it’s time to choose a page design template. SeedProd has a ton of professionally-designed templates that you can fine-tune to perfectly suit your WordPress website.
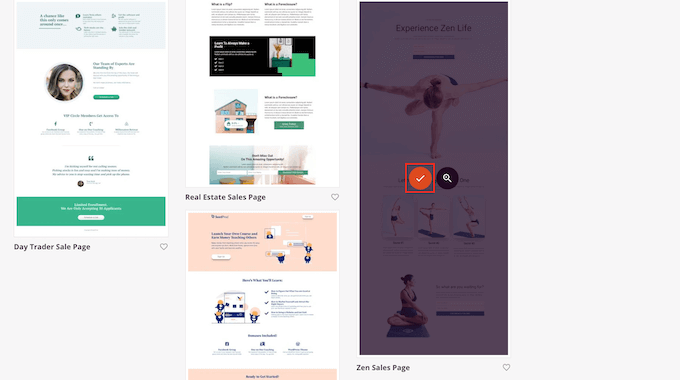
To select a template, simply hover your mouse over it and then click the ‘Checkmark’ icon.
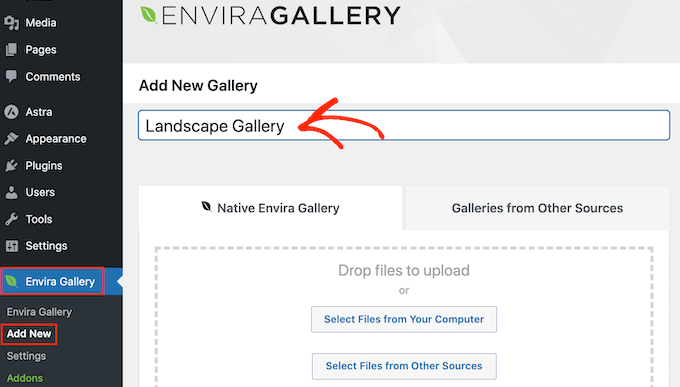
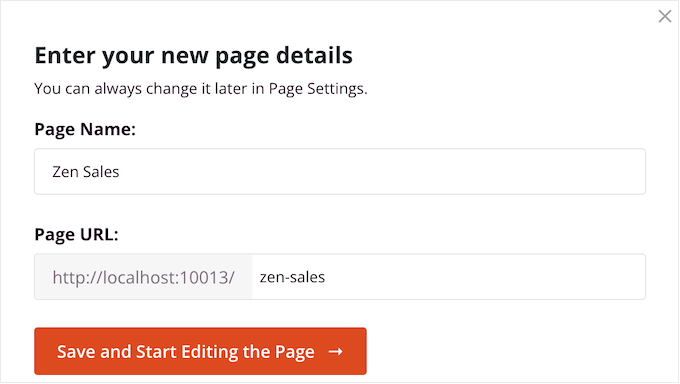
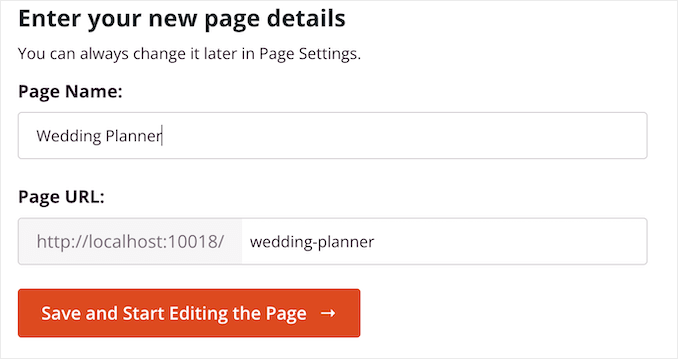
Next, go ahead and type in a name for the page. SeedProd will automatically create a URL based on the page’s title, but you can change the URL to anything you want.
For example, you may want to add some relevant keywords, which will help search engines understand what the page is about and may improve your WordPress SEO.
When you’re happy with the information you’ve entered, click on the ‘Save and Start Editing the Page’ button.
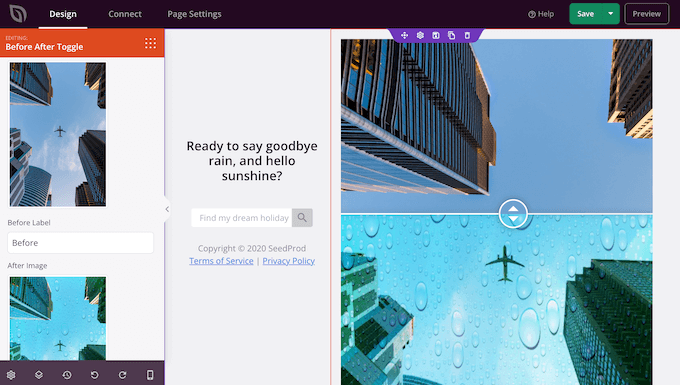
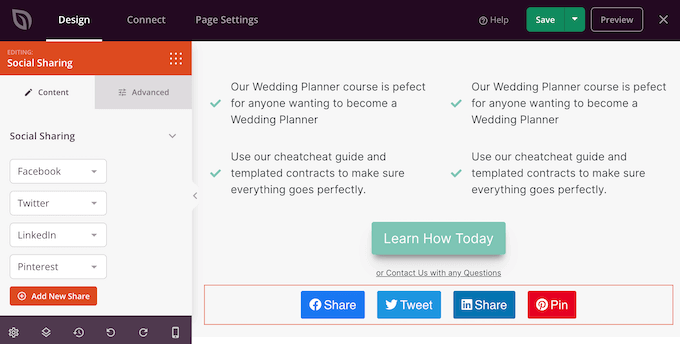
Next, you’ll be taken to the drag-and-drop page builder, ready to customize the template.
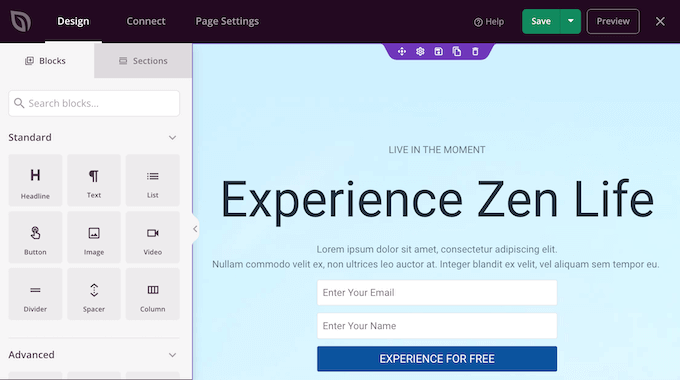
The SeedProd editor shows a live preview of your design to the right and some block settings on the left.

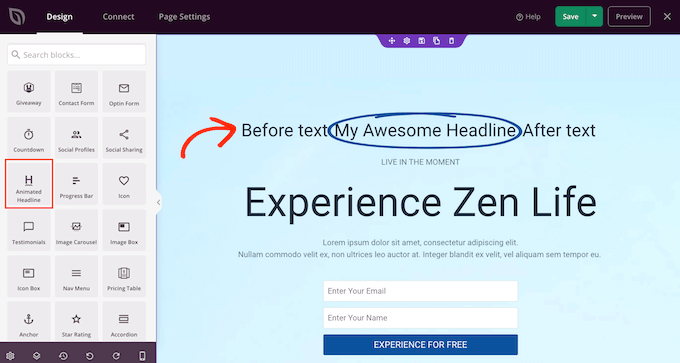
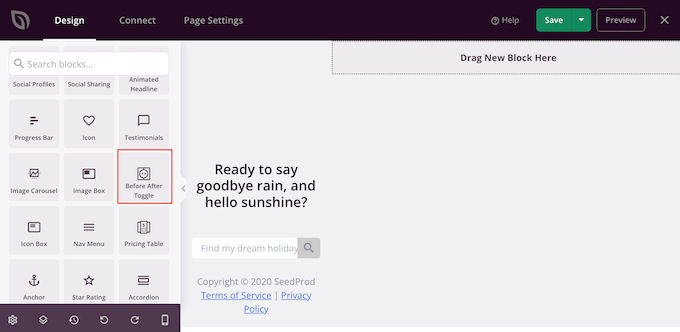
The left-hand menu also has blocks that you can drag onto your layout.
For example, you can drag and drop standard blocks like buttons and images or use advanced blocks such as the countdown timer, contact form, social sharing buttons, and more.
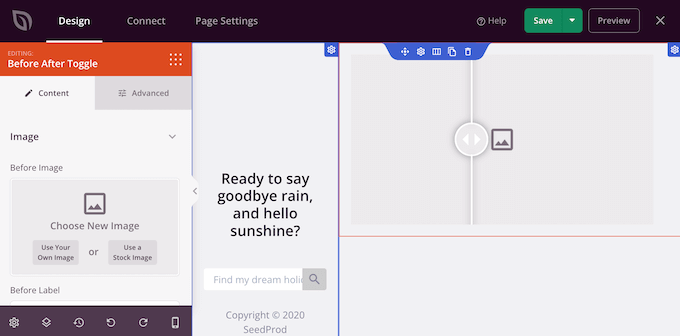
To customize a block, just click to select it in your layout.
The left-hand menu will then show all the settings you can use to configure that block. You can also change the page’s background colors, add background images, or change the color scheme and fonts to better match your brand.

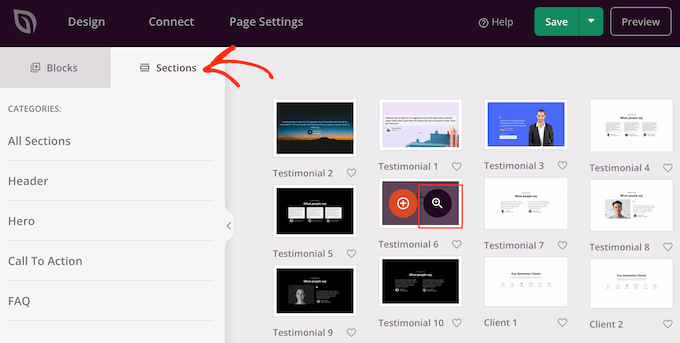
SeedProd also comes with ‘Sections,’ which are collections of blocks that are often used together. For example, SeedProd has a header section, hero image, call to action, customer testimonials, FAQs, features, footer sections, and more.
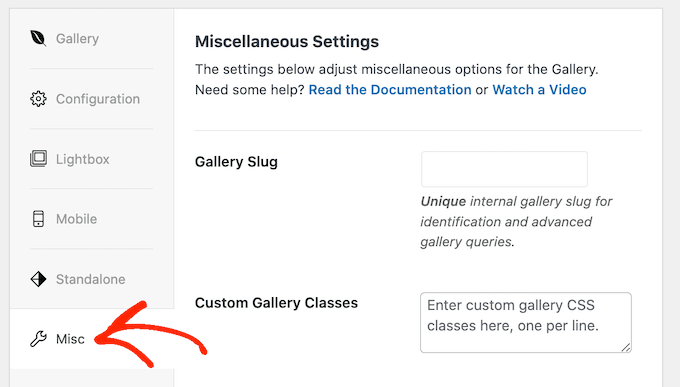
To look through the different sections, simply click on the ‘Sections’ tab.
You can move sections and blocks around your layout using drag and drop.
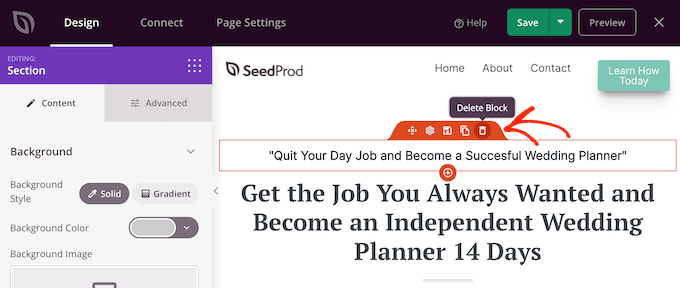
If you want to delete a block, then simply hover over it and then click on the trash can icon when it appears.
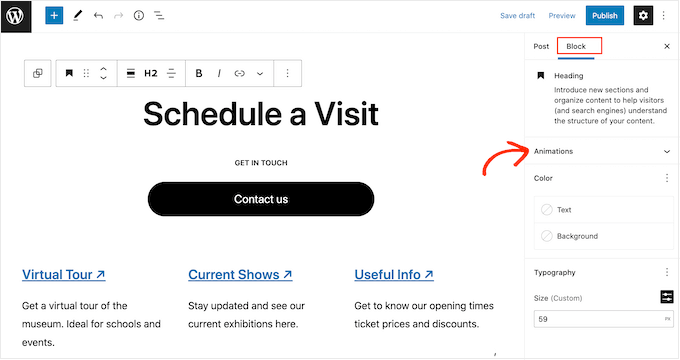
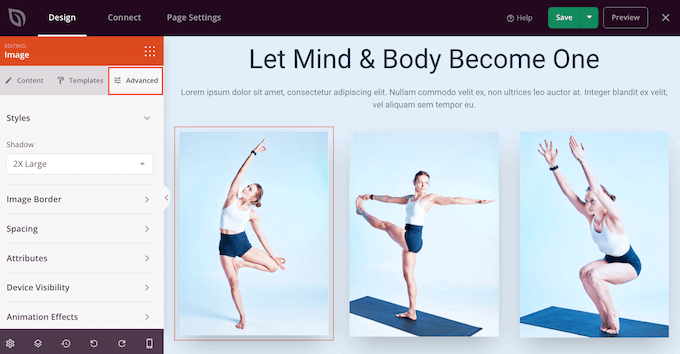
Whether or not you choose to use a SeedProd section, you can now create a custom shape divider. Simply click to select the section, row, or column where you want to add the divider.
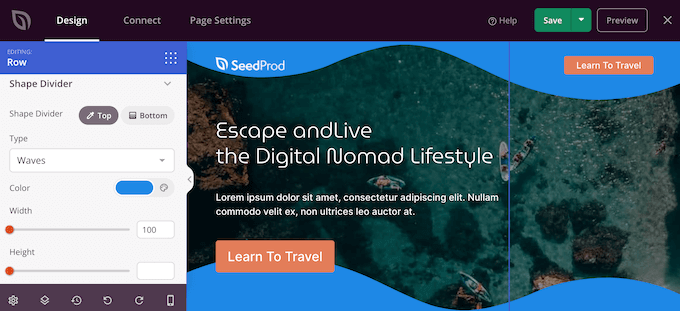
Then, click on the ‘Advanced’ tab in the left-hand menu.
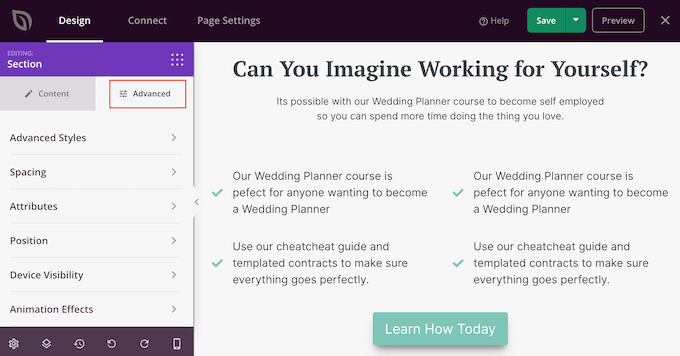
Now, click to expand the ‘Shape Divider’ section.
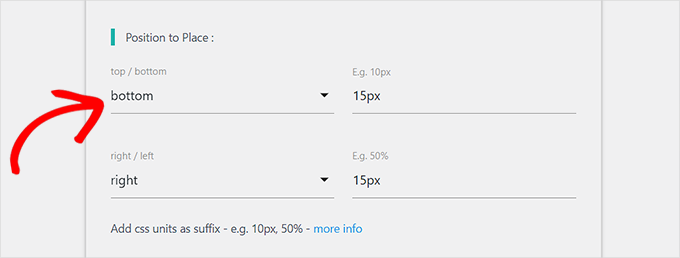
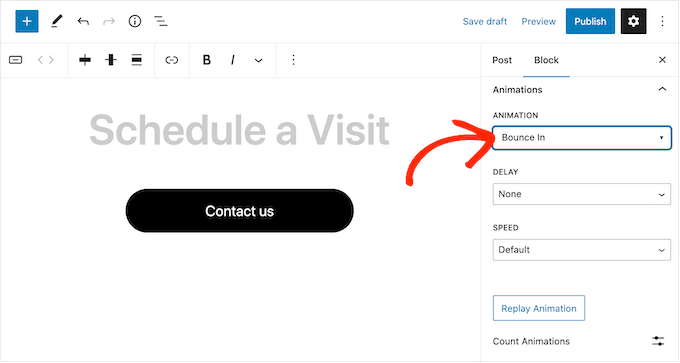
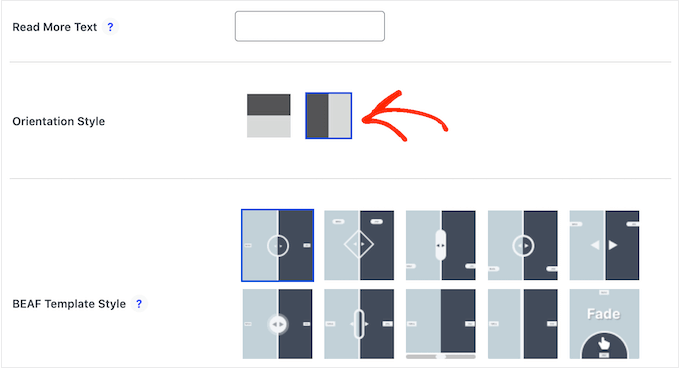
To start, you can choose where to show the shape divider by selecting either the ‘Top’ or ‘Bottom’ button.
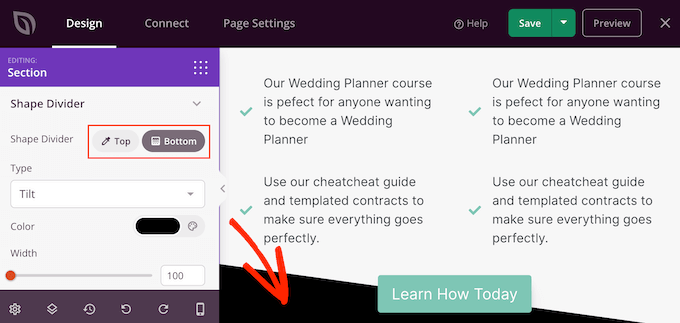
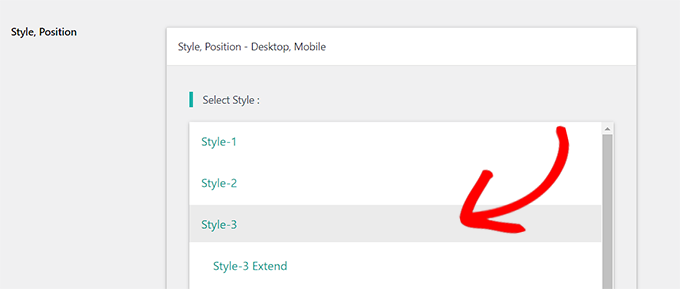
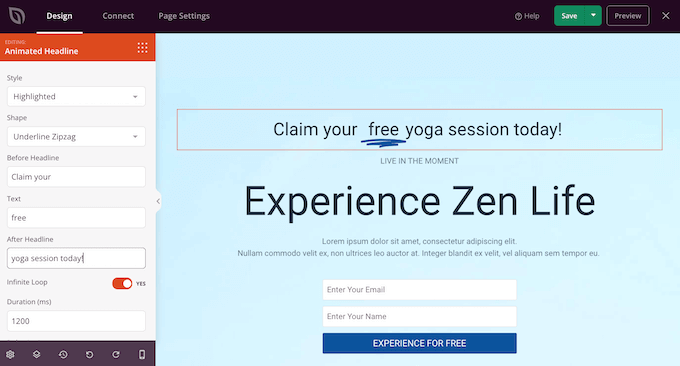
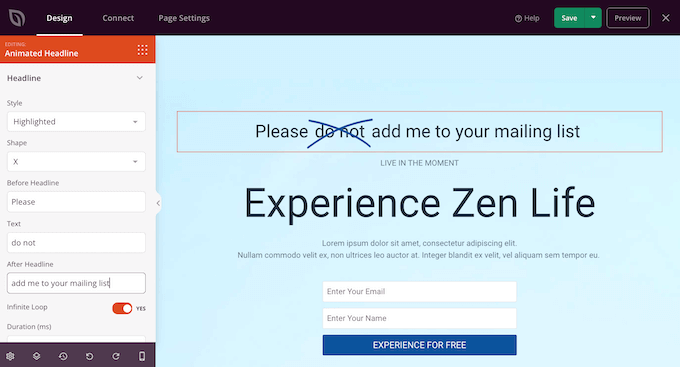
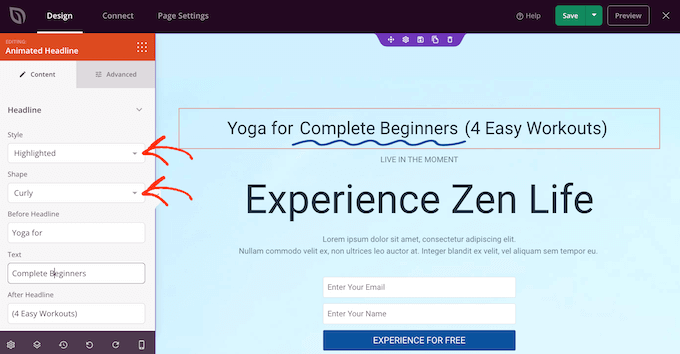
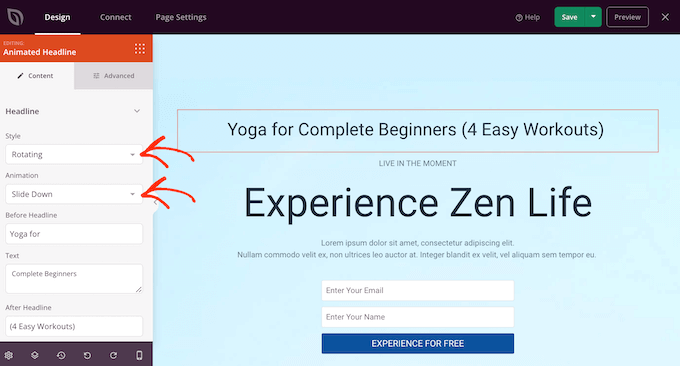
You can now open the ‘Type’ menu and choose the shape divider that you want to use.
As you select different shapes, the live preview will update automatically so you can try different styles to see what looks the best.
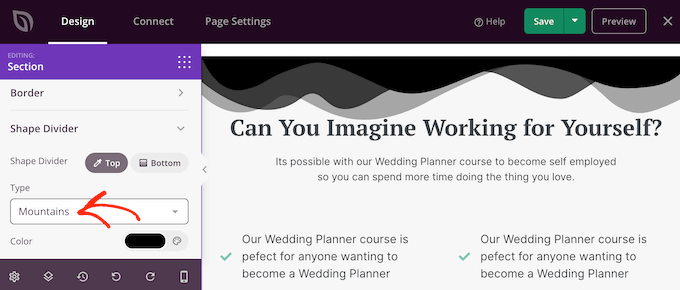
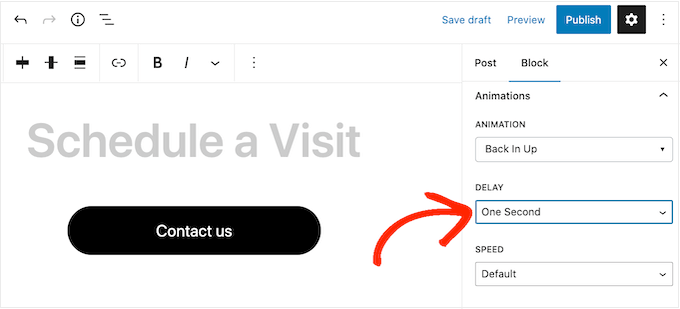
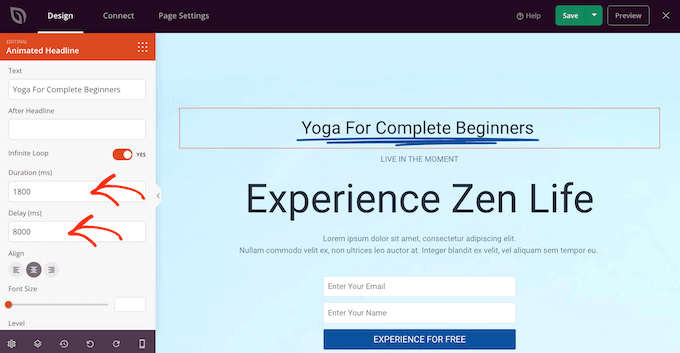
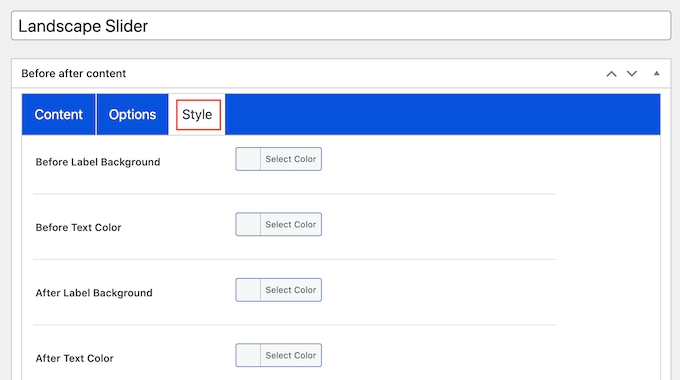
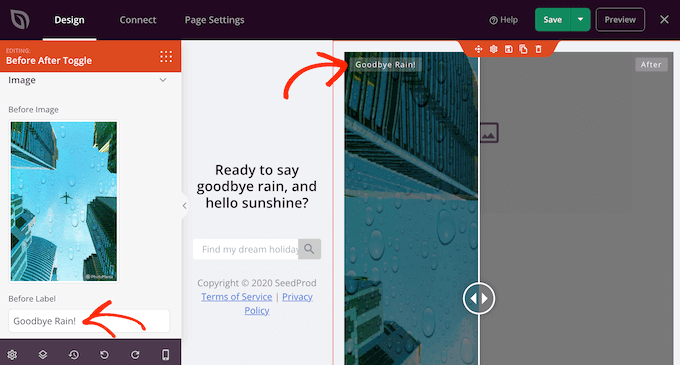
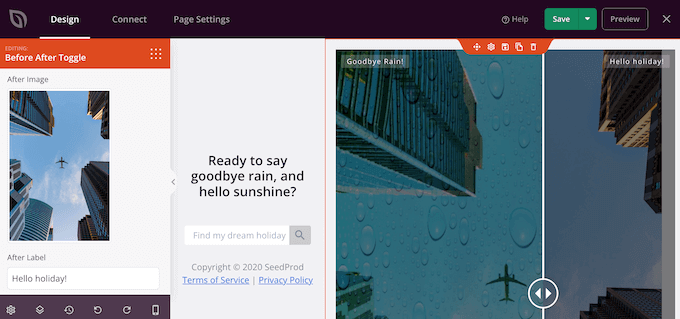
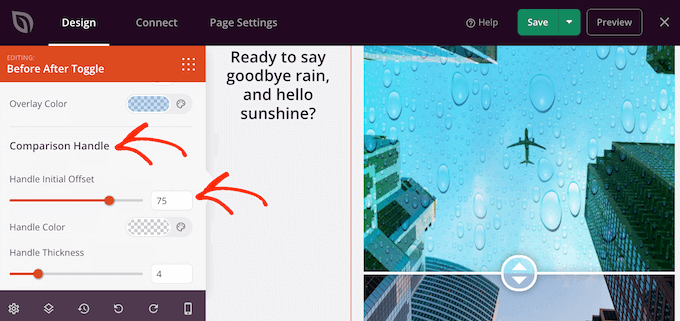
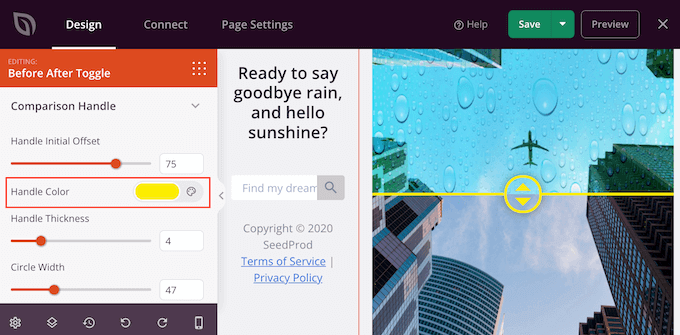
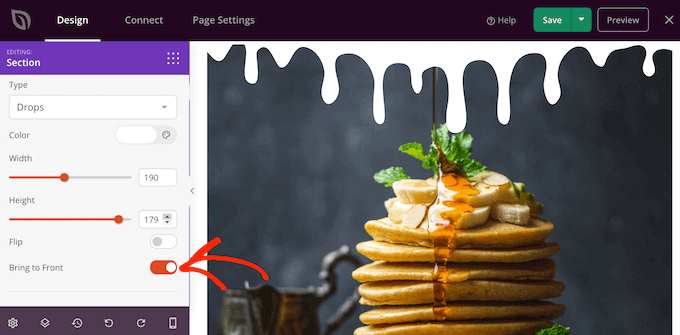
After choosing a shape divider, you can style it using the new settings.
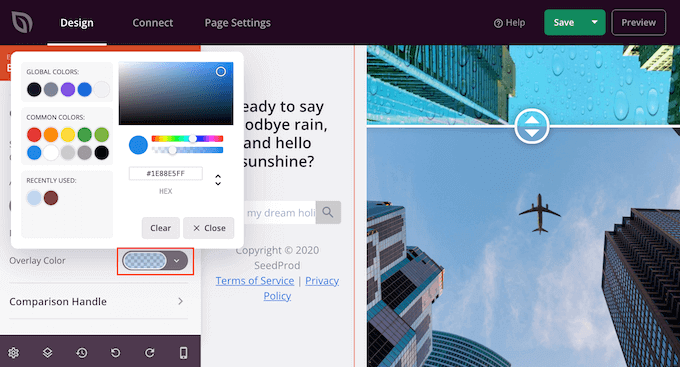
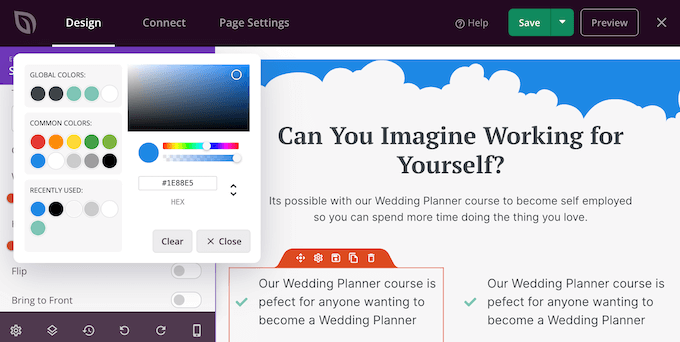
To start, you can click on ‘Color’ and then choose a new color from the popup that appears.
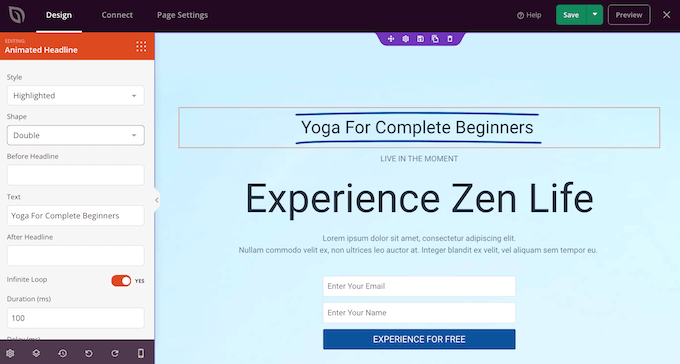
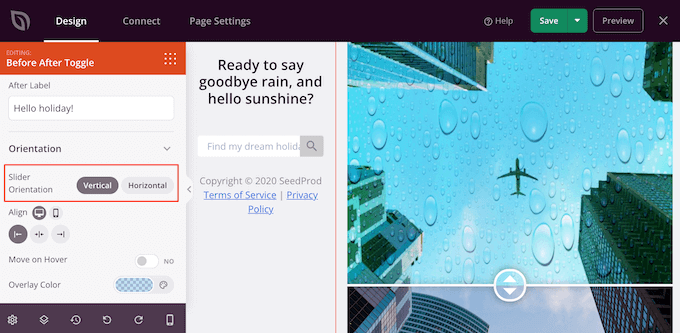
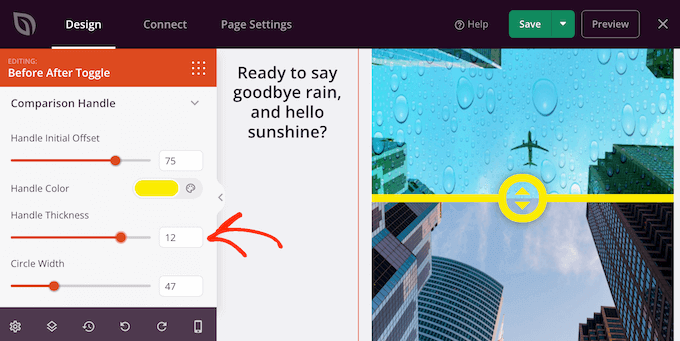
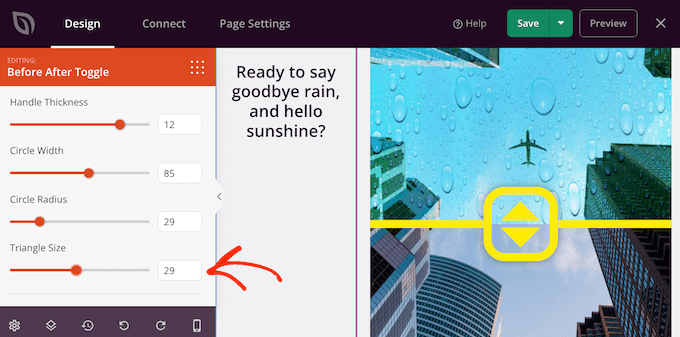
With that done, you can make the divider bigger or smaller by dragging the ‘Width’ and ‘Height’ sliders.
If you already have a specific size in mind, then you can type those numbers into the boxes.

You can also try flipping the divider by clicking to enable or disable the ‘Flip’ switch.
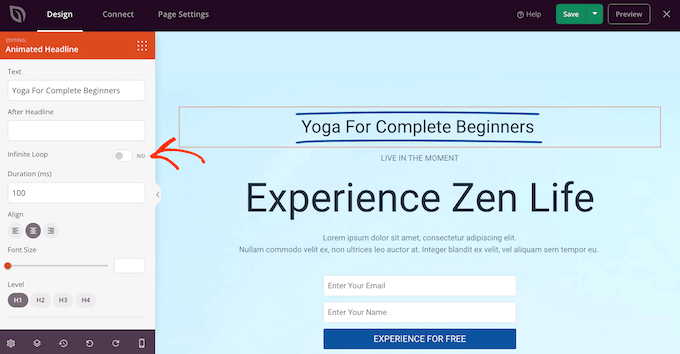
By default, the divider will appear behind the rest of the content, so users can clearly see any text, images, or other content that overlaps the divider.
However, moving the shape to the front can create some interesting effects. If you want to see how this looks, then simply click to enable the ‘Bring to Front’ switch.
To add more dividers simply follow the same process described above.
You can even add a shape divider to the top and bottom of an area, which often creates some impressive and eye-catching results.

You can continue working on the page by adding more blocks and customizing those blocks in the left-hand menu.
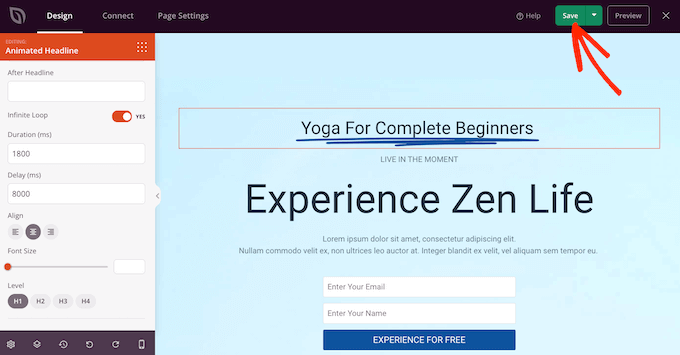
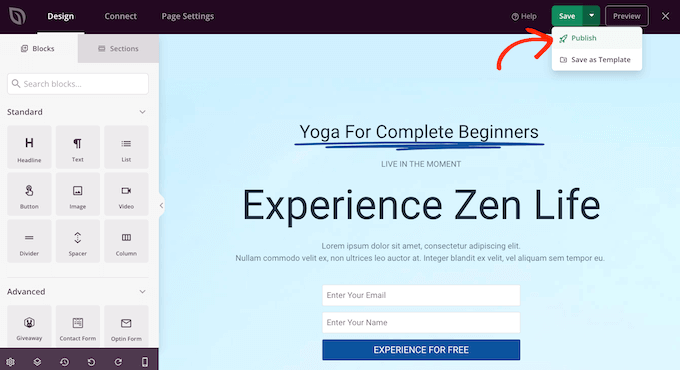
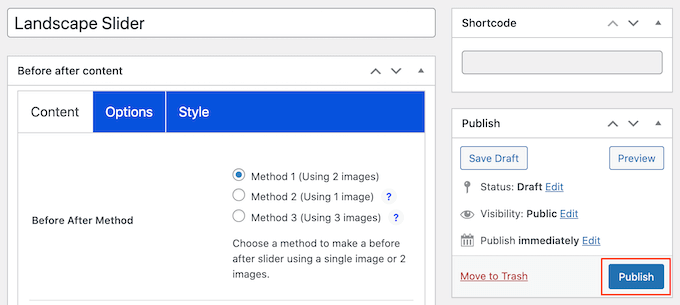
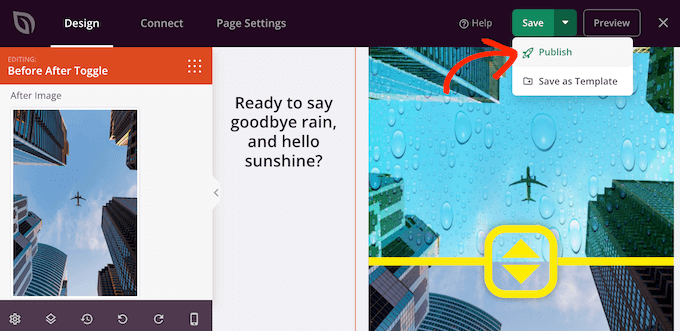
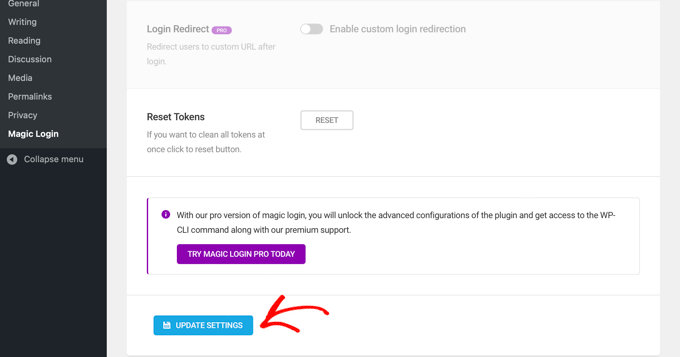
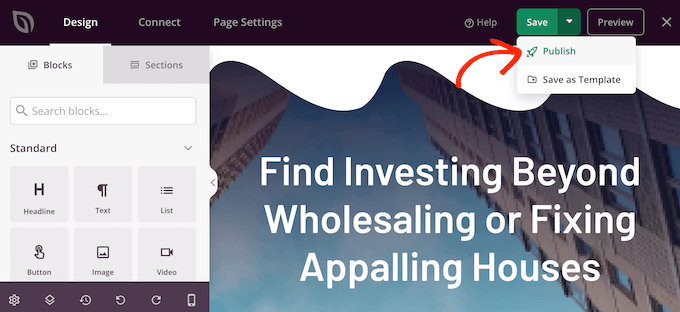
When you’re happy with how the page looks, click the ‘Save’ button. You can then select ‘Publish’ to make that page live.
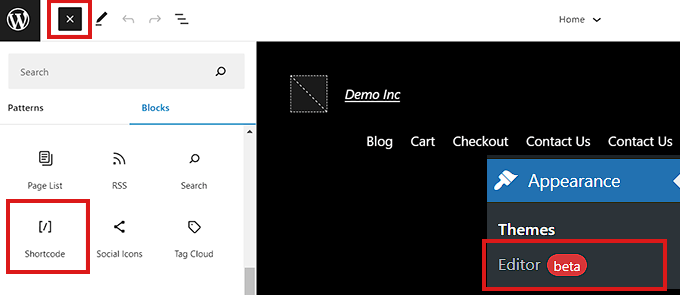
How to Add Shape Dividers to a WordPress Theme
SeedProd’s drag-and-drop editor gives you the freedom to add a unique shape divider to any page. However, sometimes you may want to use the same shape dividers on multiple pages, or even across your entire WordPress blog or website.
This will help you create a consistent design and can also save you a ton of time. In this case, we recommend adding a shape divider to your theme using the SeedProd theme builder.
With SeedProd, you can create a custom WordPress theme without writing any code. It creates all the files that make up your theme, including the sidebar, header, footer, single posts, and more.
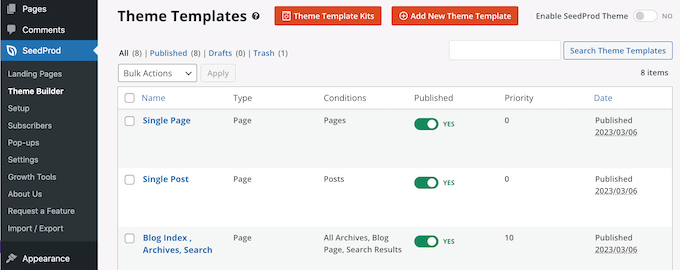
You can then customize these files using the familiar drag-and-drop builder. This includes adding shape dividers by following the same process described above.
When you activate the new theme using SeedProd, it will overwrite your existing WordPress theme, so you should only use this method if you want to replace your current theme.
For detailed step-by-step instructions, please see our guide on how to easily create a custom WordPress theme.
We hope this tutorial helped you learn how to create a custom shape divider in WordPress. You may also want to learn how to increase your blog traffic, or see our expert pick of the best social proof plugins for WordPress.
If you liked this article, then please subscribe to our YouTube Channel for WordPress video tutorials. You can also find us on Twitter and Facebook.
The post How to Create a Custom Shape Divider in WordPress first appeared on WPBeginner.