WordPress 6.2 has just been released, and it is the first major WordPress release of 2023.
This new version is packed with significant improvements and new features. Many of them focused on the block editor and site editing in WordPress.
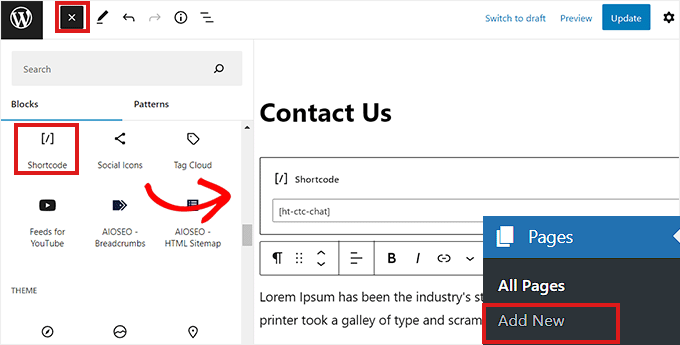
In this article, we’ll show you what’s new in WordPress 6.2 and which features you should try after the update.

Note: WordPress 6.2 is a major release, and unless you are on a managed WordPress hosting service, you’ll have to initiate the update manually. Here’s how to safely update WordPress.
Important: Don’t forget to create a complete WordPress backup before updating.
That being said, here’s all that’s new in WordPress 6.2.
- WordPress Site Editor Comes out of Beta
- Improved Navigation Menu Block
- Improved Template Browsing Experience
- Template Parts Highlighted with Colors
- Modify Your Theme With The Style Book
- Ability to Add Custom CSS to Your Theme or Blocks
- Copy and Paste Block Styles
- Improved Pattern Insertion
- Openverse Free Media Library Integration
- New Sub Panels for Block Settings & Styles
- New Distraction-Free Mode
- Import Classic Widgets as Template Parts in Block Themes
- Miscellaneous Enhancements
- Under The Hood Changes
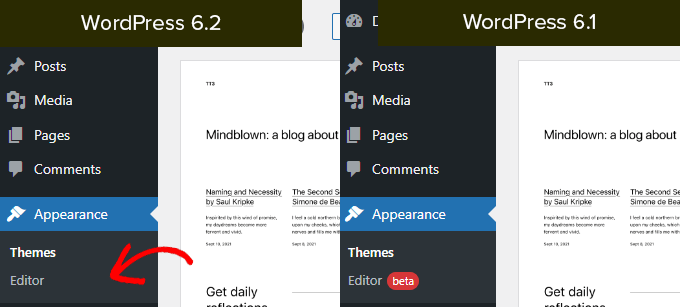
WordPress Site Editor Comes out of Beta
The site editor comes out of the beta.
It has been around for the past few WordPress releases, the removal of the beta label is merely an invitation for more users to try it.
This also indicates the completion of phase 2 of the WordPress development roadmap which started out with the release of the new block editor back in WordPress 5.0 (late 2018).
WordPress 6.2 includes several new features added to the site editor, including some brand-new tools which we’ll talk about later in this article.
Note: Full site editor is available with block themes that support this feature. You can try it out even if you are using the older classic editor with a block-enabled theme.
Improved Navigation Menu Block
Navigation menus help you define your website layout to your users. However, creating them in the full site editor had been a bit difficult for beginners.
WordPress 6.2 now comes with an improved ‘Navigation’ block.
You can now create and manage the Navigation block by editing items in the sidebar.
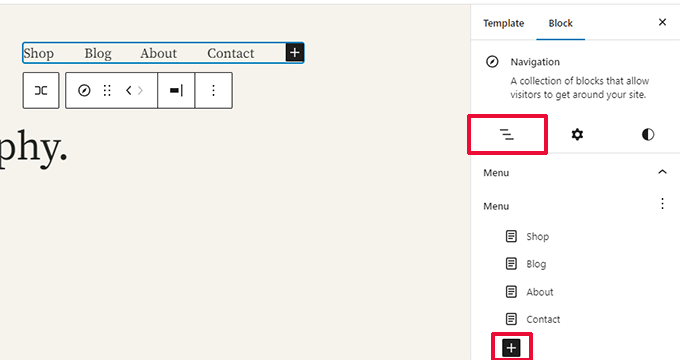
To add a new menu item, simply click on the ‘add (+)’ button. You can also drag and drop menu items to rearrange them.
Want to use a different menu? You can now easily switch between menus you have created earlier by clicking on the Three-dot menu in the sidebar.
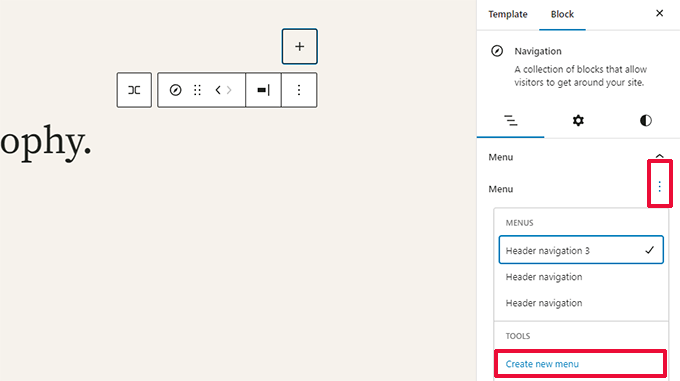
Overall, this is a significant improvement to the older Navigation block where you had to edit items inline which was not a good experience for beginners.
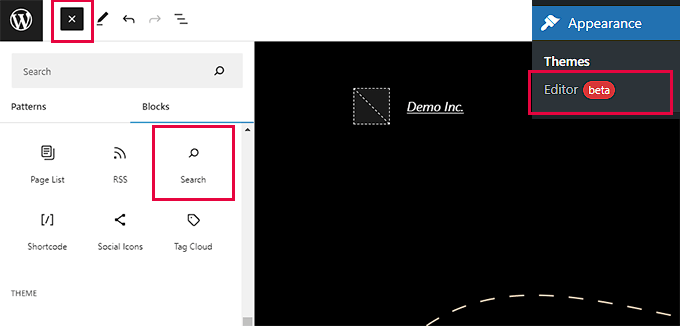
Improved Template Browsing Experience
WordPress 6.2 comes with a new template browsing experience.
This allows users to browse different templates to find out which one they need to edit if they want to make changes to a certain area of their website.
To edit a template or template part, simply click to load it inside the preview window. After that, just click on the preview window to start editing.
Want to exit the site editor?
Simply click on the WordPress or your site logo at the top left corner of the screen to enter the template browser. Then click again to exit and return to the WordPress dashboard.
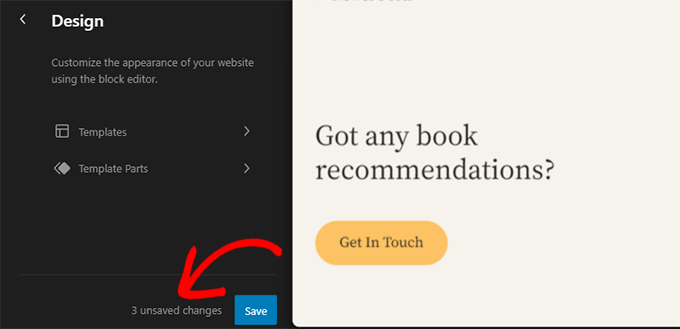
The template browser screen will now also show you that you have unsaved changes.
It also offers an improved saving experience showing what changes you are saving.
Template Parts Highlighted with Colors
A template in the site editor may include several template parts, like the header and footer.
These are global elements that can be used in multiple places on your WordPress website. If you edit a template part on one page, those changes will be reflected all over your site.
Previously when editing a template part, the only indication was the label at the top changed to show the template part name.
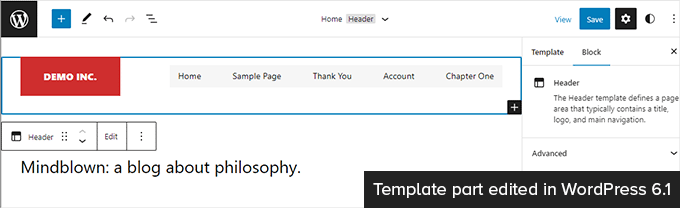
Editing template parts affects all templates that include those elements. This makes it important to indicate that users are editing a global template part and not simply the page they are looking at.
WordPress 6.2 now makes this more noticeable by adding colors and an icon to indicate that you are editing a template part.

Modify Your Theme With The Style Book
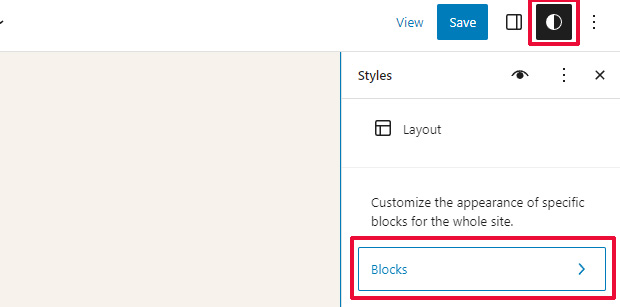
WordPress 6.2 comes with a style book feature in the site editor.
This is basically one convenient place to browse how your theme displays all the blocks. To access it you need to switch to the Styles panel and then click on the Style Book icon. It is the one that looks like an eye.
This will show you all the blocks, and how they are styled in your theme. They are organized into different categories so that you can easily locate the block you want to edit.
Click to start editing a block and you will see all the tools that you can use in the sidebar panel. Changes you make here will apply globally to your theme.
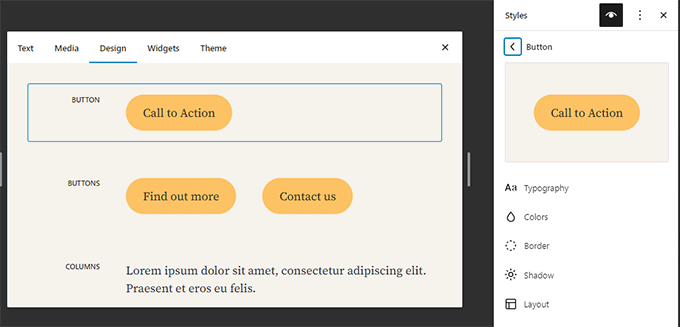
Basically, you can change the appearance of your entire theme by editing individual blocks here and creating a completely new style of your own.
Want to edit block styles individually? Don’t worry there are even more design tools at your disposal to edit blocks.
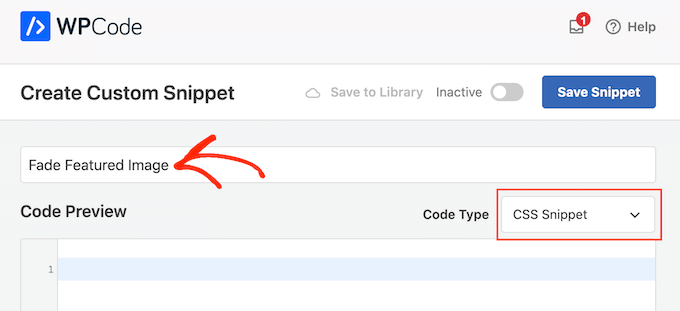
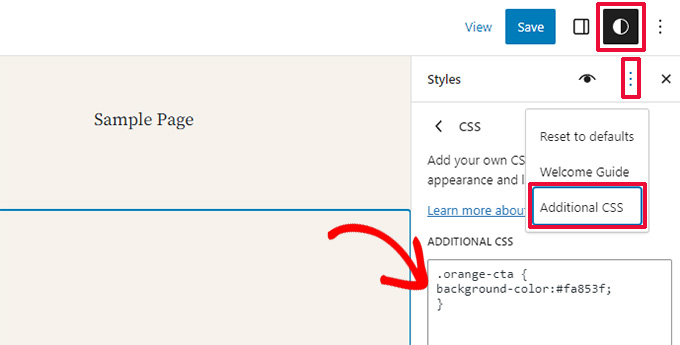
Ability to Add Custom CSS to Your Theme or Blocks
By default, the site editor hides the legacy Theme Customizer interface. Many users added their custom CSS in the ‘Additional CSS’ panel available with the legacy customizer.
Until 6.2, it was a problem to add custom CSS using the default tools available.
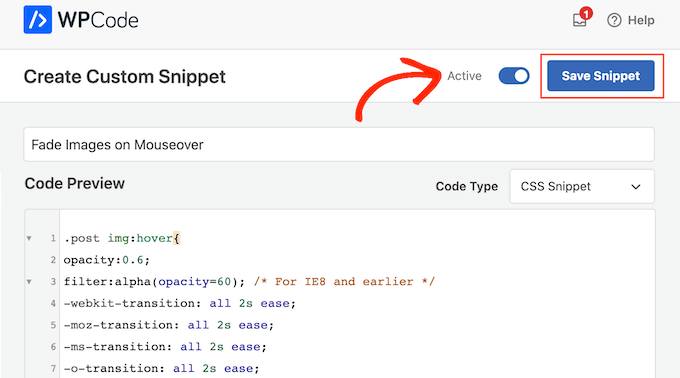
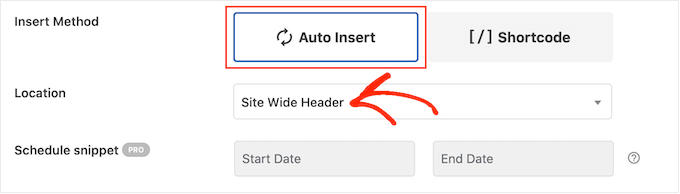
WordPress 6.2, however, now allows you to add custom CSS that applies to your entire site. Simply click on the Styles panel and choose Custom CSS under the three-dot menu.
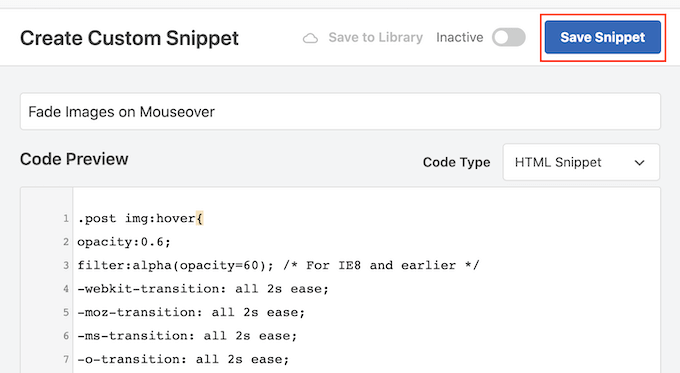
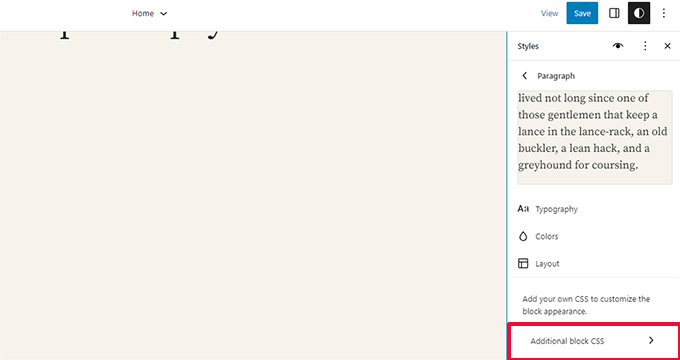
You can also add custom CSS to individual blocks as well.
Switch to the Style panel and then click on Blocks.
Now, you need to select the block that you want to modify.
After that, click on the ‘Additional Block CSS’ tab to enter your custom CSS code.
WordPress 6.2 makes it easier to add custom CSS if you need to. However, it comes with a ton of built-in design tools which are much easier to use than adding custom CSS.
Copy and Paste Block Styles
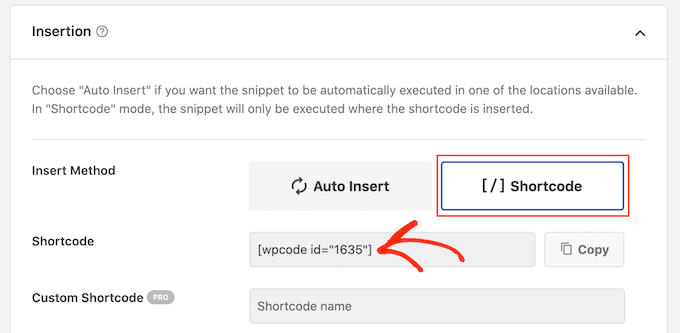
Another styling feature that reduces the need to add custom CSS is the ability to simply copy and paste block styles.
Let’s say that you just made some changes to a block and want to make the same changes on another block as well.
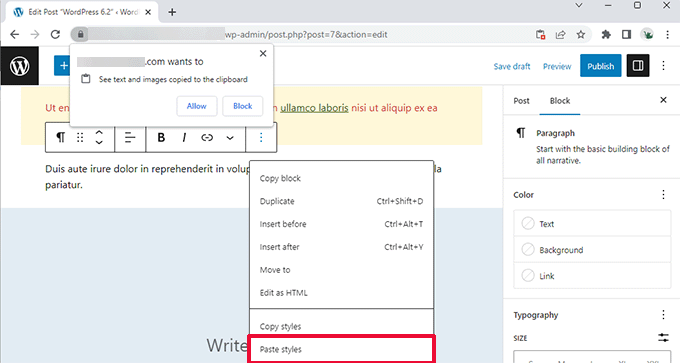
With WordPress 6.2 you can simply click on ‘Copy styles’ under the block options.

After that, click on the block options for the block where you want to paste the style and select ‘Paste styles.’
Note: Your browser will ask for permission to allow your website to view the contents of the clipboard. You need to click ‘Allow’ to continue.
Improved Pattern Insertion
WordPress block patterns are a collection of pre-made design elements that you can use for creating custom content layouts faster.
By default, WordPress comes with several built-in patterns. Your WordPress theme may also include its own pattern. Plus, you can find more patterns in WordPress Patterns Directory.
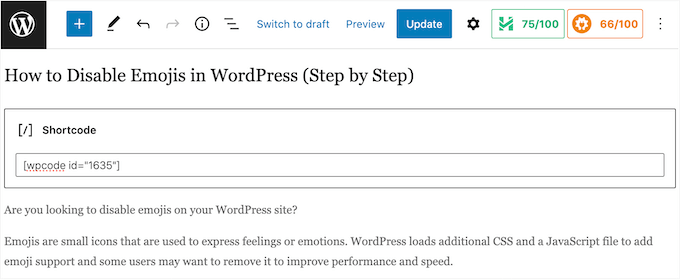
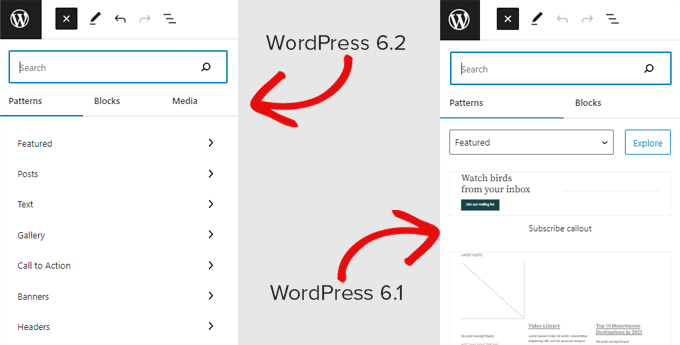
WordPress 6.2 comes with an improved pattern insertion interface.
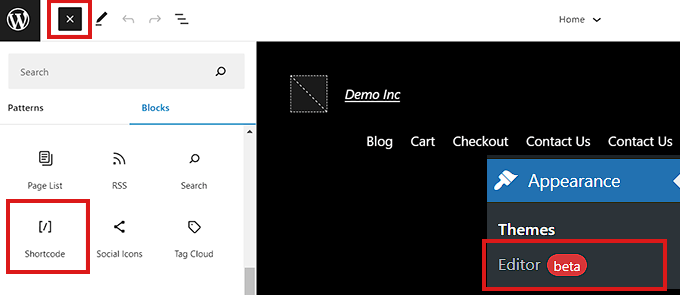
Openverse Free Media Library Integration
WordPress 6.2 now adds a ‘Media’ tab in the inserter as well.
Here, you can choose media from your own WordPress media library or browse royalty-free images from Openverse.
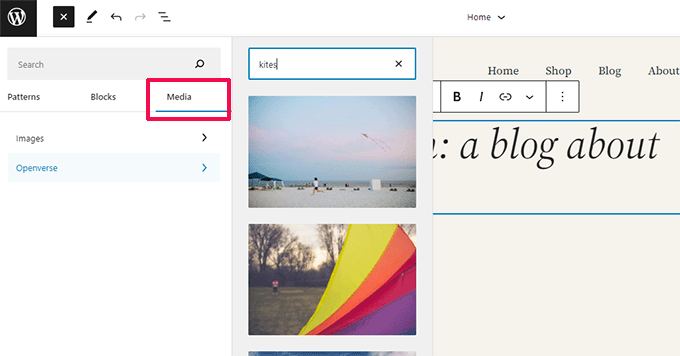
Openverse is a sister project of WordPress.org. It allows openly licensed and public domain works to be discovered and used by everyone.
Once you select an image it will be inserted into the editor and downloaded to your WordPress media library as well.
WordPress will also save the image caption which may include a link back to the original source. You can delete this caption if the image is in the public domain.
New Sub Panels for Block Settings & Styles
WordPress 6.2 now uses sub-panels to separate block settings and styles.
This helps users understand where they need to look if they want to change the appearance of a block.

New Distraction-Free Mode
Historically, WordPress has always provided options to hide the formatting buttons and toolbars on the post editor screen.
Here is how it looked in WordPress 4.1 with the older classic editor.
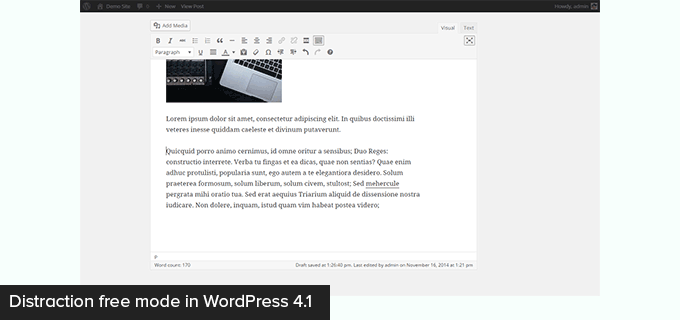
However, the block editor had the option to be used in full-screen mode. WordPress 5.4 started using the full-screen mode as the default.
This allowed users to have a much cleaner writing interface, but there was no distraction-free mode.
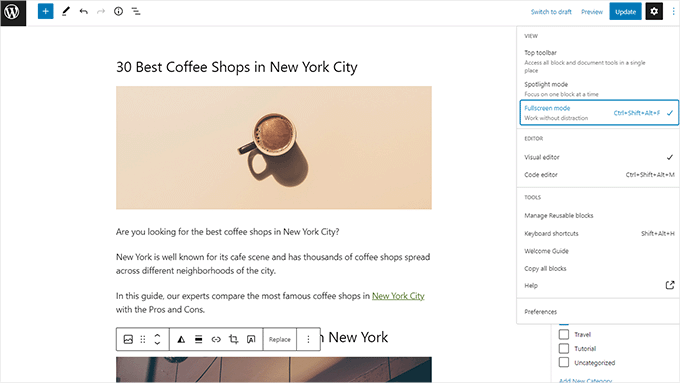
WordPress 6.2 now comes with a completely clean and calm distraction-free mode.
Users will be able to choose it from the editor settings, and it removes all toolbars and editing panels from the screen.
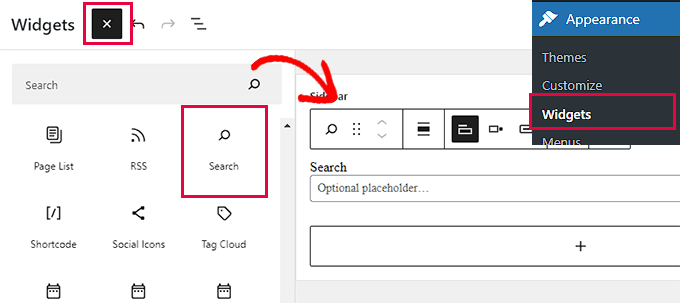
Import Classic Widgets as Template Parts in Block Themes
WordPress 6.2 provides a nice fallback for importing classic legacy widgets in block themes when switching themes.
Users with classic widget themes lost their legacy widgets when they switched to a block theme. Now, you can import them as template parts.
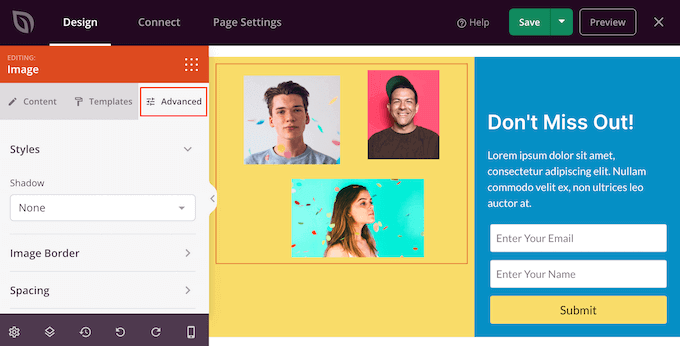
Simply create a new template part by clicking on the ‘Add New Block’ button (+).
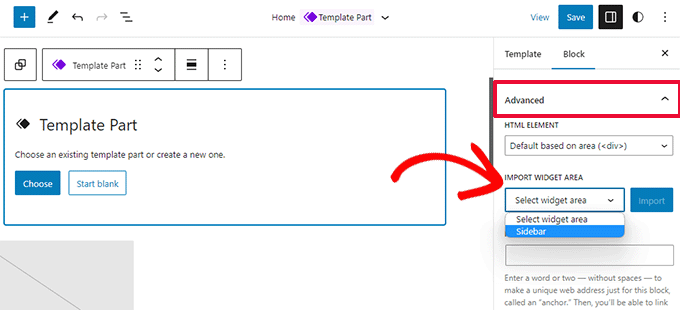
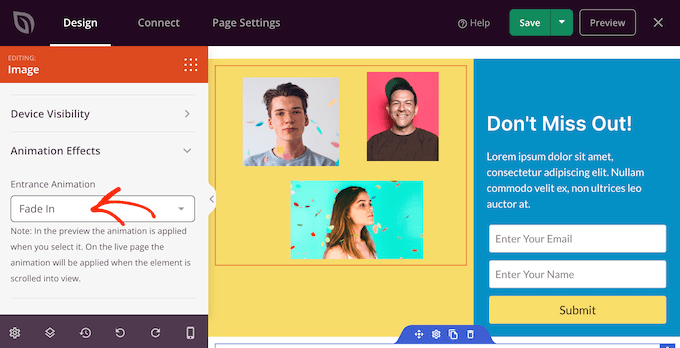
From the template part settings panel, click on the Advanced tab to expand it, and you’ll find the option to import a widget area from your previous theme.
Miscellaneous Enhancements
WordPress 6.2 contains a ton of enhancements. It merges 10 Gutenberg releases (‘Gutenberg’ is the codename for the original block editor project) into WordPress core so there are many refinements and new features to explore.
Here are some of the most useful enhancements.
1. Captions Button in Image Block Toolbar
Previously WordPress automatically added the caption area below the image and moved the cursor automatically to the caption.
This led many users to continue writing their text not realizing that they are writing it in the caption area.
WordPress 6.2 fixes this by adding a caption button to the toolbar. Users can now use it to add a caption if needed.
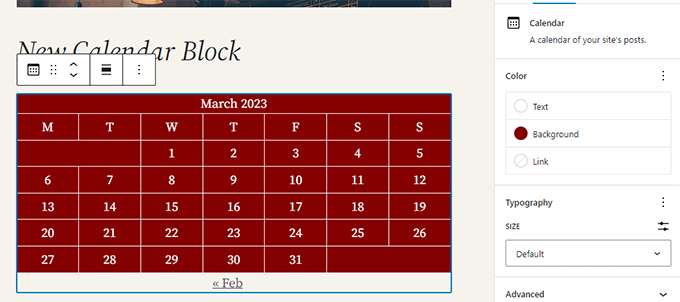
2. Improved Calendar Block
The calendar block now comes with more color options.
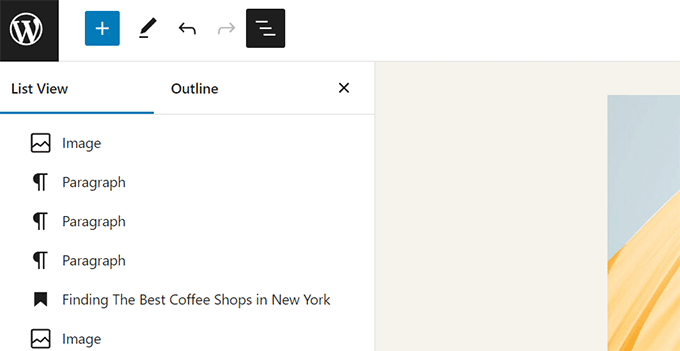
3. The List, Outline, and Info Panels are Merged
The list view, outline, and info panel are now merged into one convenient location.
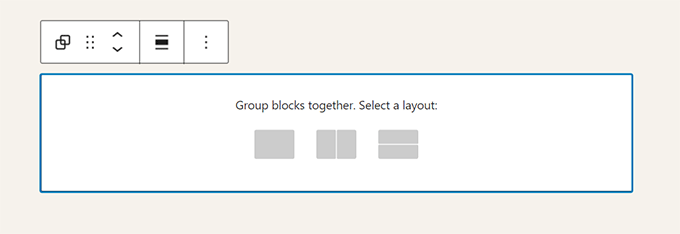
4. Group Block Layout
The ‘Group’ block now lets you choose a layout.
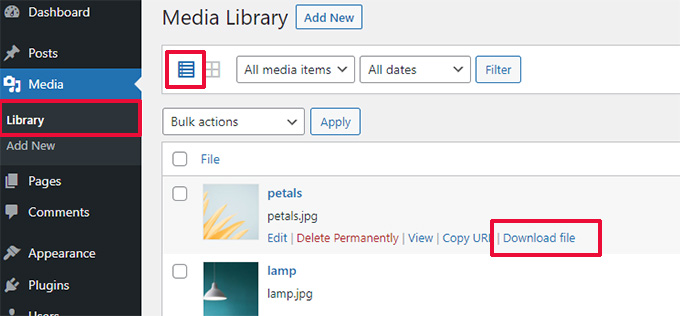
5. The Download Link for Media Files
The media screen will now show a ‘Download File’ link in the list view.
6. New Icon for Settings Panel
The icon to display the settings panel previously used a gear icon. It is now presented with a panels icon.
Under The Hood Changes
WordPress 6.2 also includes a ton of changes intended for developers. Following are some of these changes:
- A new HTML API called WP_HTML_Tag_Processor is introduced. (Details)
- A new client-side filter called
blockEditor.useSetting.beforeis introduced. It allows developers to change block settings before the editor is rendered. (Details) - Patterns API extended to include template_types property. (Details)
- Faster updates by moving directories instead of copying them. (Details)
- A new switch_to_user_locale() function is introduced. (Details)
- Create autosave revisions only when content is changed. (Details)
- Add a style variation tag to themes that use style variations. (Details)
We hope this article helped you uncover what’s new in WordPress 6.2 and which new features to try out. We are particularly excited about all the changes to the site editor and performance improvements for block themes.
If you liked this article, then please subscribe to our YouTube Channel for WordPress video tutorials. You can also find us on Twitter and Facebook.
The post What’s New in WordPress 6.2 (Features and Screenshots) first appeared on WPBeginner.

 directory")