Do you want to allow users to submit content and upload files on the front end?
Using a front-end posting plugin, you can allow people to upload different types of files without giving them access to the WordPress dashboard. They can submit documents, images, videos, PDFs, guest posts, and more.
In this article, we will show you the best front-end posting plugins for WordPress.

Why Use a Front-End Posting Plugin for WordPress?
By default, WordPress doesn’t allow users to upload or submit content on the front end.
This means if you want to accept guest posts from a user, or want them to upload files on your site, then you would have to give them access to the admin area of your website.
This can be a time-consuming process and a security risk, as unknown users could then view your WordPress dashboard.
That’s where a front-end posting plugin can help. It allows you to collect user-generated content and accept all types of files without editing code or giving anyone access to the admin area.
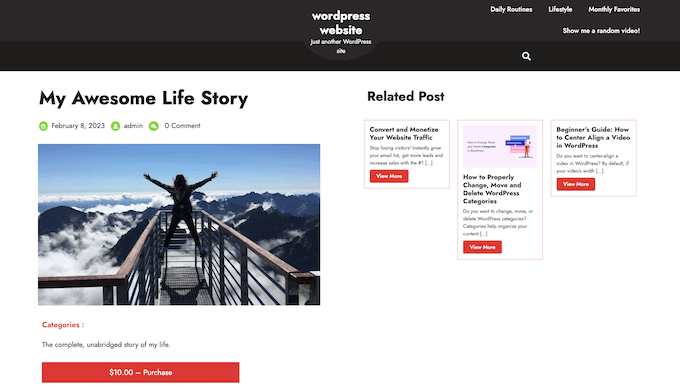
For example, you can allow guest post submissions, real estate listing submissions, create a multi-vendor marketplace, collect testimonials from users, and more.
That being said, let’s look at the best front-end posting plugins for WordPress.
1. WPForms
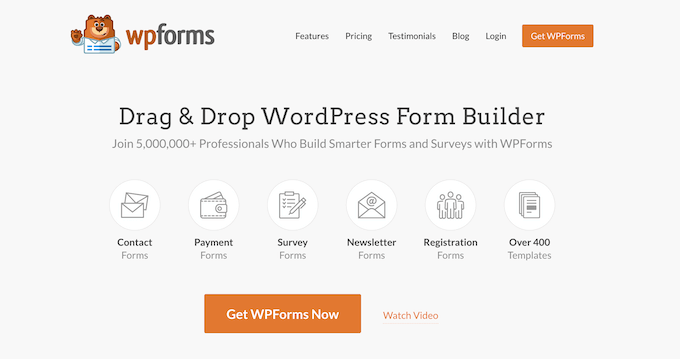
WPForms is the best WordPress form builder plugin in the market used by over 5 million websites. It offers a drag-and-drop interface that you can use to create any type of form.
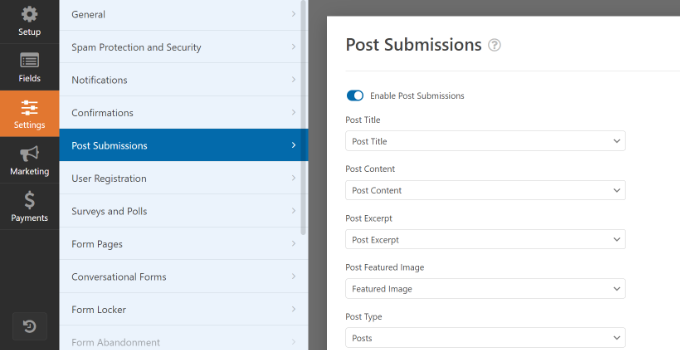
They have a post-submission addon that lets you collect user-generated content without creating an account. Your visitors can easily submit content on the front end. Plus, you can accept payments for a post submission, like property listings or business directories.
WPForms also gives you full control over which content to accept, and how you’d like to receive it. For example, you can map certain fields in your form to a new WordPress post such as Post Title, Content, and Featured Image.
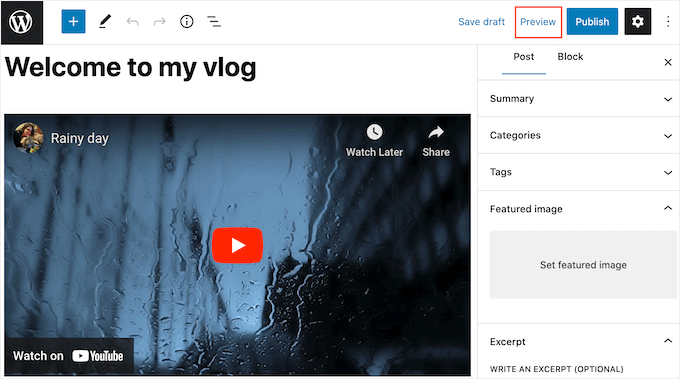
You can also create a file upload form to collect user-generated content. It comes with a file upload form field that lets people submit guest posts, upload images, share presentations and documents, and more.
Besides that, WPForms offers other powerful features such as spam protection, conditional logic, form abandonment, online signatures, locking specific forms, tracking user journeys, and more.
WPForms also easily integrates with payment services like PayPal, email marketing tools like Constant Contact, and other third-party tools like Zapier, Google Sheets, and Uncanny Automator.
2. Formidable Forms
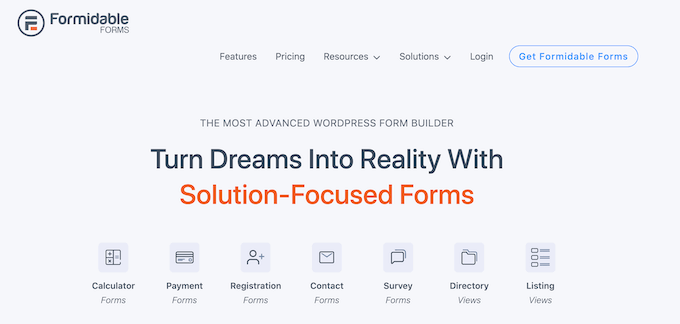
Formidable Forms is another powerful form builder plugin for WordPress that you can use to allow front-end posting.
It offers a user-submitted posts and pages feature that allows front-end publishing. Your visitors can create new posts using the plugin, and they don’t require admin access. This way, you can gather community content, guest posts, resources, databases, listings, and other user-generated content.
Formidable Forms also offers a file upload feature that lets users submit different files without the need to log in to the admin area.
When a user submits a file using the form, it is automatically stored in your WordPress media library. From here, you can easily browse, view, and filter different submissions.
With Formidable Forms, you can also create advanced forms, like mortgage calculators, payment forms, quote calculators, surveys, and more. The plugin offers a drag-and-drop form builder, pre-built templates, and powerful integrations.
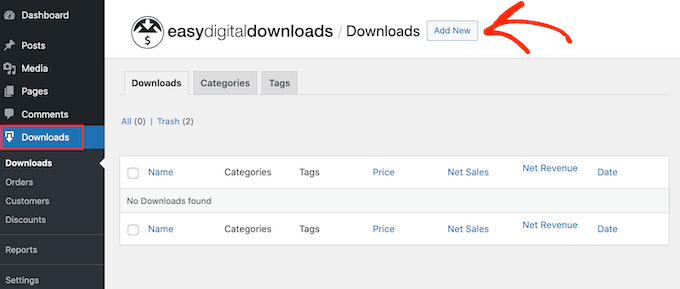
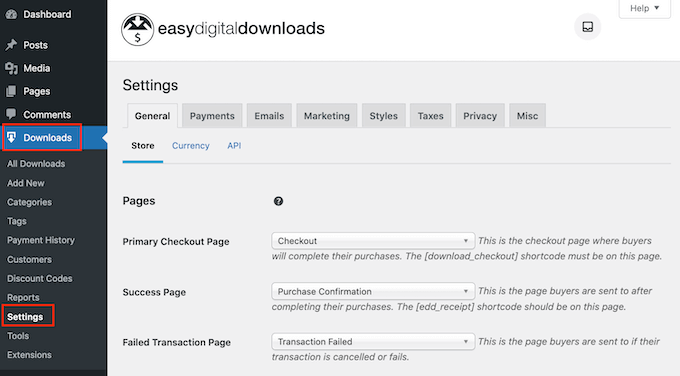
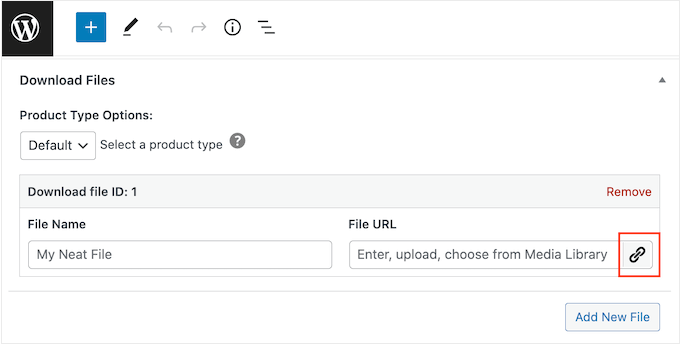
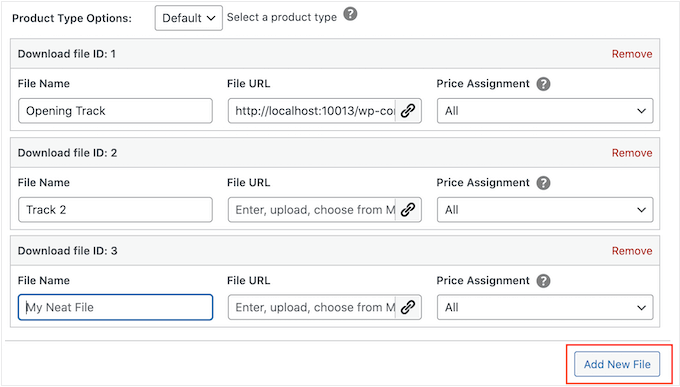
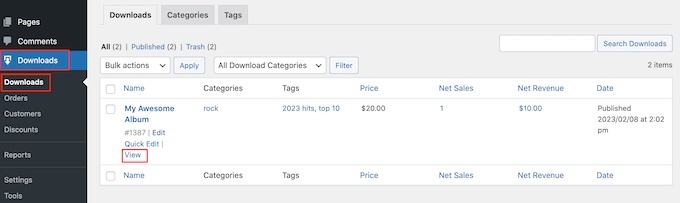
3. Easy Digital Downloads
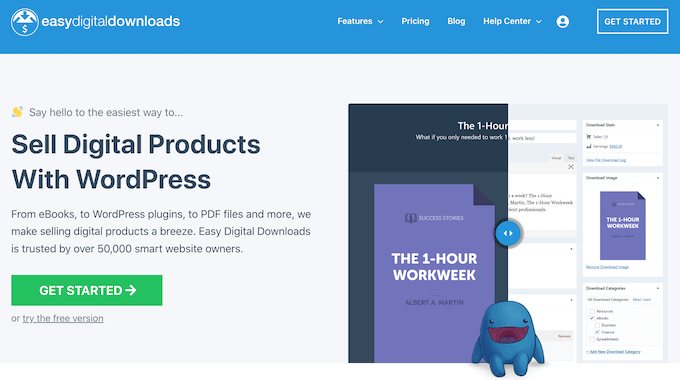
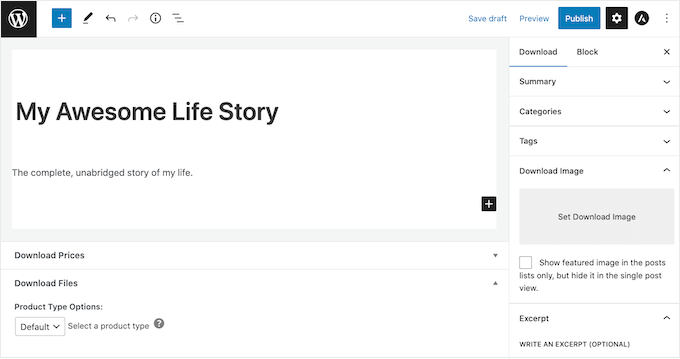
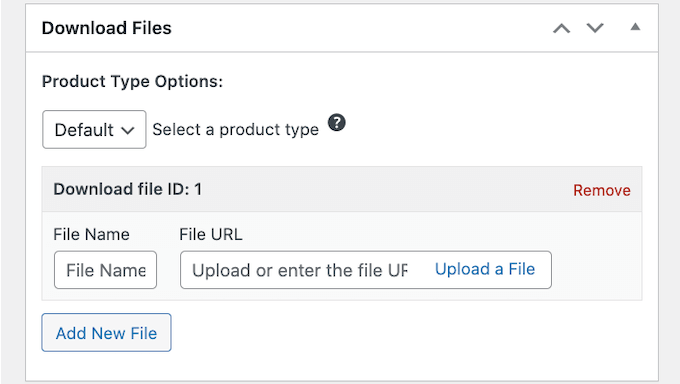
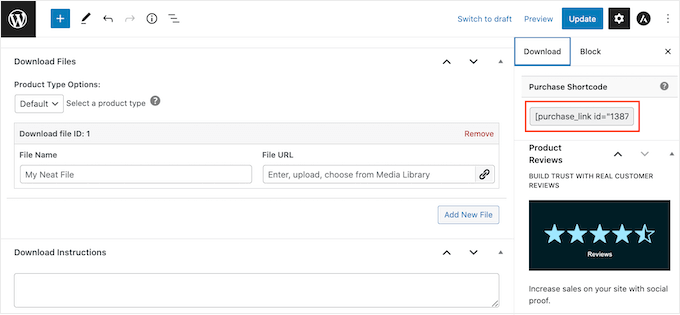
Easy Digital Downloads (EDD) is one of the best eCommerce plugins for WordPress. You can use it to sell digital products like ebooks, music, PDFs, spreadsheets, recipes, software, and more.
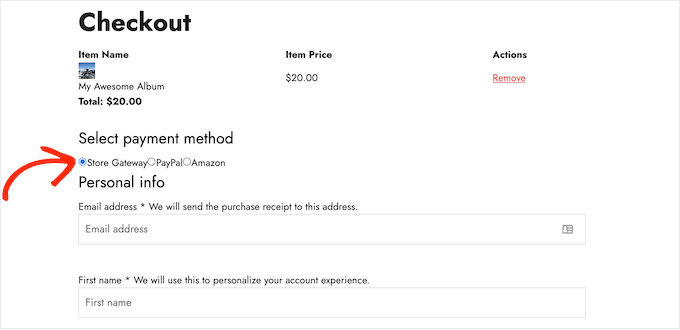
Easy Digital Downloads offers a frontend submissions extension that lets you create websites that work like Amazon, AirBnB, and eBay.
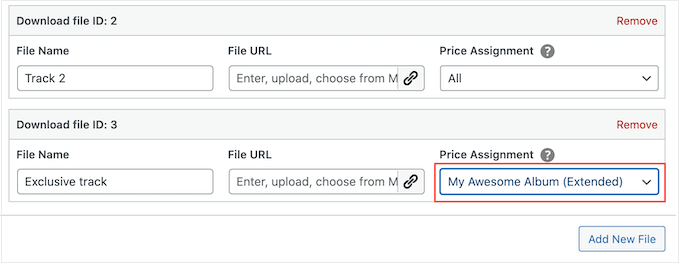
The EDD extension allows you to create a multi-vendor marketplace where users can register as vendors from the front end, and then they can use your site to upload and sell digital products.
Users can create new products, update existing products, access earning details, communicate with customers, and more from the front end.
Besides that, you can use Easy Digital Downloads to track and record vendor commissions, review new vendor registrations, and get email notifications when a vendor adds a new product.
The best part is that you get a drag-and-drop form builder to create forms for vendor registration, product submission, and vendor profiles.
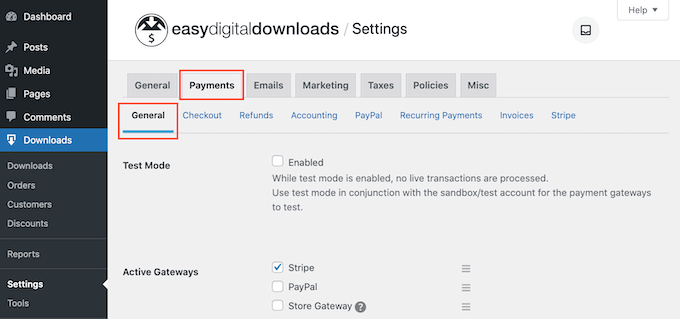
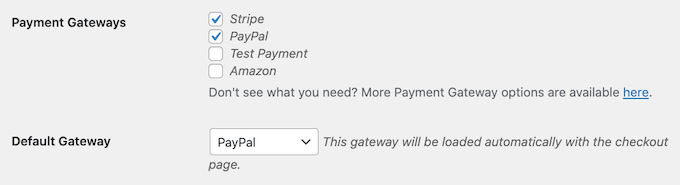
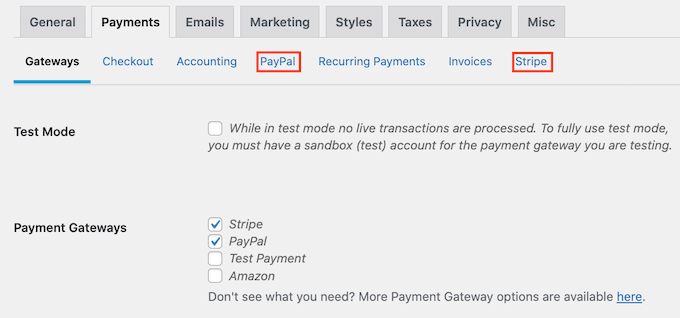
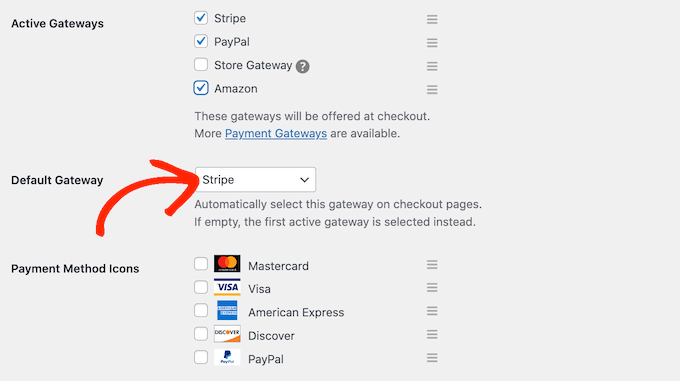
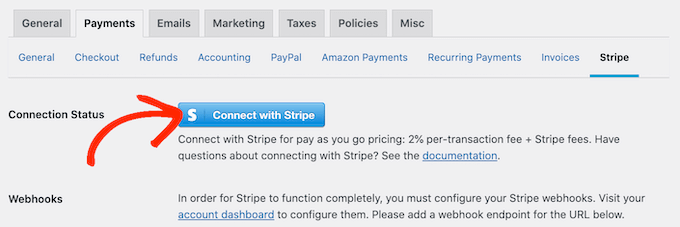
On top of that, EDD also integrates with payment services like PayPal and Stripe. You can connect the plugin with email marketing tools and other third-party software.
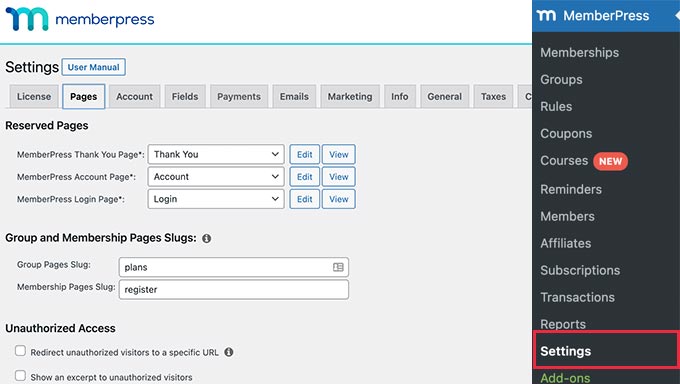
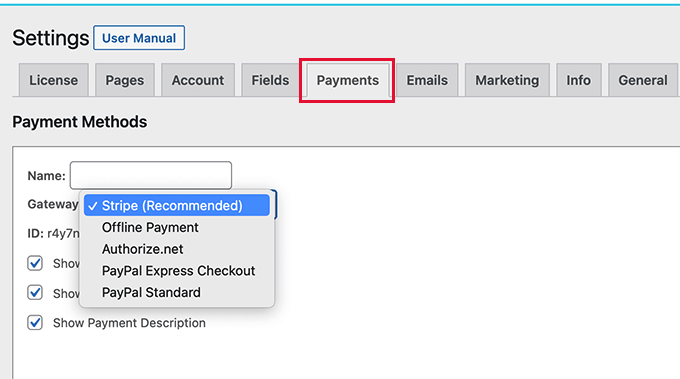
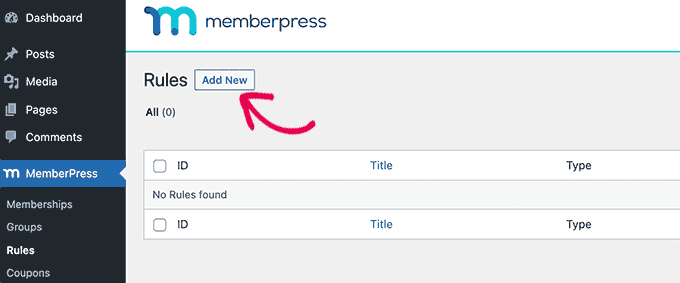
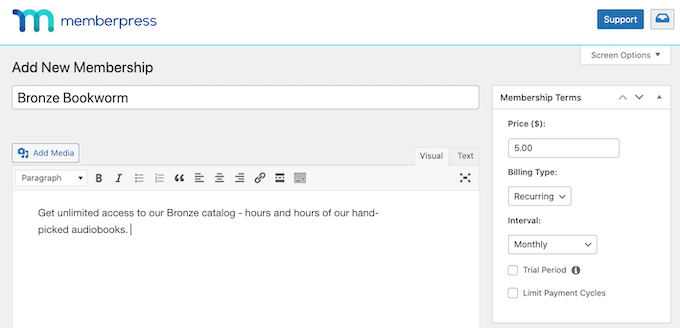
4. MemberPress
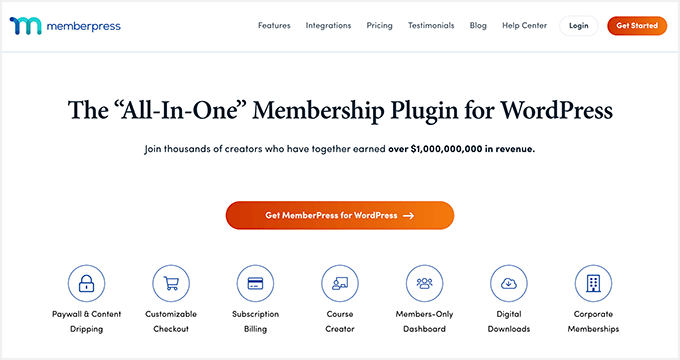
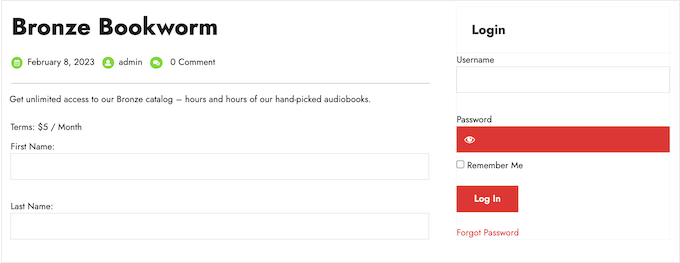
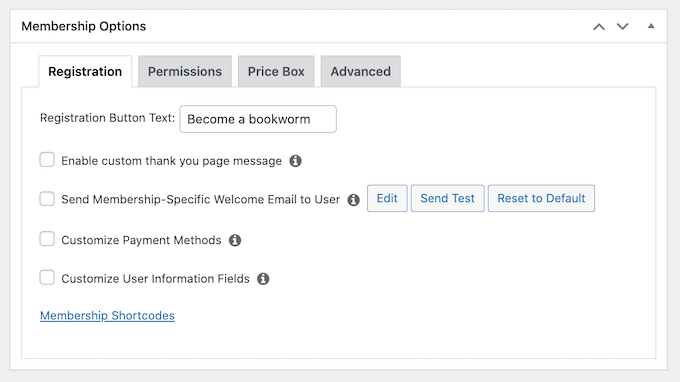
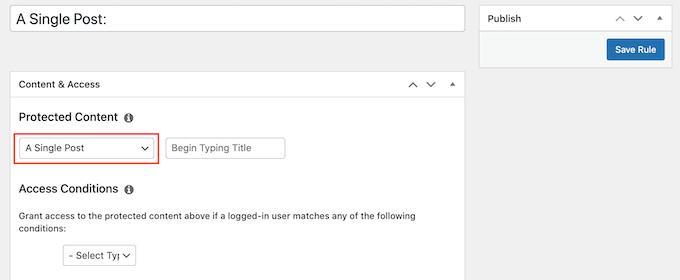
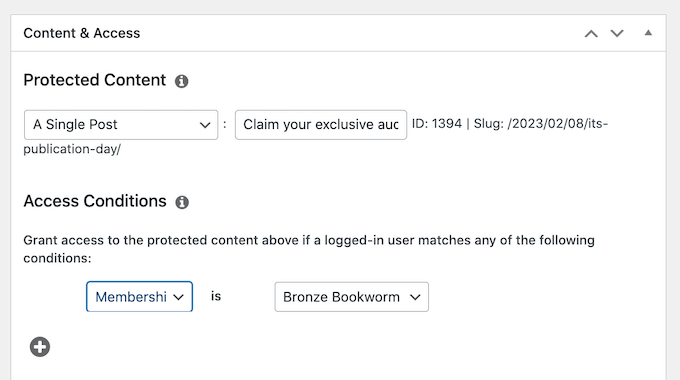
MemberPress is the best membership plugin for WordPress that is super easy to use. You can create unlimited premium memberships and restrict access to pages, content, and files for subscribers only.
Using MemberPress, you can create a membership site to get user-generated content. For instance, you can set up members-only associations like Young Entrepreneur Council. This way, premium members submit guest posts for the site itself. In addition, they can get access to forum discussions, share other content, and more.
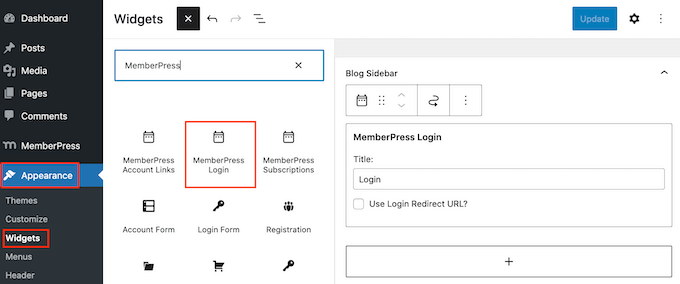
MemberPress offers a file upload option that you can show in the account area. This way, subscribers can share different content on your membership site.
The plugin also offers powerful content restrictions and access controls. You can lock premium forums and upload content for members only. Other than that, MemberPress easily integrates with different payment providers, email services, WordPress plugins, and third-party tools.
5. Thrive Ovation

Thrive Ovation is a popular testimonial plugin for WordPress. You can use the plugin to collect user-generated content in the form of testimonials.
Testimonials are incredibly powerful for driving sales and getting new users, and this plugin makes it super easy to gather reviews and feedback from existing customers.
It has an autopilot feature that automates the process of asking for feedback from customers.
Besides that, you can use Thrive Ovation to convert WordPress comments into testimonials with a single click. It also helps convert social media comments into testimonials for your website.
The plugin offers a testimonial library where you can easily manage user-submitted content, WordPress comments, and other imported feedback from your WordPress dashboard.
6. WordPress File Upload

WordPress File Upload is the next free front-end posting plugin on our list. It allows users to submit content from any page, post, or sidebar on your WordPress site.
You can simply use a shortcode to add a file upload form to your website or use the sidebar widget. The plugin also lets you manage the uploaded content from your WordPress dashboard. The uploaded files can be added to the media library or stored in an FTP location.
Besides that, you can set up file upload filters for multiple WordPress user roles, add file size limits, and control which file extensions users can upload.
WordPress File Upload also offers different customization options and lets you show an upload progress bar. However, if you’re looking for more options to edit your forms, then you can use other plugins on our list, like WPForms and Formidable Forms.
7. WP User Front-end

WP User Front-end is a flexible and beginner-friendly WordPress plugin for accepting front-end submissions.
The plugin comes with a drag-and-drop form builder and offers multiple customization options. You can place the form anywhere on your site to allow users to create a new post and submit guest posts, images, and other content.
It also lets users edit their profiles from the front end. This is great as you don’t have to give access to the main dashboard for users to set up a profile.
Besides that, you can use the WP User Front-end plugin to create subscriptions and membership packs. It lets you add pay-per-post, manage transactions, and easily receive payments.
8. User Submitted Posts

User Submitted Posts is a simple and free WordPress plugin that you can use to allow file upload on the front end of your website.
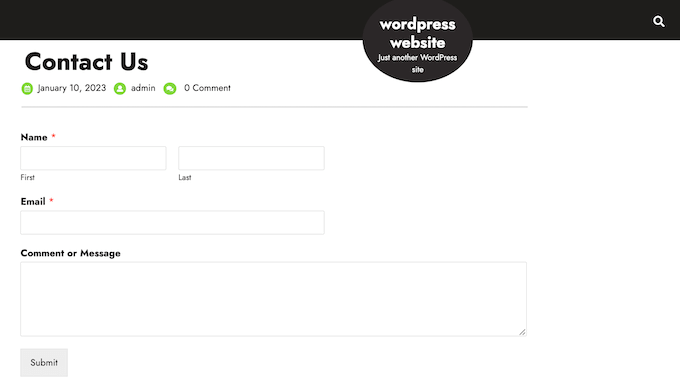
It is a great solution to accept guest posts, customer reviews, testimonials, images, and other user-generated content. The plugin offers basic form fields like name, email, URL, post title, content, post category, post images, and agree to terms.
You can display the front-end posting form anywhere on your site using a shortcode. The User Submitted Posts plugin also offers a login and registration form, so users can create a profile without requiring access to your site’s dashboard.
That said, the plugin doesn’t offer a lot of customization options, form templates, and features to control file upload compared to other plugins like WPForms.
9. AccessPress Anonymous Post
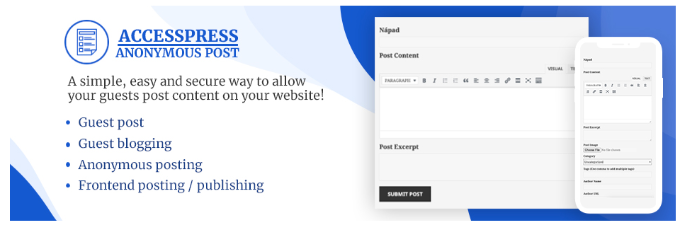
AccessPress Anonymous Post is another free WordPress plugin you can use to accept guest posts and allow front-end posting. It offers a responsive form that is easy to customize and place anywhere on your website.
Users can simply use the form to upload content, add a title, and enter tags, categories, URLs, images, and more. All the submitted content is stored in the WordPress database, and you can access it from your dashboard.
Besides that, you can also add a captcha for verification, receive emails when someone uploads a file, and make different form fields required.
Bonus: File Upload Types by WPForms
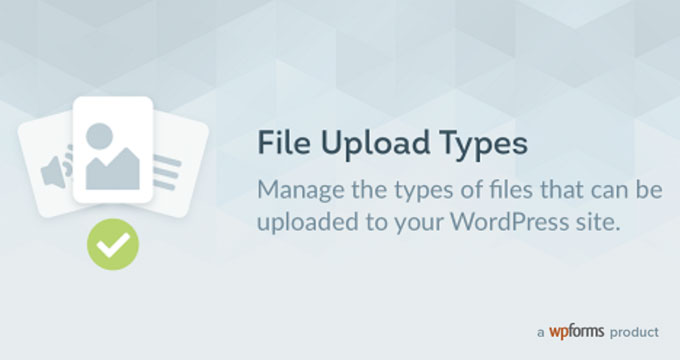
File Upload Types by WPForms is a free WordPress plugin that lets you accept different file extensions on your WordPress site. By default, WordPress only allows a handful of file types that users can upload to the media library.
If someone is submitting a post for the site on the front end, but uploads a file that has an extension not supported by WordPress, then they’ll see a ‘Sorry, this file type is not permitted for security reasons’ error message.
This is where the File Upload Types by WPForms plugin comes in handy. It allows users to post any type of file. For instance, you can accept file extensions like .zip, .xml, .ai, .csv, .svg, and more.
An important thing to note is that the plugin will let you accept additional file types, but it doesn’t have a feature to accept front-end posting. That’s where you’ll need another plugin like WPForms or any other on our list.
Which is the Best Front-End Posting Plugin for WordPress?
In our research, we found that WPForms is the best front-end posting plugin. It allows you to allow file upload and accept guest posts, images, quotes, and other user-generated content.
On top of that, you get over 600+ pre-built from templates, a drag-and-drop form builder, and lots of customization options to edit your form. You can add a file upload form field and display your form anywhere on the website.
Plus, its field-mapping feature makes drafting and editing on the front-end a breeze and is perfect for sites that have user-submitted content like real-estate listings or guest posts.
If you want to create complex and advanced forms like mortgage calculators, then you can use Formidable Forms. It also comes with a file upload feature and allows easy front-end posting.
On the other hand, you can use Easy Digital Downloads if you’re selling digital products. The plugin offers an upload file extension that allows users to submit documents, images, and other content on the front end. And their front-end submissions extension allows you to create a multi-vendor marketplace.
We hope this article helped you find the best front-end posting plugin for WordPress. You can also see our guide to the best WooCommerce plugins for your store and how to increase your blog traffic.
If you liked this article, then please subscribe to our YouTube Channel for WordPress video tutorials. You can also find us on Twitter and Facebook.
The post 9 Best Front-End Posting Plugins for WordPress (2023) first appeared on WPBeginner.