Do you want to restrict content on WordPress to Patreon members?
By adding patron-only content to your website, you can encourage visitors to join your Patreon and increase your profits. It’s also a great way to get Patreon users to visit your website, which will boost your traffic and can increase revenue further.
In this article, we will show you how to restrict content on WordPress to Patreon members.
Why Restrict Content on WordPress to Patreon Members?
If you are a content creator, then you may want to earn money from your writing, music, podcasts, stock photos, and other content.
Patreon allows you to sell memberships and then give those people access to different content based on their subscriptions.
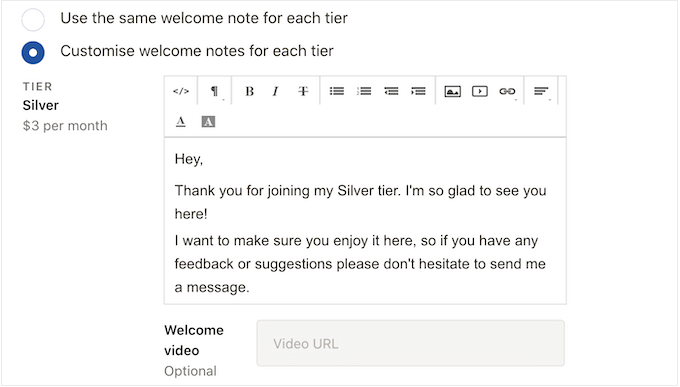
Patreon is also a great way to build relationships with your fans. For example, you can automatically send a welcome note to new patrons.
You can also create private Discord servers or chat rooms where members can talk to each other and even message you directly.
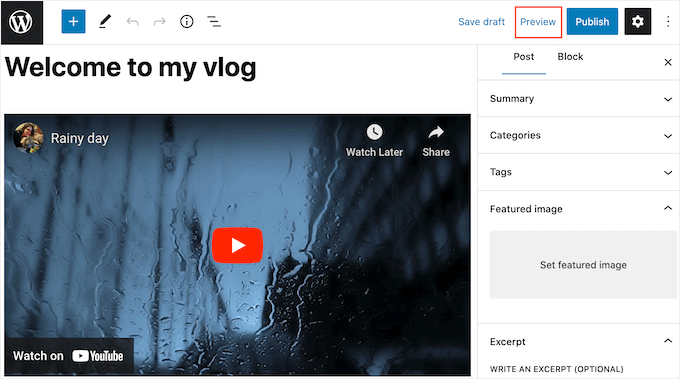
After creating a Patreon, it’s a good idea to publish members-only content to your WordPress website. This encourages visitors to join your Patreon in order to unlock exclusive WordPress content.
This can also increase your blog traffic since patrons will need to visit your WordPress site to see the exclusive content.
That said, let’s see how you can restrict content on WordPress to Patreon members.
How to Create a Patreon Account for Your WordPress Website
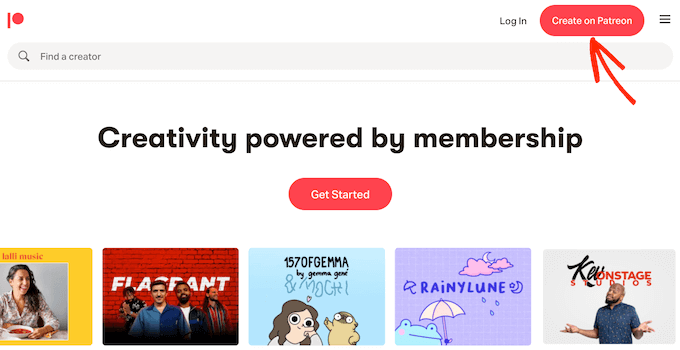
If you don’t already have an account, then head over to the Patreon website and click on the ‘Create on Patreon’ button.
You can now type in your email address and create a password. If you prefer, then you can also register using your existing Google or Facebook login.
After entering this information, the setup wizard will ask some questions about how you plan to use Patreon. Simply follow the onscreen instructions to build an engaging and informative Patreon page.
With that done, you can use the Patreon tools to customize your page, add membership tiers, set up billing, and more.
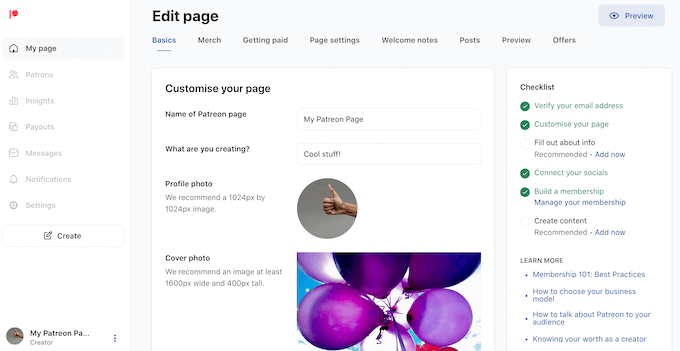
When you are happy with how your Patreon page looks, you are ready to add it to your WordPress website.
How to Connect WordPress to Your Patreon Account
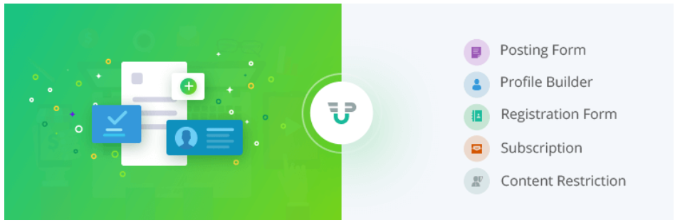
The easiest way to create Patreon-only content is by using Patron Plugin Pro. This plugin allows you to restrict access to individual pages and posts or even lock all the content from a specific tag or category.
You can also automatically lock and unlock content based on a schedule. This allows you to create free trials, automatically drip content, and more.
First, you will need to install and activate Patron Plugin Pro. If you need help, then please see our guide on how to install a WordPress plugin.
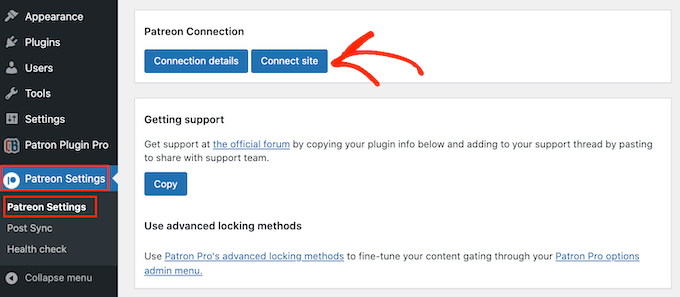
Upon activation, you will need to connect the plugin to your Patreon account. To do this, go to Patreon Settings » Patreon Settings, and then click on ‘Connect site’.
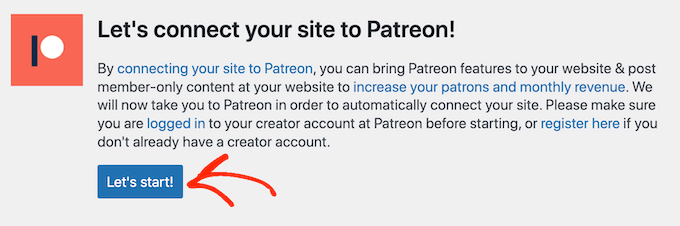
When you are ready, select ‘Start connection wizard’.
On the next screen, you need to click on ‘Let’s start!’
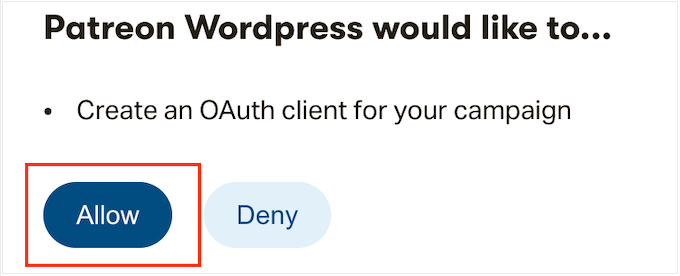
To connect Patreon to your WordPress website, you will need to create an OAuth client.
If you are happy to do this, then click on ‘Allow’.
If prompted, type in the login information for your Patreon account.
After a few moments, Patron Plugin Pro will take you back to the main WordPress dashboard. Your Patreon account is now connected to WordPress.
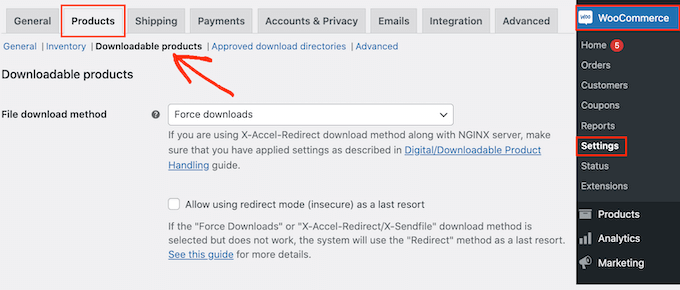
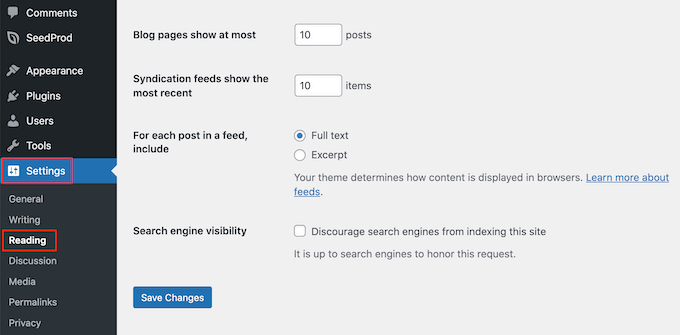
Before you restrict any content, it’s a good idea to look at the plugin’s settings by going to Patreon Settings » Patron Settings.
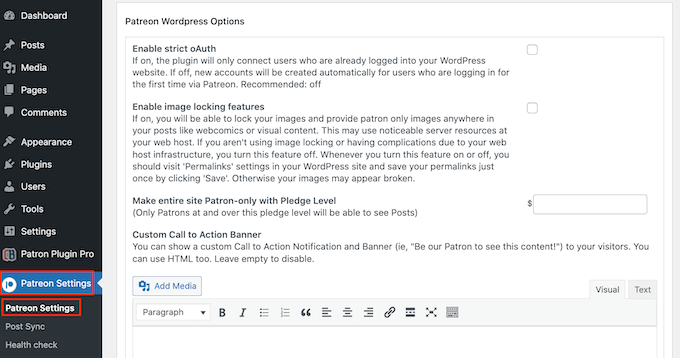
The default settings should work well for most websites, but it’s still worth checking whether you need to make any changes.
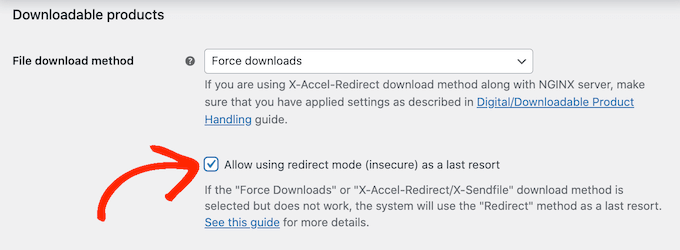
If you do customize the settings, then scroll to the bottom of the screen and click on the ‘Update Settings’ button.

How to Restrict Content to Patreon Members
The easiest way to create patron-only content is by restricting access to entire content types, categories, or tags. For example, you might lock all content that has the ‘Patreon’ tag.
To do this, simply select ‘Patreon Plugin Pro’ from the left-hand menu and then click on the ‘Content Locking’ tab.
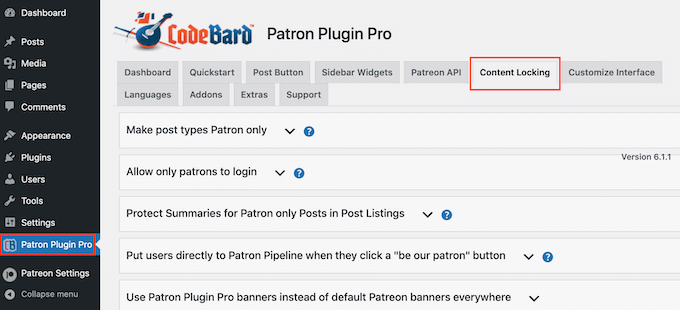
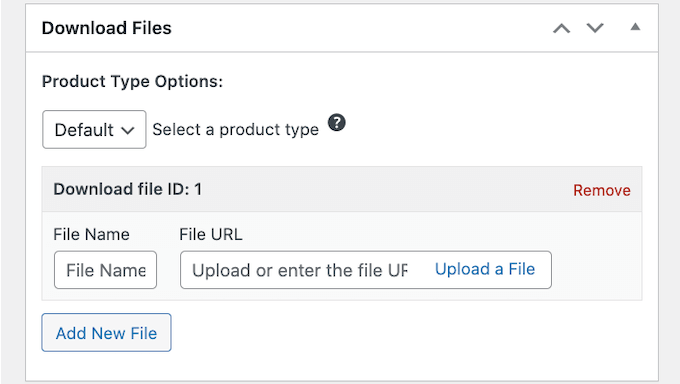
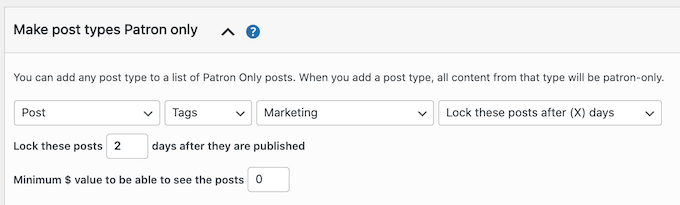
Here, you must click to expand the ‘Make post types Patron only’ section.
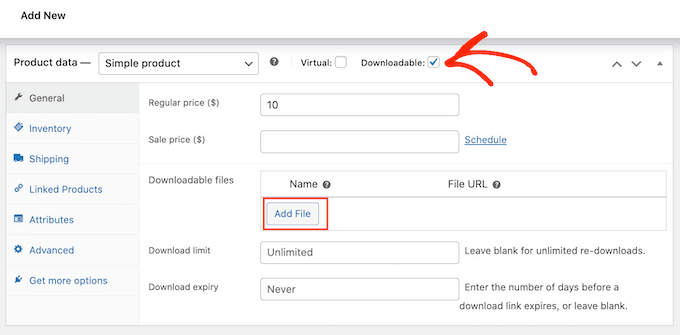
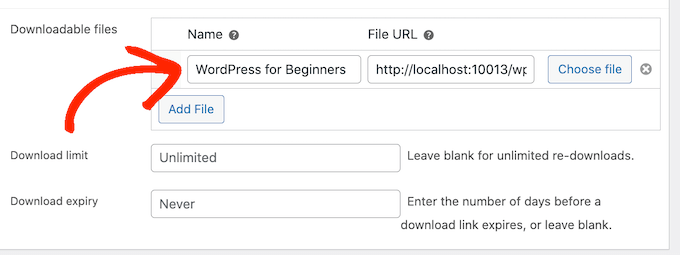
To start, open the ‘Select Post Type’ dropdown and choose the content you want to restrict, such as page, post, media, or some other content type.
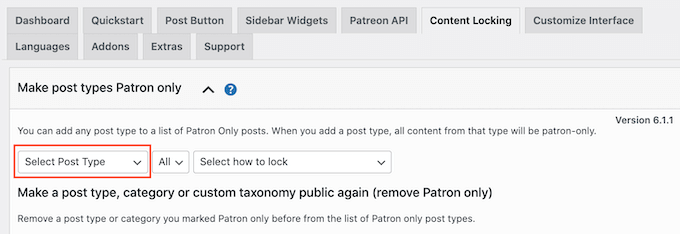
Then, open the new ‘All’ dropdown and choose whether you want to restrict this content type based on format or categories and tags.
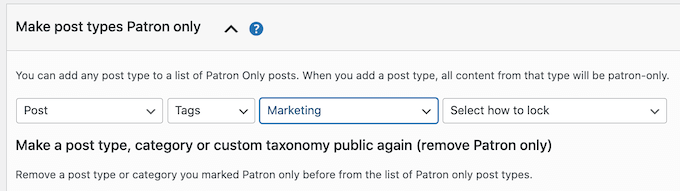
Depending on your selection, you will get access to some additional settings. For example, if you select ‘Tag’, then you will need to choose the tag you want to make Patreon-only.
Finally, open the ‘Select how to lock’ dropdown and choose how you want to lock and unlock the content.
The easiest option is ‘Lock all posts of this type’. However, you can also lock the most recent example of this content and use the older content as a preview for non-members.
You can also unlock or lock content after a certain number of days has passed. This allows you to offer exclusive early access to Patreon members.
Similarly, you can use this feature to create a free trial. For example, you might make your latest online course available to non-patrons for the first 24 hours. This can create a buzz around the launch while also encouraging people to join your Patreon so that they don’t lose access after 24 hours.
Based on your selection, you will see some additional options.
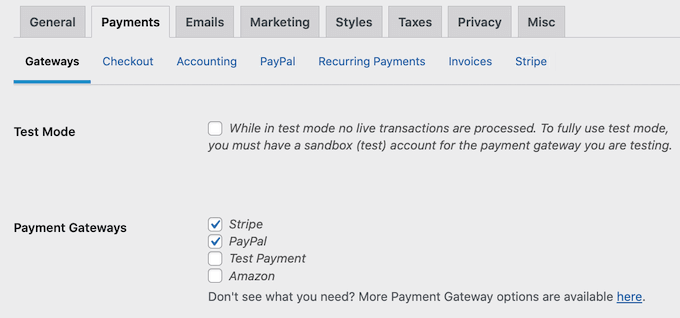
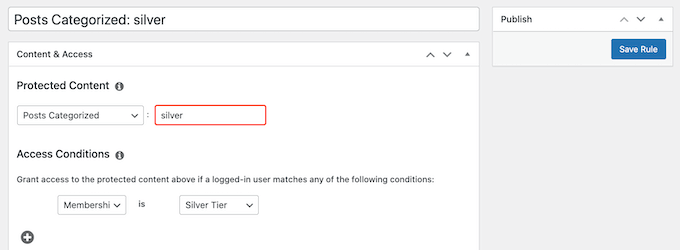
Most importantly, you will need to enter a minimum $ value membership tier.
This should be linked to the cost of your memberships. For example, if your Silver tier is $5, then typing ‘$5’ will unlock this content for everyone with a Silver or higher membership.
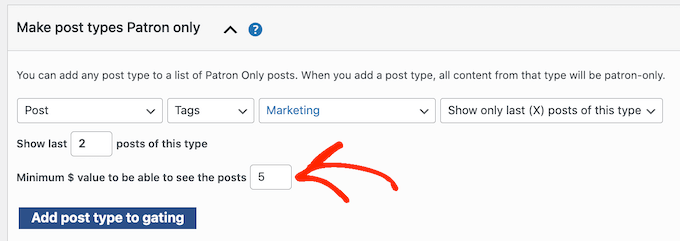
When you are happy with how the content locking is set up, click on ‘Add post type to gating.’
To lock more content, simply follow the same process described above. When you have finished, don’t forget to scroll to the bottom of the screen and click on ‘Save.’
How to Restrict Specific Pages and Posts to Patreon Members
Another option is to mark individual pages and posts as Patreon-exclusive. This allows you to control exactly what content your patrons have access to.
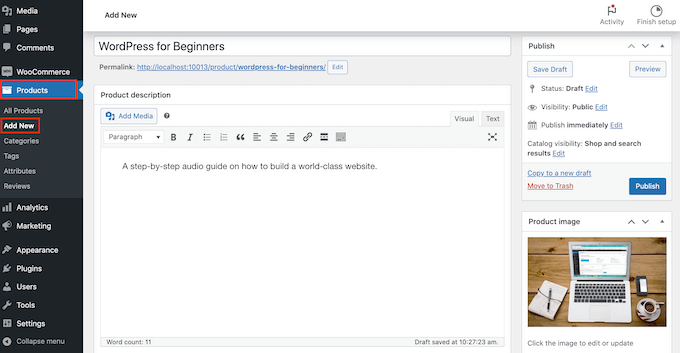
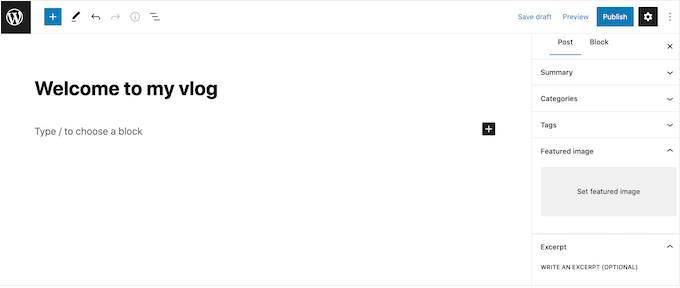
To start, simply open the page or post in the WordPress content editor.
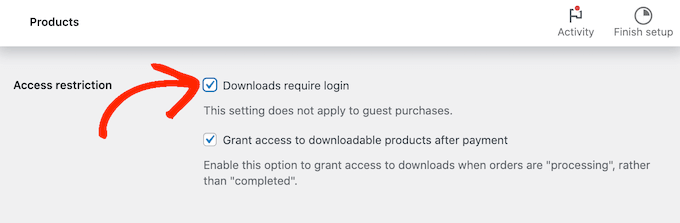
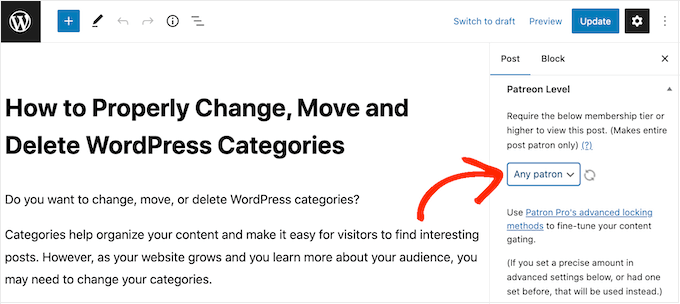
Next, you will need to set some rules about who can access this content. In the right-hand menu, scroll to the ‘Patreon Level’ section and choose from the dropdown menu.
You can either select a Patreon level or choose ‘Any Patreon’. For example, you might select ‘Any Patreon’ if this is entry-level content that all members should have access to or if you have only created a single Patreon tier.
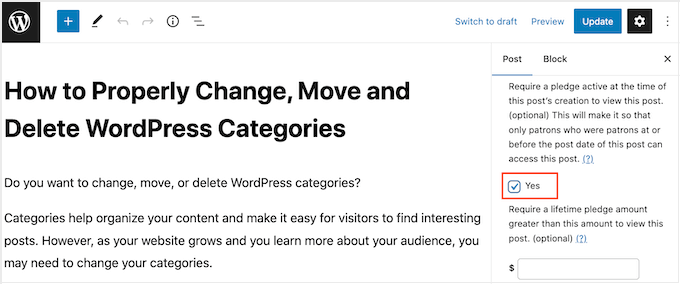
Often, you will want to give new patrons access to your entire back catalog of members-only content. Another option is to restrict access to people who were already patrons when the content was published.
This is useful for creating time-sensitive Patreon promotions, such as exclusive holiday content or a ‘limited edition’ video.
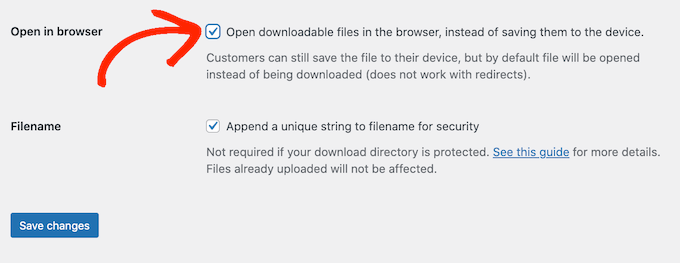
To add this restriction, find the ‘Require a pledge active at the time….’ section and check its ‘Yes’ box.
Another option is to show or lock the content automatically based on a schedule. This is perfect for offering exclusive early access to Patreon members.
To lock and unlock content automatically, find the ‘Advanced Locking’ section. Here, open the dropdown that shows ‘No change’ by default and choose an option from the list.
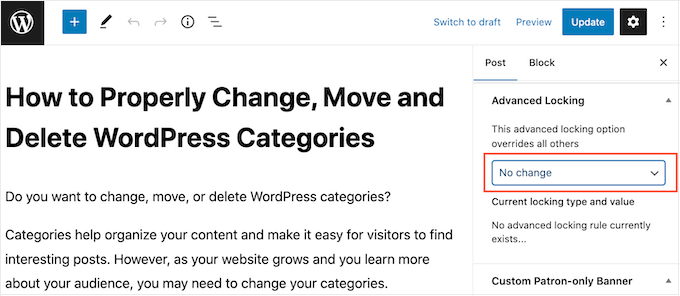
You can then use the new settings to configure the automatic locking and unlocking.
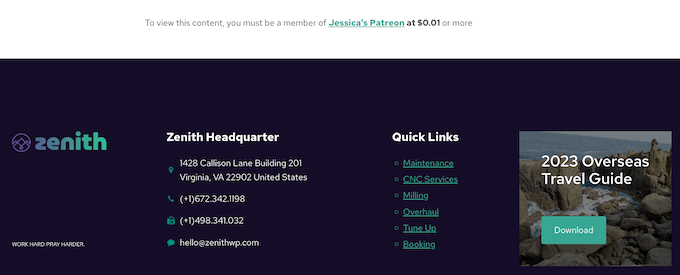
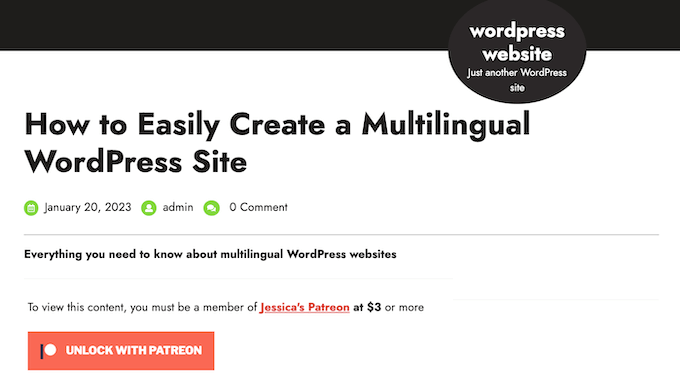
By default, the plugin will show the following message to all non-Patreon members: ‘To view this content, you must be a member of (name) content at (cost) or more.’
You may want to add your own message for non-Patreon members. For example, you might say why the content is restricted or why they should buy a Patreon subscription.
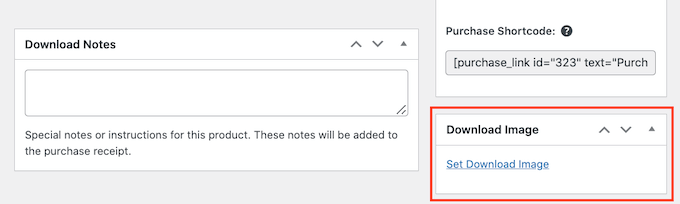
To add a message, scroll to the ‘Custom Patron-Only Banner’ section and click on the ‘Non-Patrons Only’ button.
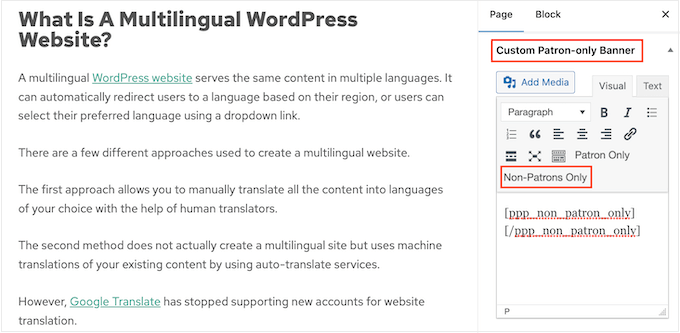
This adds some opening and closing tags to the small text editor.
Simply type your message in between these tags. You can also add links, formatting, and more in exactly the same way you create content in the WordPress page or post editor.
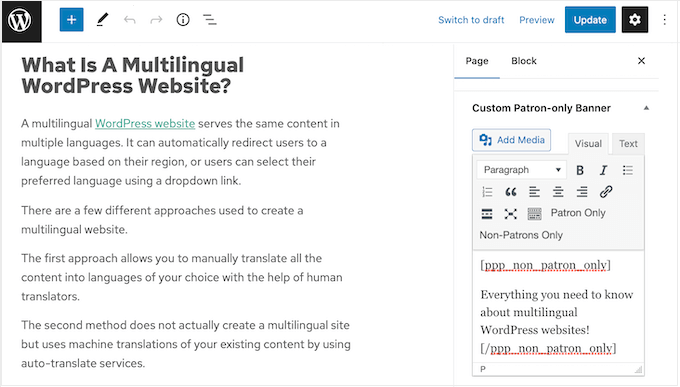
When you are happy with the settings, simply click on the ‘Publish’ or ‘Update’ button.
If you visit this content while logged into your admin account, then you won’t see any changes. However, if you visit it in an incognito browser tab, then you will see the content restriction in action.
How to Add a Patreon Button to Your WordPress Posts
Adding Patreon-exclusive content to your WordPress blog is a great start. However, it’s also a good idea to promote your Patreon on other areas of your website. This will help turn visitors into paying patrons.
Patron Plugin Pro can automatically add a ‘Become a Patron’ button to all your posts. Visitors can simply click this button to visit your Patreon page.
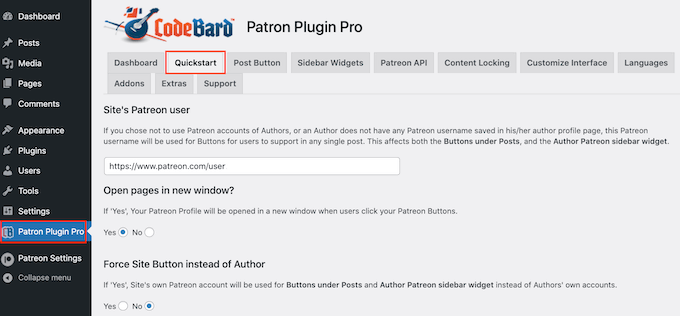
To start, select ‘Patron Plugin Pro’ from the left-hand menu, then select the ‘Quickstart’ tab.
Since we already connected the plugin to Patreon, you should see your account in the ‘Site’s Patreon user’ field.
If you don’t see the right URL, then you can add it now.
After that, you are ready to configure how the call to action button acts.
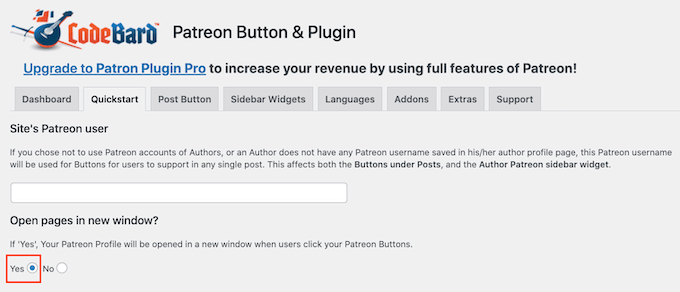
By default, the plugin opens your Patreon page in the same tab. This takes visitors away from your WordPress website, so we recommend opening the link in a new tab instead.
To do this, select ‘Yes’ under ‘Open pages in new window’.
The plugin adds the standard Patreon button to your website by default. This helps visitors recognize the button and understand that you have a Patreon page.
If you prefer, then you customize the button with your own branding using the settings under ‘Use a custom button’. When you are happy with the changes you’ve made, don’t forget to click on ‘Save’.
Next, click on the ‘Post Button’ tab to change how the button looks.
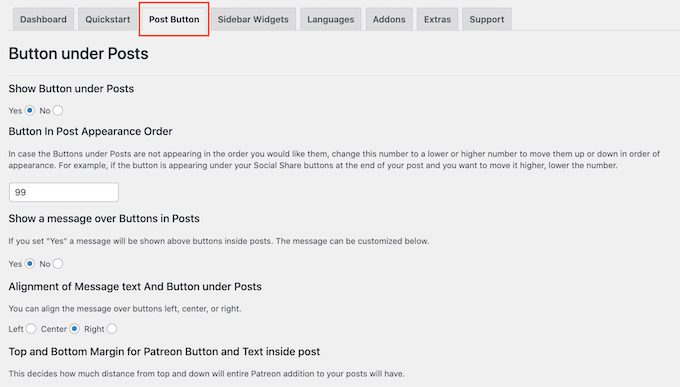
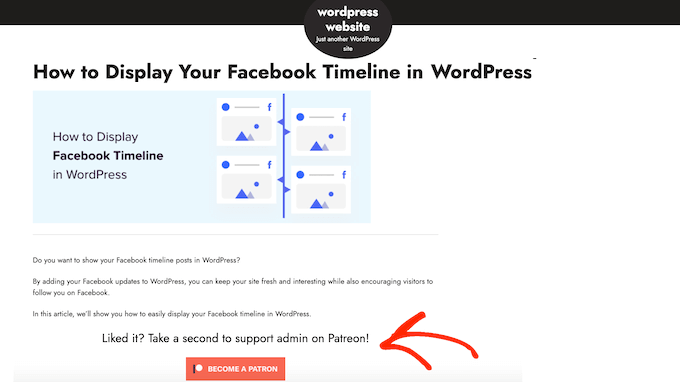
By default, the button includes the following heading: ‘Liked it? Take a second to support {authorname} on Patreon!’
To replace this with your own messaging, simply go ahead and type into the ‘Message over Buttons in Posts’ field.
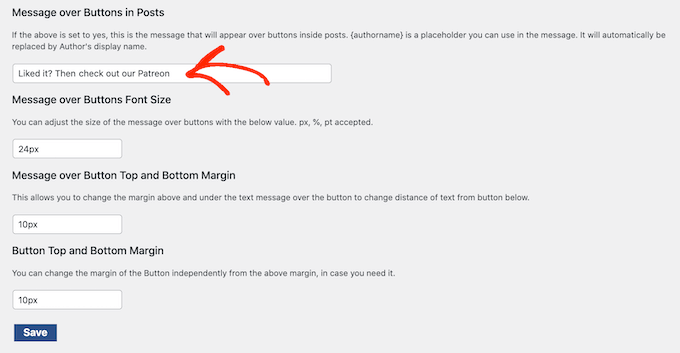
You can also change the message’s alignment, adjust its size, and add margins.
If you want to remove the message instead, then find the ‘Show a message over Buttons in Posts’ section. Here, simply click the ‘No’ button.
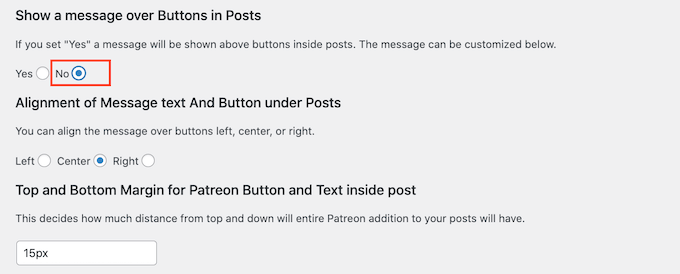
If you make any changes, then don’t forget to click on ‘Save’.
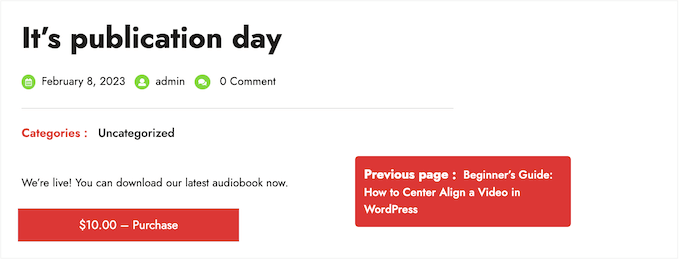
Now, you can visit any post on your website to see the Patreon button live.
How to Add a Patreon Button to the WordPress Sidebar
If you prefer, then you can remove the Patreon button from your blog posts and add it to the sidebar or similar section instead.
In this way, you can show the button on other areas of your website, such as the product pages in your online store.
To start, you will want to remove the button from your WordPress posts so that you don’t show multiple Patreon buttons on the same page.
To do this, select the ‘Post Button’ tab and find the ‘Show Button under Posts’ section. Here, go ahead and select the ‘No’ button.
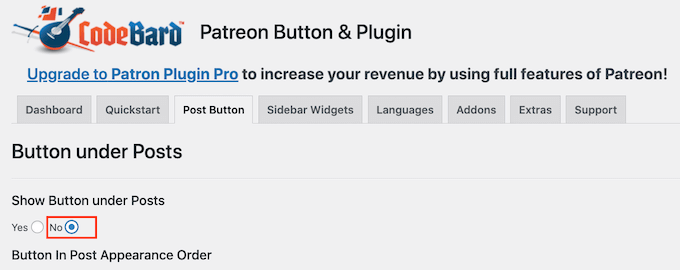
With that done, click on ‘Save’.
Next, click on the ‘Sidebar Widgets’ tab. Here, you can customize the message that appears next to the button, including changing the font size and adding margins.

If you do make any changes, then don’t forget to click on the ‘Save’ button.
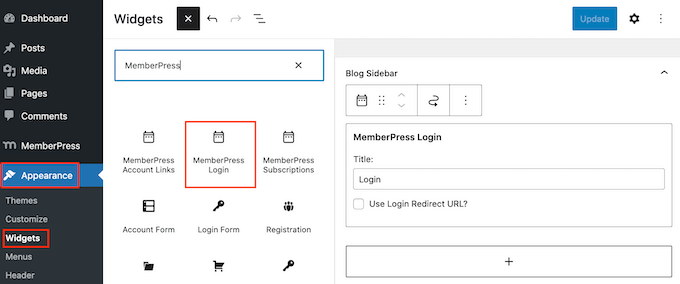
With that setup done, you can add the Patreon button to any widget-ready area by going to Appearance » Widgets. Here, click on the blue ‘+’ button.
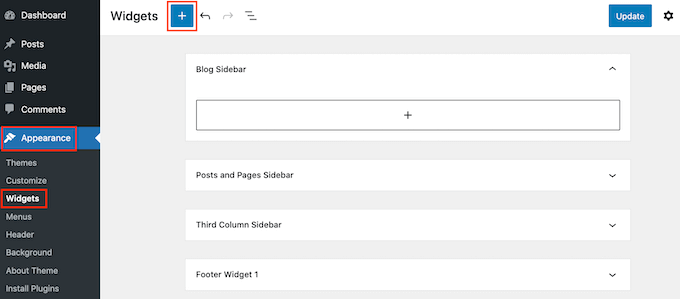
Note: If you are using a block WordPress theme, then you will need to go to Appearance » Editor instead.
In the panel that appears, start typing in ‘Patreon Sidebar Site Widget’.
When the right block appears, drag and drop it onto the area where you want to show the Patreon button.
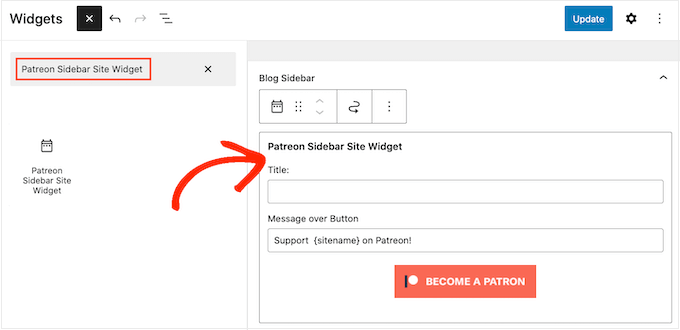
You can now type an optional title into the ‘Title’ field.
This will appear above the Patreon button in the theme’s sidebar or similar section.
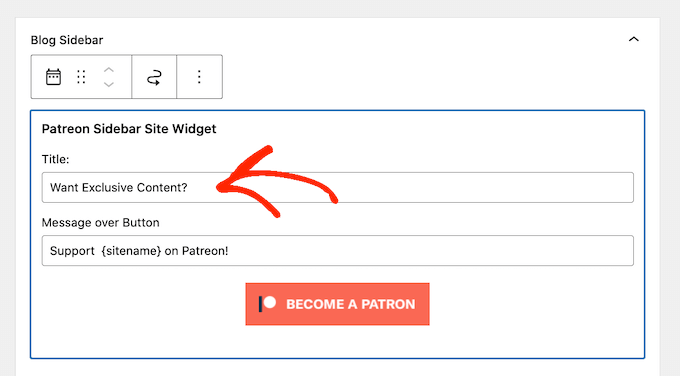
With that done, click on ‘Update’.
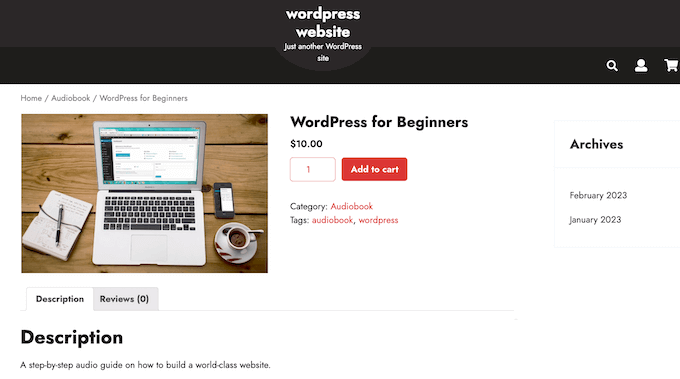
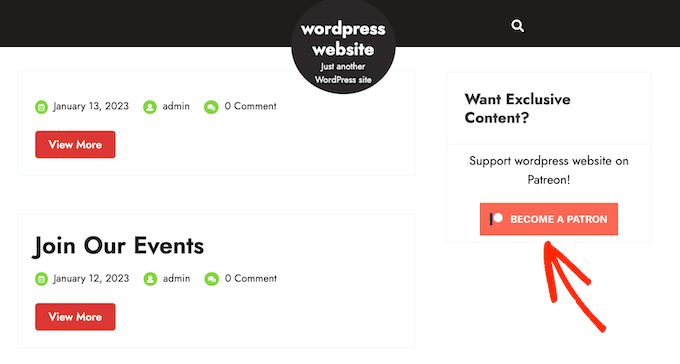
Now if you visit your WordPress blog or website, you will see the Patreon button in the widget-ready area.
Bonus: How to Create a Patreon Alternative Using WordPress
Patreon has helped countless creators monetize their content and make money online, but the platform also takes a significant cut of your earnings.
Depending on your Patreon plan, you will lose between 5%-12% of everything you earn on Patreon, plus payment processing and payout fees.
Depending on your location, you may also have to pay additional fees, including Value-added tax, Goods and services tax, Québec sales tax (QST), and US Sales tax.
All of this can really add up.
You will also need to follow all of Patreon’s terms and conditions and other guidelines. If you break any rules, then Patreon will censor your content and may even delete your account. If this happens, then paying members will lose access to your content, which reflects badly on your brand and can damage your reputation.
With that being said, many WordPress website owners are looking for a Patreon alternative.
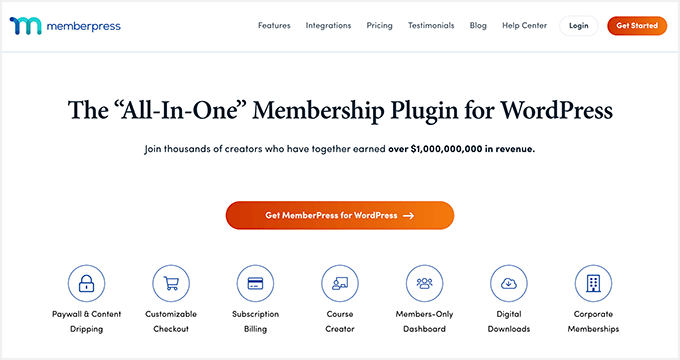
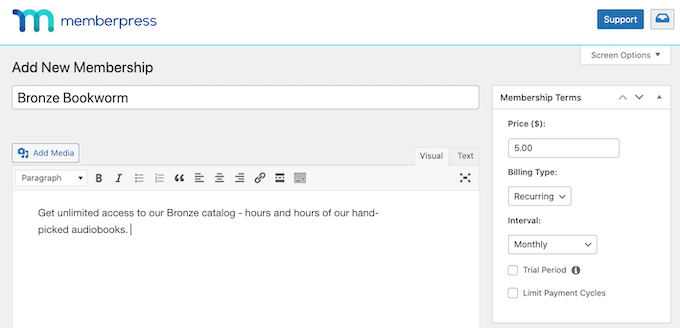
That’s where MemberPress comes in.
MemberPress is the best membership plugin for WordPress.
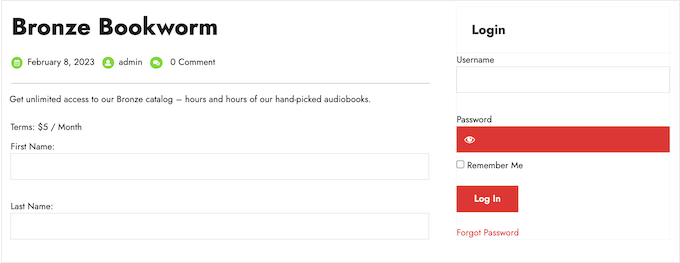
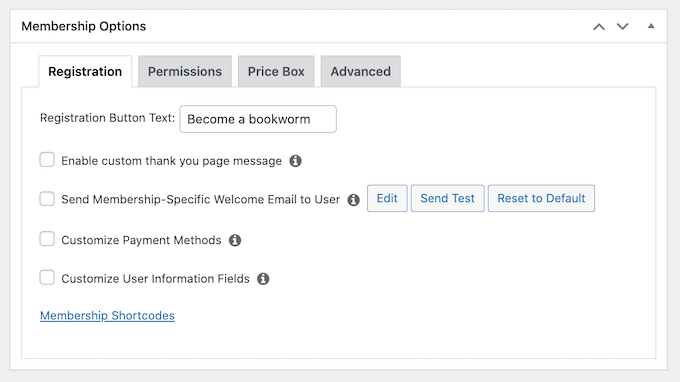
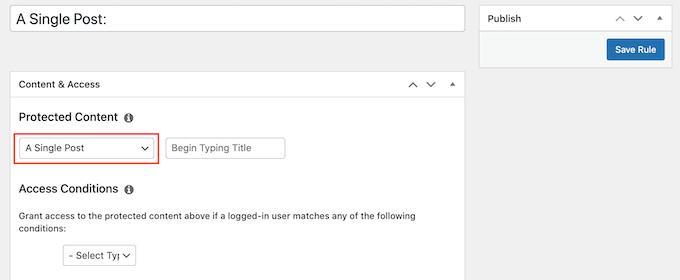
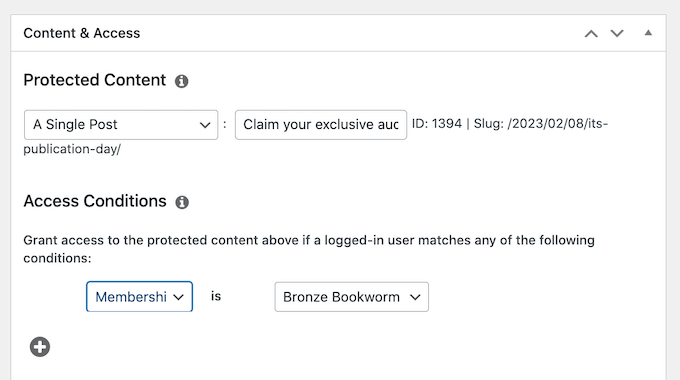
It allows you to create unlimited membership levels for your WordPress website and then restrict access to your content based on the person’s membership level.
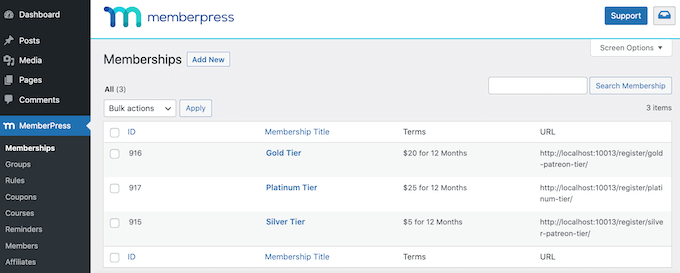
In this way, you can create members-only videos, eBooks, blog posts, online courses, downloadable files, and more.
You can even assign different content to different membership levels, which encourages members to upgrade their subscriptions.
This is exactly how the Patreon tier model works, without any of the extra transaction fees. Since MemberPress doesn’t take a cut of your earnings, you get to keep more of the money you make.
For more on this topic, please see our detailed guide on how much it costs to start a membership site.
With MemberPress, you also have the freedom to create your own privacy policy, rules, and terms and conditions. This gives you more flexibility to create unique and engaging content for your fans, which will make it easier to grow your business.
To help you get started, we have created an ultimate guide to building a WordPress membership site using MemberPress.
We hope this article helped you learn how to restrict content on WordPress to Patreon members. You may also want to read our guide to the best social media plugins for WordPress to grow your online following and learn how to run a giveaway/contest in WordPress.
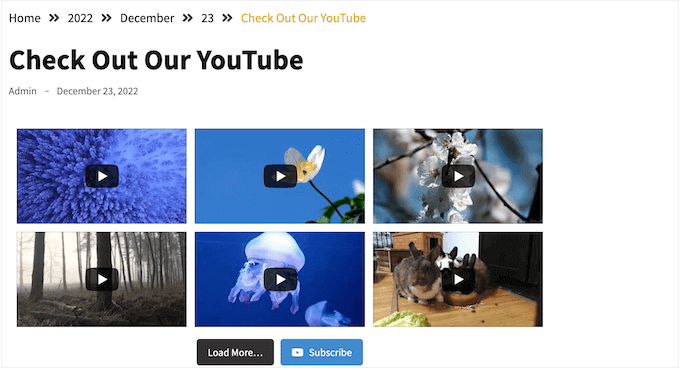
If you liked this article, then please subscribe to our YouTube Channel for WordPress video tutorials. You can also find us on Twitter and Facebook.
The post How to Restrict Content on WordPress to Patreon Members first appeared on WPBeginner.