Recently, one of our readers asked how do we measure the impact of our email newsletter?
You can use Google Analytics combined with special tracking links in your email newsletter to see how effective each email is for your business.
In this article, we will share how to set up email newsletter tracking in Google Analytics, step by step.
Why Track Your Email Newsletter Traffic in Google Analytics?
When you send out an email newsletter, it likely contains at least one link to your site. Your email marketing service should be able to tell you how many people click on a link (also called your click-through rate). However, most providers can’t show you what happens afterward.
That’s where Google Analytics comes in. You can use it to track what people do after clicking a link from your newsletter.
Let’s say you run a restaurant that offers home delivery. You want to see which of your weekly newsletters led to the most people filling out your online food ordering form.
Or perhaps you’re about to start an online store. It would be great to know which of your email campaigns drove the most sales.
Maybe you’re aiming to make money blogging. You want to know which campaigns got people to sign up for your online course.
With Google Analytics, it’s pretty easy to set up email newsletter tracking and see how many sales each email generates for your business.
With that said, let’s get started.
Creating Trackable URLs for Your Email Newsletter
If you want detailed insights in Google Analytics, then you need to add special tracking parameters to each link in your newsletter.
In other words, you can’t use a standard link like this:https://www.site.com
Instead, you need to use a URL with special parameters that look like this:https://www.site.com?utm_source=newsletter&utm_medium=email&utm_campaign=jan_sale
The ending part of this URL, everything after the question mark, is called a UTM code.
It might look complicated, but don’t worry. It’s actually quite easy to create.
Let’s take a look at two easy ways to create these trackable URLs for your email campaigns.
Method 1: Create Trackable URLs using MonsterInsights (Recommended)
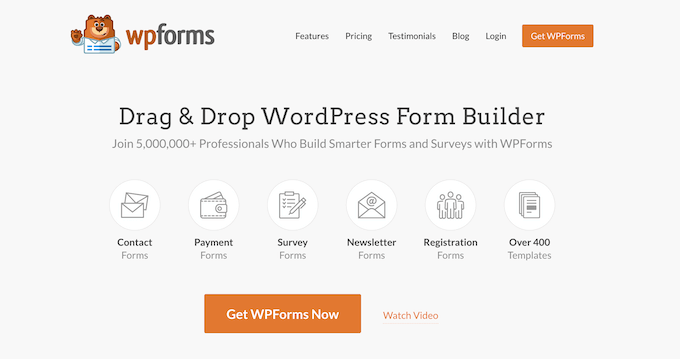
MonsterInsights is the best Google Analytics plugin for WordPress. It allows you to easily install Google Analytics in WordPress and shows beautiful traffic reports inside the WordPress dashboard.
It also helps you set up Google Analytics 4 (GA4) property. GA4 is the latest Analytics version by Google and it will replace Universal Analytics on July 1, 2023. With MonsterInsights, you can easily switch to GA4 in WordPress and start tracking your data.
To track email newsletters, you can use the free version of MonsterInsights to access the URL builder tool. However, we recommend upgrading to the pro plan in order to unlock more advanced features like eCommerce tracking (we will talk more about eCommerce tracking later in this article).
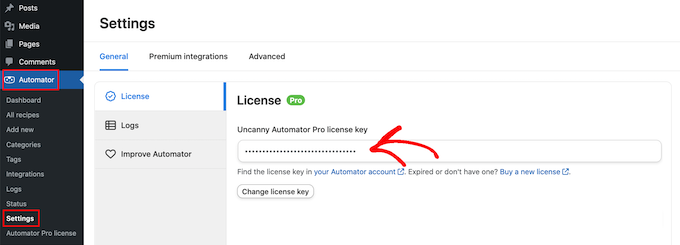
First, you need to install and activate the MonsterInsights plugin. For more details, see our step-by-step guide on how to install a WordPress plugin.
Upon activation, you can go to the Insights » Tools page in your WordPress dashboard and select the ‘URL Builder’ tab.

In the URL Builder tool, the first piece of information you’ll need to enter is the URL you want to add to your newsletter. This might be your main website URL if you’re linking to your home page.
In this example, we’re running a sale and linking to the website’s online store:

Google Analytics will track your email newsletter visitors as a ‘campaign’. This is simply the term Google Analytics uses for email or advertising promotions.
You’ll need to enter the source, medium, and name for your campaign, so Google Analytics can easily track them.
Source: Set this to ‘newsletter’ or something else meaningful
Medium: This should be set to ’email’
Name: You can use whatever makes sense, e.g. ‘jan_sale’ or ‘april_tshirts_sale’
If you’re using more than one word for the source, medium, or name, make sure you use underscores between words. Don’t use spaces or hyphens.

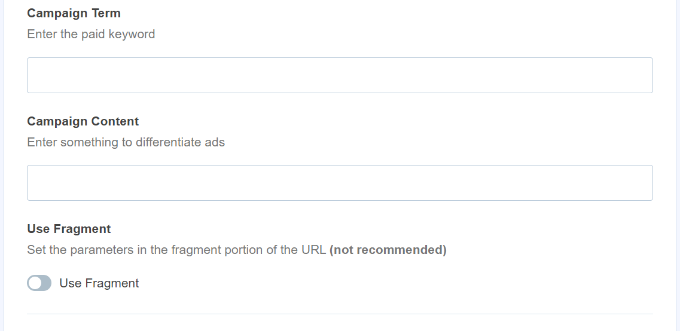
Besides that, you’ll see more options in the URL Builder.
The Campaign Term field is used if you’re running ads, so you can leave that blank. The Campaign Content can be used if you’re split-testing your emails or ads. Again, you can leave it blank for this example.
Next, you can scroll down.
At the bottom of the page, you should now see your special URL, with the tracking details included:
You can now use this URL in your email newsletter and later track clicks in your Google Analytics account.
Method 2: Manually Create Trackable URLs in Google Analytics
MonsterInsight’s URL builder is a handy tool for saving time, as it creates the UTM codes for you. If you prefer to create your trackable URLs manually, here’s how to do it.
First, get the URL you want to use. We’re going to use https://www.site.com/shop for this example.
Next, you’ll need to create the UTM code yourself. We’ll take it to step by step.
Add a question mark to the end of your URL, like this:
https://www.site.com/shop?
Then, add the utm_source:
https://www.site.com/shop?utm_source=newsletter
Next, add the ampersand (&) symbol and the utm_medium:
https://www.site.com/shop?utm_source=newsletter&utm_medium=email
Finally, add another ampersand (&) and the utm_campaign:
https://www.site.com/shop?utm_source=newsletter&utm_medium=email&utm_campaign=jan_sale
You can use any word or phrase you want for the campaign’s name. If you’re using multiple words for the source, medium, or campaign name, you can separate the words with an underscore.
That’s it. Your tracking URL is ready to be used in your newsletter.
Using Trackable URLs in Your Newsletter Campaigns
Once you’ve created your URL, either using the MonsterInsights URL builder or manually, you can use it in emails.
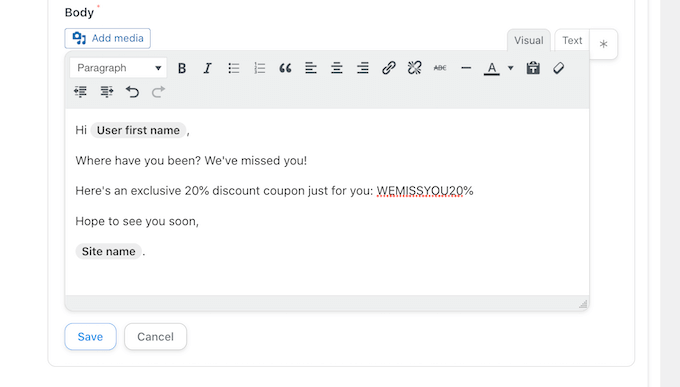
You can copy and paste the URL into your email wherever you would have used the standard URL before.
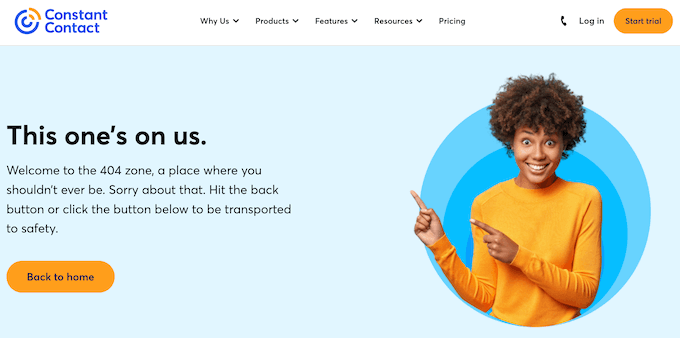
Here’s how that looks when inserting a URL in Constant Contact:

Tip: You can even use trackable URLs in your regular emails. This would make sense if you do a lot of email outreach. You can also create trackable URLs to use on social media, in ads, and more.
Once you are done with your email, send out your newsletter and wait for some clicks. After that, you can go to Google Analytics to view your report.
Viewing Your Email Newsletter Report in Google Analytics
Now that you’ve set up custom URLs for tracking in email newsletter, the next step is to view the reports in Google Analytics.
View Email Newsletter Report in Universal Analytics
First, you’ll need to log in to your Google Analytics account.
After that, simply click the Acquisition » Campaigns » All Campaigns link.

You should then see data for the campaign(s) you’ve created.
Tip: If you’ve only just sent out the newsletter, change the date for the report to the current day. Google Analytics defaults to showing you data for the previous 7 days.
View Email Newsletter Report in Google Analytics 4
First, you’ll need to log in to your Google Analytics 4 account.
From here, head to Reports » Acquisition » Traffic Acquisition from the dashboard on the left.
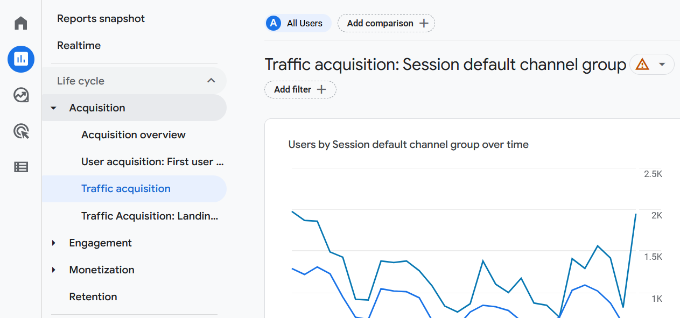
Here, you’ll see all the traffic sources for your website, including direct, organic search, paid search, and email.
To see traffic from your newsletter, simply enter ’email’ in the search bar and hit enter.
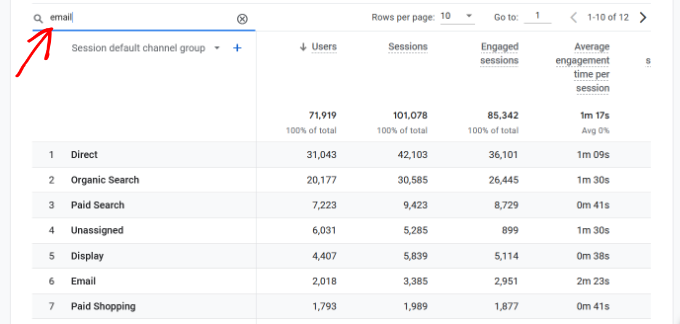
This will filter the report and only show traffic from emails.
Next, you can click the blue ‘+’ button under the search bar.
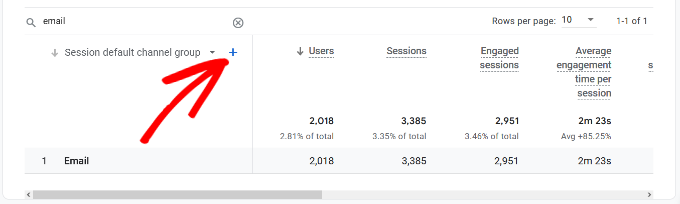
You’ll now see more options to short your website traffic.
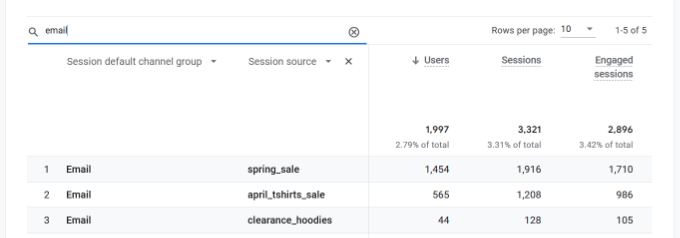
Go ahead and select Traffic source » Session source from the dropdown list.

After that, you should see traffic from different email campaigns.
This way, you can which campaign was most effective and helped generate revenue.
Tracking Email Newsletter Conversions
The most important part of your newsletter tracking is what users do after they arrive on your website.
For instance, if you run an online store you might want to see which emails led to a sale. If you wanted users to fill out an order form, then you might want to track that.
The easiest way to do this is by using MonsterInsights to do almost all the setup for you.
Switching on eCommerce Tracking in Google Analytics
First, you’ll need to switch on eCommerce tracking in Google Analytics. This is a quick and easy process.
Simply log in to Google Analytics and make sure you have the correct website. After that, click the Admin link on the bottom left.

You will now see different settings.
In the View column, go ahead and click the ‘Ecommerce Settings’ option.

You can now toggle ‘Enable Ecommerce’ on. We recommend also enabling the ‘ Enable Enhanced Ecommerce Reporting’ option at this point.
This will track additional data and also lets you see eCommerce reports in MonsterInsights.
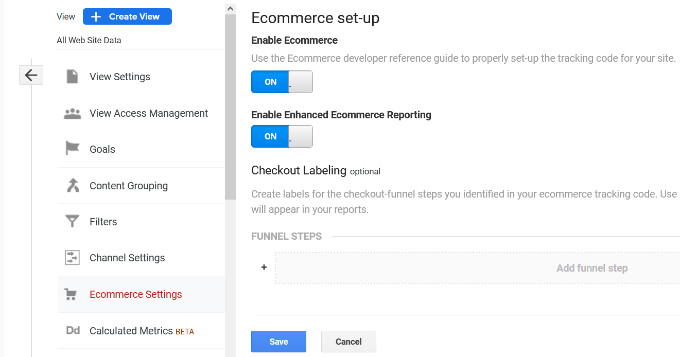
Don’t forget to click the Save button when you’re done.
Switching on eCommerce Tracking in MonsterInsights
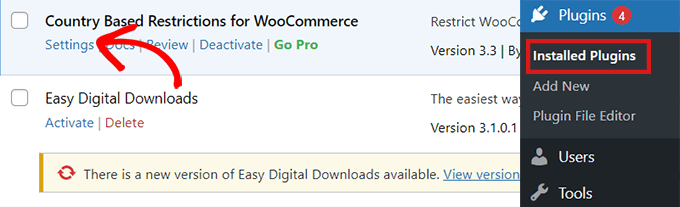
You’ll need the Pro version of MonsterInsights in order to use its eCommerce features. These work with WooCommerce, Easy Digital Downloads, MemberPress, and LifterLMS.
Next, you can go to Insights » Addons, find the eCommerce addon, and then click the Install button below it.

After that, you need to go to Insights » Settings and click the eCommerce tab. You should see that your eCommerce plugin (e.g. WooCommerce) has been automatically detected.
Tip: We recommend switching on ‘Use Enhanced eCommerce’ as this means you can view the MonsterInsights eCommerce report too.

That’s all you need to do because MonsterInsights handles everything else after that. Google Analytics will now be able to track eCommerce transactions on your site.
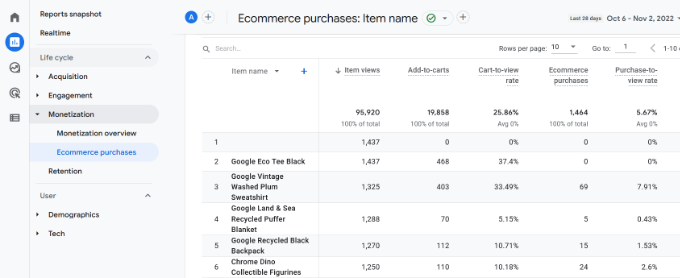
Now, when you visit Google Analytics, you’ll be able to see details of your eCommerce transactions.
In Universal Analytics, simply go to Acquisition » Campaigns and then click the ‘All Campaigns’ link. Next, select ‘E-commerce’ from the Conversions dropdown menu.

For detailed instructions, see our article on how to setup WooCommerce conversion tracking.
Tracking Links, Clicks, Buttons, and Forms
Not all websites use an eCommerce platform with a shopping cart.
For instance, if you have a simple order form, then you can track which email campaigns led users to submit that form. If you have a click to call button on your website, then you can track that as well.
We have a separate detailed guide on tracking links and button clicks in Google Analytics with step-by-step instructions.
We hope this article helped you learn how to set up email newsletter tracking in Google Analytics. You might also want to see these tested and easy ways to grow your email list faster and must-have WordPress plugins for business websites.
If you liked this article, then please subscribe to our YouTube Channel for WordPress video tutorials. You can also find us on Twitter and Facebook.
The post How to Set Up Email Newsletter Tracking in Google Analytics first appeared on WPBeginner.